
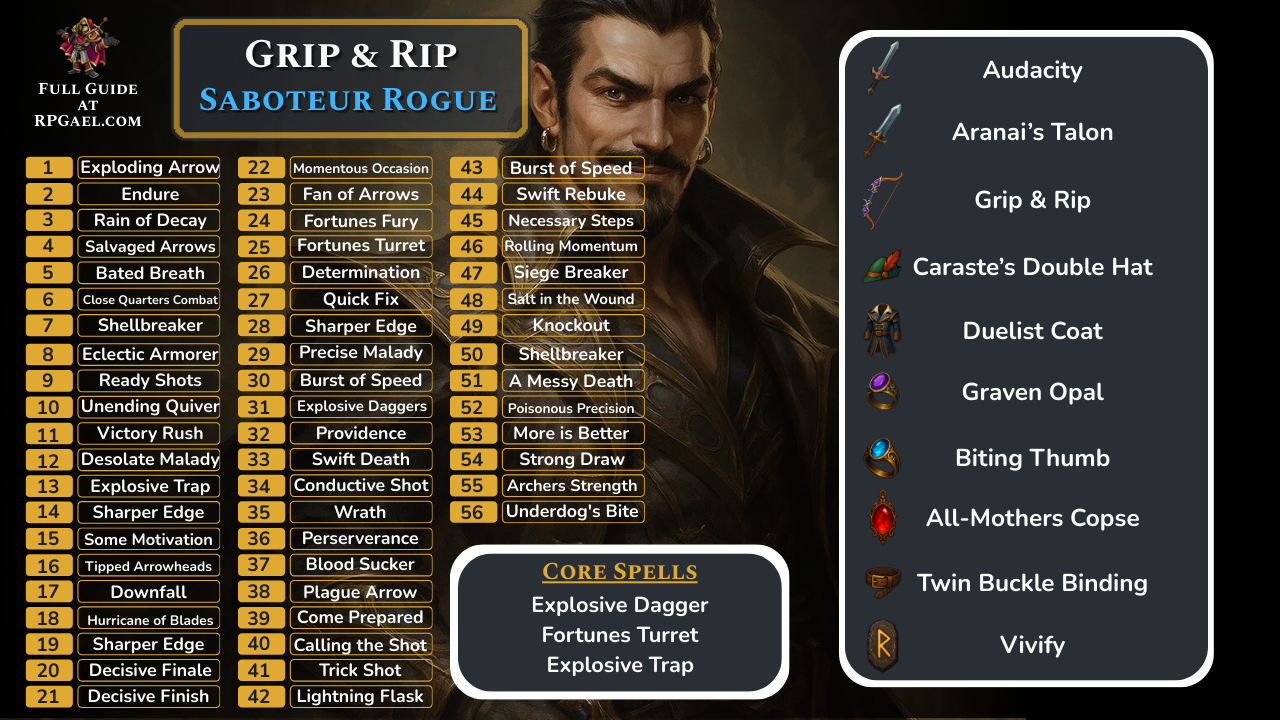
Grip and Rip
Overview
The Saboteur Rogue is all about controlled chaos: bombs, arrows, and relentless pressure. Where many builds lean into precision or sustained melee, this one thrives on detonations, chaining explosions, and shredding groups with a bow that fires like a machine gun. It’s a natural evolution of the old “infinite knives” playstyle from Inquisition, trading daggers for explosive tools and a bow that never runs dry.
This build is tuned to work all the way from the early game through Nightmare, steadily growing into a powerhouse that spams Explosive Daggers with near-infinite uptime. The tools we use — bombs, traps, and turret — don’t just support the damage but feed back momentum, keeping the daggers coming while staggering enemies and detonating afflictions. By the late game, you’ll be standing in the thick of it, bombarding enemies while shrugging off pressure thanks to constant invulnerability frames and life-steal ticks from your turret.

Early Game
At character creation, Veil Jumpers provide the best synergy with their critical bonuses, but as always, faction choice is mostly flavor — pick what you enjoy role-playing. The Rogue early game is naturally strong thanks to dodge, parry, and ranged flexibility, and this setup leans on those strengths.
Your core spells are:
- Static Strikes: a filler ranged option that weakens enemies for detonations.
- Rain of Decay: strong area damage, but requires enemies to stay in place, which is tough on higher difficulties.
- Explosive Bomb: the first real taste of the Saboteur style — good damage, sends enemies flying, and sets up early detonations.
Of these, Explosive Bomb is the most important to lean on. It costs no momentum and has its own cooldown, letting you use it freely while still saving resources for other attacks. Rain of Decay is effective early but eventually feels restrictive as enemies won’t stay inside the zone; it will be dropped later.
Key passives to know early:
- Downfall: guarantees critical hits on knocked-down enemies. With bombs and flasks constantly staggering foes, this comes up often and adds free burst.
- Some Motivation: the Rogue’s best passive, scaling your damage with the number of arrows you carry. Even at base quiver size this is a big boost, and by late game it skyrockets into absurd territory.
Until level 25 or so, play a mix of bow fire and bombs. Rogues have great survivability in early Nightmare thanks to dodge and momentum-free tools, so take advantage of it to stay aggressive.
Early Levels
|
Level |
Spell/Passive |
|---|---|
|
1 |
Exploding Arrow |
|
2 |
Endure |
|
3 |
Rain of Decay |
|
4 |
Salvaged Arrows |
|
5 |
Bated Breath |
|
6 |
Close Quarters Combat |
|
7 |
Shellbreaker |
|
8 |
Eclectic Armorer |
|
9 |
Ready Shots |
|
10 |
Unending Quiver |
|
11 |
Victory Rush |
|
12 |
Desolate Malady |
|
13 |
Explosive Trap |
|
14 |
Sharper Edge |
|
15 |
Some Motivation |
|
16 |
Tipped Arrowheads |
|
17 |
Downfall |
|
18 |
Hurricane of Blades |
|
19 |
Sharper Edge |
|
20 |
Decisive Finale |
|
21 |
Decisive Finish |
|
22 |
Momentous Occasion |
|
23 |
Fan of Arrows |
|
24 |
Fortunes Fury |
|
25 |
Fortunes Turret |
|
26 |
Determination |
|
27 |
Quick Fix |
|
28 |
Sharper Edge |
|
29 |
Precise Malady |
|
30 |
Burst of Speed |
Equipment
|
Item |
Details |
|---|---|
|
Primary Weapon 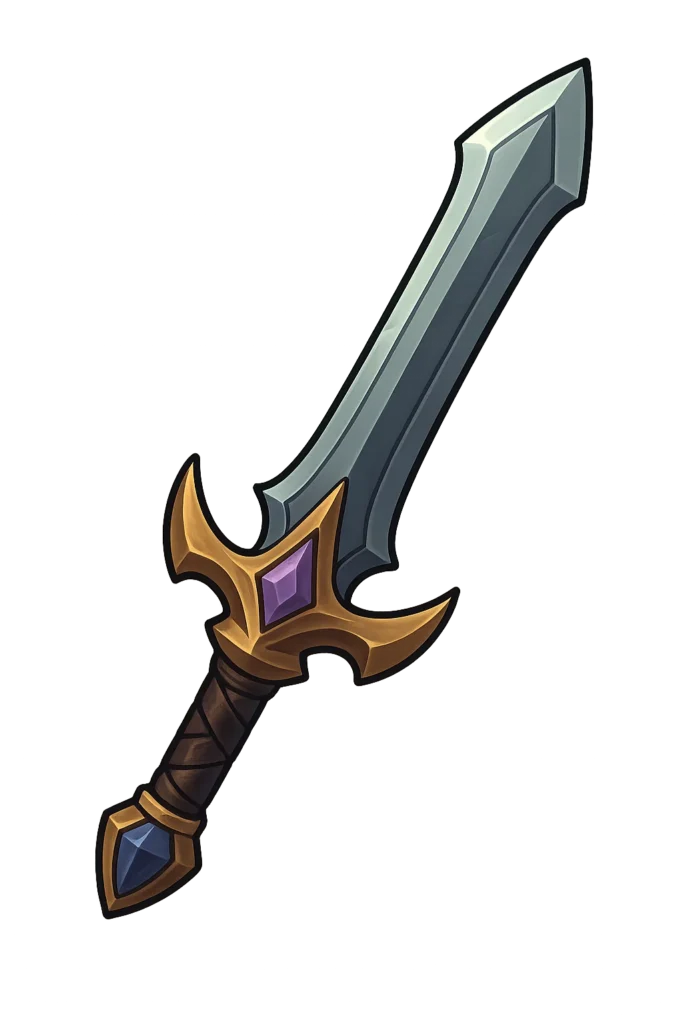 Audacity |
Provides +15% bonus damage and additional status effects |
|
Secondary Weapon Aranais Talon |
More then doubles your damage at the cost of additional mana |
|
Bow 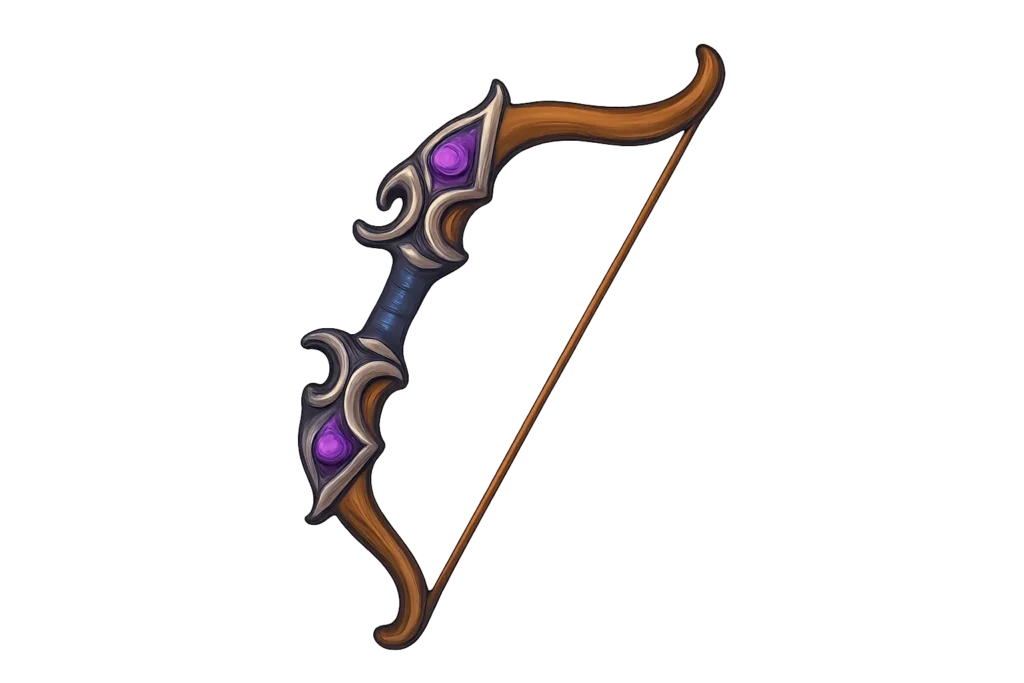 Grip & Rip |
Additional fire damage and mana resource |
|
Helmet  Caraste’s Double Hat |
Provides +30% damage from having all blast abilities and refunds 25% of mana cost on impact |
|
Armor 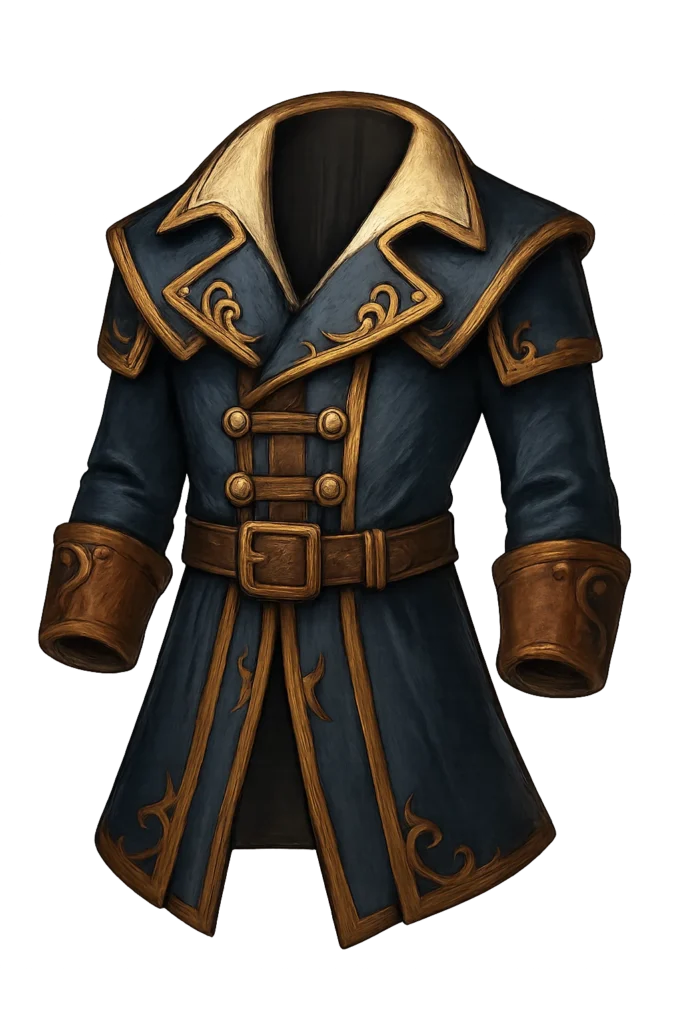 Duelist’s Coat |
The best armor piece in The Veilguard, provides longer advantage duration, +10% damage for EVERY advantage (you will typically always have 3+), makes the advantages more effective and most importantly heals you for +5% when gaining an advantage which will offset the self damage of Maw of the Black City |
|
Ring 1  Graven Opal |
Makes your abilities a guaranteed critical hit at the cost of our health, this issue is completely negated by Garb of Kinship & Twin Buckle Binding |
|
Ring 2  Biting Thumb |
Extra Fire Damage |
|
Amulet  All-Mothers Copse |
Significant boosts to our blast ability damage and returns our mana when critical hitting with blast abilities, working in perfect combination with Maw of the Black City |
|
Belt  Twin Buckle Binding |
Extra healing and ability damage |
|
Rune 1  Vivify |
Ability cooldowns are refreshed and the next ability is free |
|
Rune 2 Escalate |
Passive +10% Ability damage |
|
Rune 3 ? |
Passive +10% Fire damage |
Equipment Overview
TThis build uses armor to amplify the ranged-explosive hybrid identity. Karast’s Double Hat fits perfectly since all three of your abilities are physical, granting a huge flat damage boost while refunding costs to let you spam daggers endlessly. For armor, the Duelist Coat is a natural fit, increasing arrow count for even more value out of Some Motivation, while also boosting hipfire damage—the way you’ll be firing almost all of your shots on nightmare. The All-Mother’s Copse amulet strengthens your tool synergy, enhancing both bombs and turret damage while generating even more momentum for Explosive Daggers. Rings like Graven Opal and Biting Thumb stack raw ranged and barrier/armor damage to keep every shot lethal. A Twin Buckle Binding belt fills the last slot with steady sustain and an ability damage bump while Quickened is active.
Weapon choices are equally tuned toward keeping the barrage flowing. Audacity is the heavy-hitter sword, converting your arrow supply into massive damage swings if you ever go into melee, while Aeronai Talon is more subtle—providing permanent necrotic weapons that apply to your bow, stacking with the build’s natural necrotic output. The star is the Grip and Rip bow, which fires three arrows at once, drastically amplifying Some Motivation scaling and flooding the battlefield with damage. With this trio, every input—daggers, traps, arrows, or bombs—feeds into overwhelming pressure that never relents.
How to Play Late Game
Once you unlock Explosive Daggers, the entire build crystallizes. This becomes your main button — spam it on cooldown, and the rest of your kit exists to keep it available forever. Daggers cost momentum, but both Explosive Trap and Fortune’s Turret are tool abilities that constantly feed momentum back through the Rolling Momentum passive. Between them and Kas’s Double Hat refunds, you’ll rarely, if ever, run dry.
Your loop looks like this:
- Open fights with a few charged bow shots to weak points if safe.
- Cast Explosive Daggers immediately, ideally targeting barriers or priority enemies.
- Drop Fortune’s Turret to split aggro and generate sustain through lifesteal.
- Throw down Explosive Trap as soon as it’s available for momentum, stagger, and more AoE pressure.
- Weave in bow hip-fire constantly — Grip and Rip ensures this always contributes meaningful damage.
When it all comes together, the screen fills with detonations, enemies go flying, and you’re chaining explosions faster than they can respond. The invulnerability frames from dagger casts make you hard to kill, while turret lifesteal and belt healing top you off in the background.
For companions, standard party balance still applies — bring a Mage and a Warrior to maximize detonations. Davrin is a strong partner for the crit synergy and taunt, while Emer pairs perfectly with your necrotic damage package. But truthfully, the build doesn’t lean heavily on companions — you’ll be doing most of the work yourself.
Final Levels
|
Level |
Spell/Passive |
|---|---|
|
31 |
Explosive Daggers |
|
32 |
Providence |
|
33 |
Swift Death |
|
34 |
Conductive Shot |
|
35 |
Wrath |
|
36 |
Perserverance |
|
37 |
Blood Sucker |
|
38 |
Plague Arrow |
|
39 |
Come Prepared |
|
40 |
Calling the Shot |
|
41 |
Trick Shot |
|
42 |
Lightning Flask |
|
43 |
Burst of Speed |
|
44 |
Swift Rebuke |
|
45 |
Necessary Steps |
|
46 |
Rolling Momentum |
|
47 |
Siege Breaker |
|
48 |
Salt in the Wound |
|
49 |
Knockout |
|
50 |
Shellbreaker |
|
51 |
A Messy Death |
|
52 |
Poisonous Precision |
|
53 |
More is Better |
|
54 |
Strong Draw |
|
55 |
Archers Strength |
|
56 |
Underdog’s Bite |
|
57 |
Mortal Wounds |
|
58 |
Precision Shot |
|
59 |
Breathing Room |
|
60 |
Lightning Quiver |
|
61 |
Snipers Precision |
|
62 |
Underestimated |
|
63 |
Supercharged |
|
64 |
Determination |
|
65 |
Heartseeker |
- Every ability node is an extra 15% passive damage so we want to grab as many abilities as possible even if we are not using them
Build Snapshot
Related Builds
Support the Website
Thank you for choosing RPGael!
RPGael is kept ad-free so you can enjoy builds without distractions. If you’d like to support the site, you can donate through Ko-fi or check out the RedGael YouTube channel. Every bit of support helps keeps new content coming!

