
The Madman
Overview
Rogues in Dragon Age: Inquisition are known for their explosive burst damage, but no specialization pushes that concept further than the Artificer. The Dual Wield Artificer takes the Rogue’s natural strengths—speed, critical hits, and positioning—and layers on nearly limitless mobility and some of the strongest cooldown reduction mechanics in the game. The result is a build that feels like a whirlwind of steel and explosives, constantly flipping across the battlefield while covering the ground in bombs and knives.
Thematically, this build sits in a unique spot between pure assassin and chaotic demolitions expert. It isn’t just about stabbing enemies from stealth; it’s about chaining together a relentless series of grappling hooks, thrown blades, and elemental mines until everything around you is in pieces. Imagine Levi from Attack on Titan mixed with Spider-Man and a sack of grenades—that’s the Dual Wield Artificer in action.
This guide is written with Nightmare difficulty in mind, but it performs exceptionally well across every difficulty level. While the early game can feel like a slog, the payoff is enormous. Once you unlock the Artificer specialization and assemble the right gear, you’ll have one of the most versatile, damaging, and flat-out fun builds in the entire Dragon Age franchise.
Early Game
The truth is, Rogues start slowly in Inquisition. At the beginning of the game you won’t have the specialization abilities that make this setup shine, and your damage is more modest than you might expect. Early on, your focus is survival and picking off priority targets while letting companions absorb most of the heat.
During character creation, you’ll want to prioritize Dexterity first and foremost, as it directly fuels both your damage and your critical chance. Cunning should be your secondary focus, providing additional crit damage, and Constitution can be left lower since this is not a build designed to take hits. You’ll feel fragile at first, but once the specialization unlocks, the scaling from Dexterity and Cunning will turn you into a powerhouse.
For abilities in the first ten levels, stick to the basics. Twin Fangs and Backstab form your bread-and-butter assassination combo. Flank Attack is excellent for repositioning, and it gives you reliable access to enemy weak points. Spinning Blades provides a stamina-intensive way to deal some area damage earlier than most Rogues, though it really shines more as part of your later toolkit once crit-based stamina regeneration comes online.
Stealth should be used carefully—it’s not a sustained playstyle in this build, but it is your insurance button in the early game. Use it to disengage when things get hairy, or to line up high-value backstabs against enemy archers and mages. In terms of equipment, the early game is all about crafting. Drop materials into whatever armor gives you the most defensive slots to help you survive, and craft daggers with crit chance and crit damage modifiers whenever possible.
The important thing to remember during this phase is that the Artificer is a late bloomer. You are not the star of the show in the Hinterlands. Your job is to pick off squishy enemies, assist with damage, and get to level ten so you can unlock the specialization and start playing the real build. Once that happens, everything changes.
Early Levels
|
Level |
Spell/Passive |
|---|---|
|
2 |
Flank Attack |
|
3 |
Skirmisher |
|
4 |
Bloodied Prey |
|
5 |
Unforgiving Chain |
|
6 |
Spinning Blades |
|
7 |
Dance of Death |
|
8 |
Sneak Attack |
|
9 |
Caltrops |
|
10 |
Neverending Spin (Spinning Blades) |
Equipment
|
Item |
Details |
|---|---|
|
Primary Weapon  Stone Stalker Blade |
Provides +15% bonus damage and additional status effects |
|
Helmet  Superior Skirmisher Hat |
More then doubles your damage at the cost of additional mana |
|
Armor  Superior Prowler Armor |
Additional fire damage and mana resource |
|
Ring 1  The Hand that Cuts |
Provides +30% damage from having all blast abilities and refunds 25% of mana cost on impact |
|
Ring 2  Ring of Slicing |
The best armor piece in The Veilguard, provides longer advantage duration, +10% damage for EVERY advantage (you will typically always have 3+), makes the advantages more effective and most importantly heals you for +5% when gaining an advantage which will offset the self damage of Maw of the Black City |
|
Amulet  The Eye that Weeps |
Makes your abilities a guaranteed critical hit at the cost of our health, this issue is completely negated by Garb of Kinship & Twin Buckle Binding |
|
Belt  The Bind that Guides |
Extra Fire Damage |
Equipment Overview
The gear choices for the Dual Wield Artificer push its crit-heavy, stamina-refilling playstyle to the absolute maximum. Unlike the early game, where you want defensive armor to survive, the endgame is all about stacking offense.
For armor, the best option is Superior Prowler Armor paired with a Superior Skirmisher Hat. Both pieces offer the offensive and utility slots needed to stack Dexterity, Cunning, crit chance, and crit damage. Because the build thrives on keeping stamina topped off through crits, these stats are far more important than defensive bonuses. In essence, the more offense you build, the safer you become, since enemies won’t survive long enough to threaten you.
For weapons, the goal is to secure daggers that push your damage as high as possible. The Stone Stalker Blade is the premier choice thanks to its raw power, but because it can’t be acquired until deeper into the game, most players will use the Blade of Red Birth from the Black Emporium for the majority of their playthrough. Either way, you want dual daggers with crit chance and crit damage modifiers, as those stats fuel your entire kit.
Accessories round out the build. Rings like Superb Critical Chance and Superb Critical Damage stack beautifully with the passives, while amulets that boost Dexterity further sharpen your damage output. Belts that provide extra resistances can be situationally useful, but most of the time you’ll want to lean into offense—your best defense is killing everything around you before it has a chance to respond.
The end result is a gear setup that amplifies everything the build already does well: rapid crits, endless stamina, and devastating explosions. Once you’re fully geared, the combat loop becomes seamless, letting you bounce from target to target without ever slowing down.
How to Play Late Game
The moment you take Artificer, the Dual Wield Rogue completely transforms. Instead of playing a careful assassin who picks her moment, you become a high-mobility demolitionist who is always in the thick of the fight. Your new core rotation revolves around four abilities: Elemental Mines, Hook and Tackle, Throwing Blades, and Spinning Blades. Together, these give you answers to every situation while keeping your stamina bar refilled almost constantly.
Elemental Mines is the centerpiece. With a single cast you scatter bombs across the battlefield, each carrying a different elemental payload. Fire burns, ice freezes, and electricity stuns—sometimes all at once. Mines deal massive damage and control huge zones of the battlefield, forcing enemies to either stumble through explosions or stand helplessly in your kill zone. With the upgrade, you can throw them until you’re out of stamina, which combined with Artificer passives means you can essentially turn every fight into a fireworks show.
Hook and Tackle is the tool that keeps you constantly on the move. With it, you zip across the battlefield, grapple onto a target, and deliver a vicious kick to open the engagement. With the upgrade, it costs no stamina and has no cooldown, which means you can use it to engage, disengage, or simply reposition endlessly. It’s also what makes this build feel like Levi—darting from one enemy to the next with no downtime.
Throwing Blades rounds out your kit by giving you reliable ranged pressure. Each cast sends out a flurry of daggers that not only deal strong single-target damage but also sunder armor, making the target far more vulnerable. On tougher enemies this is a massive boost, and against weaker enemies it’s often enough to finish them before they can retaliate.
Spinning Blades brings back the Rogue’s AoE pressure. When used in the middle of a group, it delivers multiple rapid strikes, applying huge damage while also generating a flurry of critical hits. This ties directly into the key passive for the build: Looks Like It Hurt. Every critical hit restores stamina, and because Throwing Blades and Spinning Blades both hit multiple times in rapid succession, your stamina bar shoots back to full in seconds. This is the hidden engine that keeps Elemental Mines online forever—you’re constantly spending stamina to throw bombs and instantly regenerating it with crits.
The overall combat loop is fluid and satisfying. You’ll typically start fights by grappling in with Hook and Tackle, immediately littering the area with Elemental Mines, then using Spinning Blades on clustered enemies and Throwing Blades on stragglers or high-priority targets. By the time that cycle ends, your stamina will be back to full, and you’ll be ready to repeat. The flow feels less like a traditional Rogue and more like a constant storm of blades, bombs, and motion, never giving the enemy a chance to breathe.
Final Levels
|
Level |
Spell/Passive |
|---|---|
|
11 |
Looked like it hurt |
|
12 |
Spike Trap |
|
13 |
Set them up |
|
14 |
Elemental Mines |
|
15 |
Throw Everything |
|
16 |
And take them down |
|
17 |
Opportunity Knocks |
|
18 |
Hook and Tackle |
|
19 |
Cheap Shot |
|
20 |
Throwing Blades |
|
21 |
Precision Targeting |
|
22 |
It Beats Walking (Hook and Tackle) |
|
23 |
First Blood |
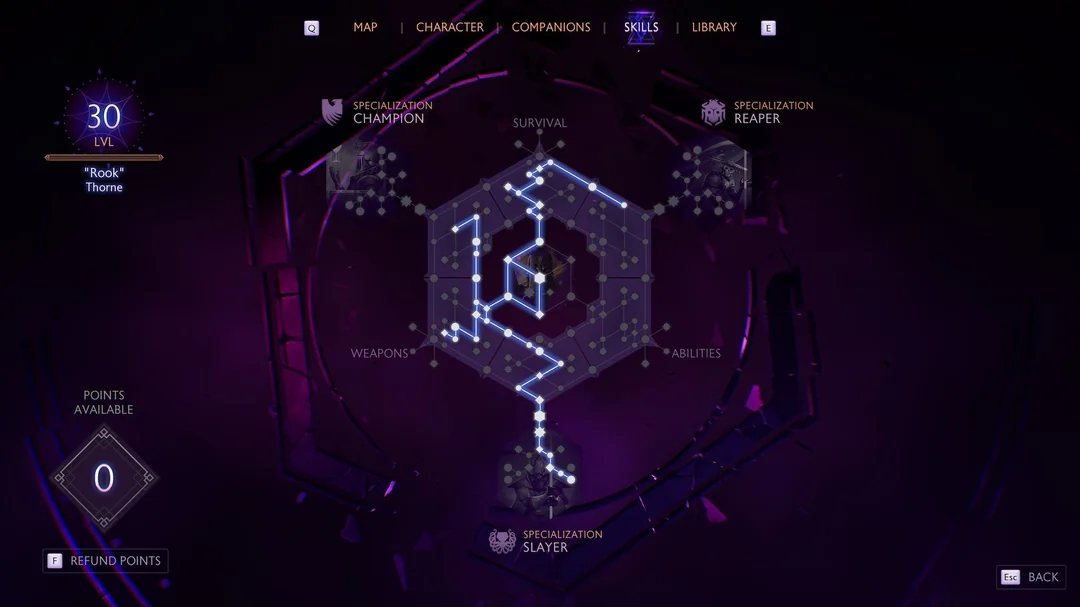
Build Snapshot
Related Builds

Support the Website
Thank you for choosing RPGael!
RPGael is kept ad-free so you can enjoy builds without distractions. If you’d like to support the site, you can donate through Ko-fi or check out the RedGael YouTube channel. Every bit of support helps keeps new content coming!

