
The Phantom
Overview
The Assassin Rogue is one of the most lethal playstyles in Dragon Age: Inquisition, designed for players who want to dominate from the shadows. This dual-wield setup thrives on stealth, critical hits, and sheer single-target burst damage, making it ideal for Nightmare difficulty where precision and execution matter most. Instead of wading into battle with brute force, you’ll slip into stealth, stalk your prey, and eliminate them before they can even react.
This build excels at picking off priority targets such as enemy mages and archers while avoiding retaliation. Through careful positioning and constant use of stealth resets, you become a phantom on the battlefield—untouchable, lethal, and endlessly effective. While the early game can feel weak as Rogue stats scale slowly, once Assassin specialization unlocks, the build transforms into a surgical killer capable of soloing even dragons.
The goal is simple: remain unseen, chain stealth into devastating backstabs, and use your tools to reset, execute, and vanish again. It’s a high-risk, high-reward playstyle that pays off with some of the most satisfying combat in the game.

Early Game
As with all Rogue builds in Inquisition, the early game is the hardest stretch. Your stats and equipment are underwhelming, and Rogues bring little outside of raw damage. Until Assassin specialization, you’ll be leaning on a handful of core abilities—Twin Fangs, Flank Attack, Death Blow, and Stealth—to survive and contribute.
Twin Fangs is your bread-and-butter opener, striking with both daggers for massive damage when hitting from behind. This should be your most frequent ability, as positioning behind enemies is crucial. Pair it with Flank Attack, which not only repositions you instantly but also grants stealth through its upgrade Skirmisher. This gives you a secondary way to drop aggro and line up another backstab if stealth is unavailable.
Stealth itself is the lifeline of this build. It allows you to disengage, reposition, and, most importantly, re-emerge with a 50% damage bonus. Everything in this build flows from timing your stealth reactivations—too early and enemies may still track you, too late and you’ll risk getting overwhelmed. A small delay after kills prevents the “stealth bug” where enemies can still lock onto you.
Finally, Death Blow executes enemies under 50% health and becomes one of your strongest abilities later, as it can chain kills and reset stealth cooldowns. With smart positioning, it also cleaves multiple foes at once.
For early equipment, prioritize crafted armor with utility and offensive slots. Since defense isn’t as important if you’re staying in stealth, focus on crit chance, crit damage, dexterity, and cunning. The early game will still feel slow compared to Warriors and Mages, but the payoff once specialization unlocks is enormous.
Early Levels
|
Level |
Spell/Passive |
|---|---|
|
2 |
Flank Attack |
|
3 |
Skirmisher (Flank Attack) |
|
4 |
Lost in the Shadows |
|
5 |
Ripping Fangs (Twin Fangs) |
|
6 |
Dance of Death |
|
7 |
Sneak Attack |
|
8 |
Deathblow |
|
9 |
Evasion |
|
10 |
Evade |
Equipment
|
Item |
Details |
|---|---|
|
Primary Weapon 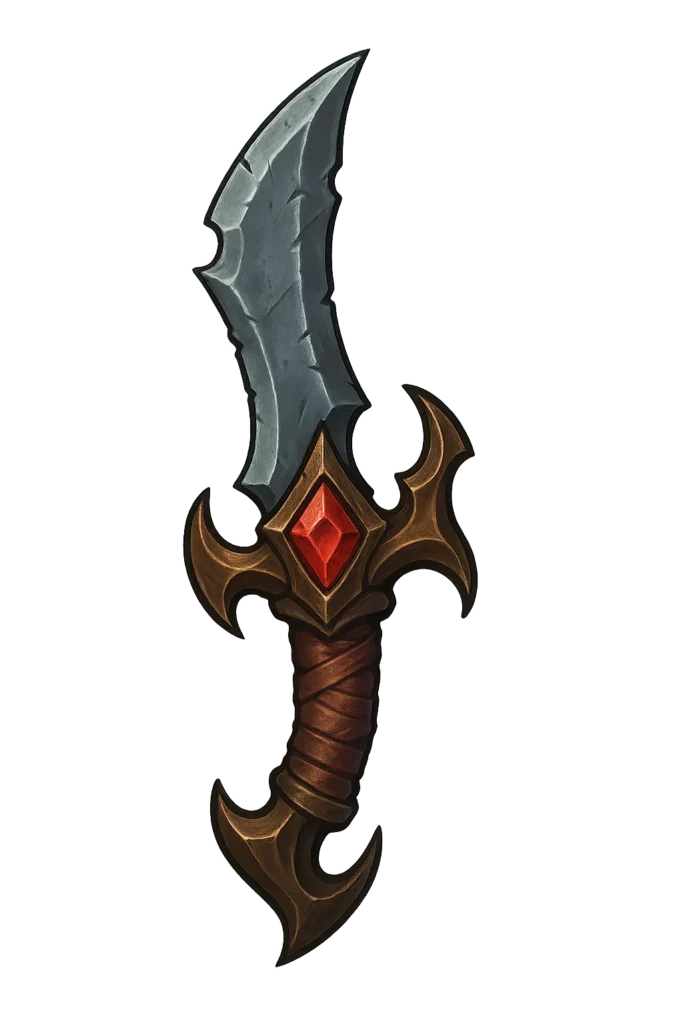 Stone Stalker Blade |
Provides +15% bonus damage and additional status effects |
|
Helmet  Superior Skirmisher Hat |
More then doubles your damage at the cost of additional mana |
|
Armor  Superior Prowler Armor |
Additional fire damage and mana resource |
|
Ring 1  The Hand that Cuts |
Provides +30% damage from having all blast abilities and refunds 25% of mana cost on impact |
|
Ring 2  Ring of Slicing |
The best armor piece in The Veilguard, provides longer advantage duration, +10% damage for EVERY advantage (you will typically always have 3+), makes the advantages more effective and most importantly heals you for +5% when gaining an advantage which will offset the self damage of Maw of the Black City |
|
Amulet 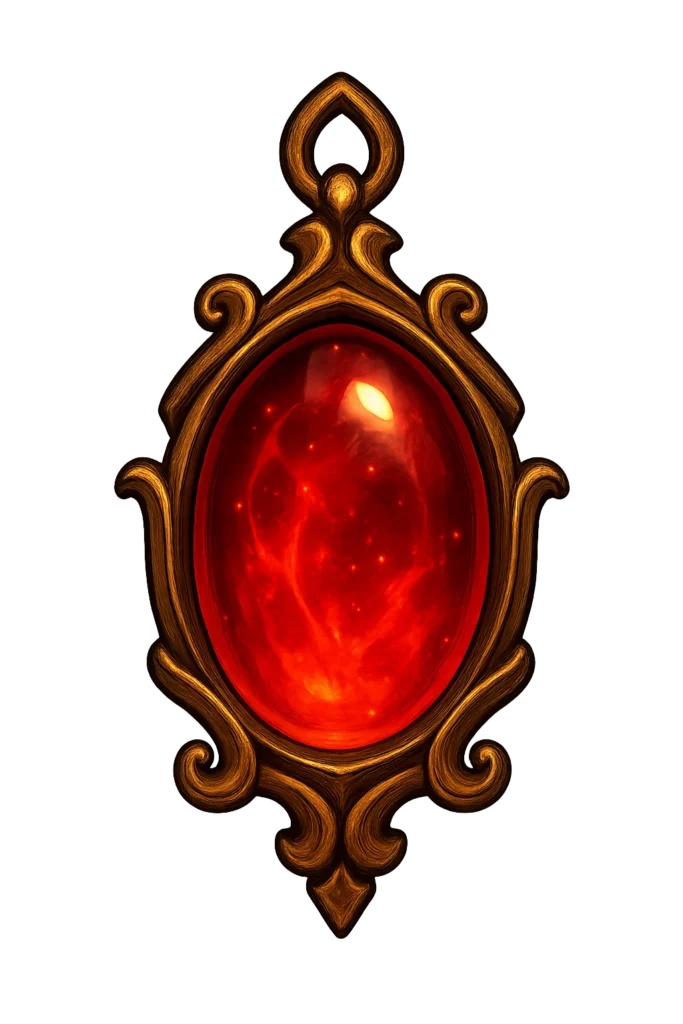 The Eye that Weeps |
Makes your abilities a guaranteed critical hit at the cost of our health, this issue is completely negated by Garb of Kinship & Twin Buckle Binding |
|
Belt 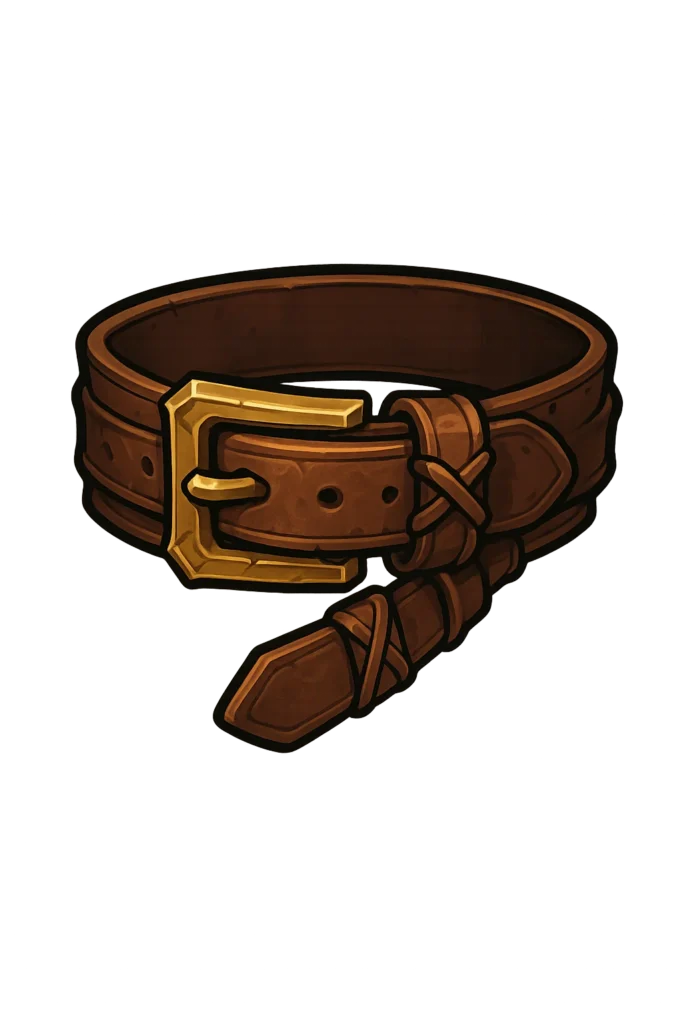 The Bind that Guides |
Extra Fire Damage |
Equipment Overview
For armor, go with Superior Skirmisher Hat and Superior Prowler Armor. These provide the best balance of utility and offensive slots. Since you’ll already be critting automatically from Knife in the Shadows, prioritize crit damage over crit chance to maximize numbers.
Weapons are the centerpiece of any dual-wield Rogue. The best option is the Stone Stalker Blades (from The Descent DLC), though their availability depends on RNG. Without DLC, your go-to is the Blade of Red Birth from the Black Emporium, a strong option for most of the game. Regardless of weapon, stack offensive masterworks and upgrades that boost damage over survivability—you should rarely be hit if you’re playing correctly.
For accessories, look to rings, amulets, and belts that enhance crit damage, dexterity, or stamina sustain. Survivability pieces are largely wasted here, as staying alive relies on your ability to chain stealth correctly.
By endgame, with optimized gear and Assassin specialization online, this Rogue becomes a nightmare to face. Whether dismantling dragons with Mark of Death combos or erasing enemy lines one by one, you’ll embody the purest version of the Assassin fantasy.
How to Play Late Game
Unlocking the Assassin specialization is where the build comes alive. With a few key active skills and passives, you shift from fragile backstabber to unstoppable phantom.
The highlight is Hidden Blades, one of the highest-damage single abilities in the game. When upgraded, it delivers multiple strikes for up to 900% weapon damage, often deleting enemies outright. Its cooldown is long, but used out of stealth it becomes a guaranteed kill tool every 30 seconds.
Mark of Death is your solution to high-health targets and dragons. It stores a portion of all damage dealt and detonates for devastating burst when reactivated. The trick is to manually detonate at around 7–8 seconds for maximum return rather than letting it expire. Against bosses, weaving Mark into your rotation massively accelerates kill times.
The passives here are just as important. Knife in the Shadows guarantees a critical hit every time you leave stealth, making every opener lethal. I Was Never Here resets stealth cooldowns on kill, effectively letting you chain stealth into every encounter. This combination means that as long as you keep landing kills, you’re virtually untrackable. Throatcutter rounds out the package, boosting execute damage as enemies get low.
Combat Flow
The final Assassin Rogue combat loop is straightforward but brutally effective:
- Open with Stealth, then backstab with Twin Fangs or Hidden Blades.
- Use Flank Attack to re-enter stealth mid-fight and chain another strike.
- Finish weakened enemies with Death Blow, resetting stealth for the next kill.
- Against bosses or dragons, start with Mark of Death, then cycle Twin Fangs → Flank Attack → Hidden Blades → Death Blow before detonating.
When executed properly, you’ll glide across the battlefield, assassinating one enemy after another with little chance for retaliation. It requires sharp timing and situational awareness, but few builds in Inquisition are as rewarding.
Final Levels
|
Level |
Spell/Passive |
|---|---|
|
11 |
Ambush |
|
12 |
Hidden Blades |
|
13 |
Overkill |
|
14 |
I Was Never Here |
|
15 |
Knife in the Shadows |
|
16 |
Mark of Death |
|
17 |
Mark of Doom (Mark of Death) |
|
18 |
Thrill of Victory (Deathblow) |
|
19 |
Throatcutter |
|
20 |
Caltrops |
|
21 |
Looked Like it Hurt |
|
22 |
Cheap Shot |
|
23 |
First Blood |
|
24 |
Explosive Shot |
|
25 |
Pincushion |
Build Snapshot
Related Builds

Support the Website
Thank you for choosing RPGael!
RPGael is kept ad-free so you can enjoy builds without distractions. If you’d like to support the site, you can donate through Ko-fi or check out the RedGael YouTube channel. Every bit of support helps keeps new content coming!

