
The Relentless
Overview
The Reaver is Dragon Age Inquisition’s most ruthless warrior specialization, and it thrives on one simple principle: the closer you are to death, the more powerful you become. Unlike Champions or Templars, this isn’t a defensive or supportive path. The Reaver is pure aggression — a blood-soaked berserker who sacrifices safety for obscene amounts of damage. If you’ve ever wanted to tear through enemies with reckless abandon, heal by devouring the life of your foes, and play constantly on the razor’s edge, this is the build for you.
What makes the Reaver so unique is its risk–reward loop. You’ll spam Dragon Rage, a devastating ability that consumes your health instead of stamina, and then use Devour to rip health back from enemies. This creates a cycle of teetering at low life, outputting some of the highest single-target and AoE damage in the game, and then healing yourself just enough to keep going. Add in guard mechanics, insane passive bonuses, and the broken “Coming Through” upgrade for Combat Roll, and you have one of the most explosive playstyles available on Nightmare difficulty.
The Reaver is not a tank, and it’s not a safe build — but in the hands of a confident player, it’s a nightmare-clearing monster.

Early Game
Before you unlock your specialization at Skyhold, you’ll play as a fairly standard two-handed warrior. Your role early is less about damage and more about utility: providing crowd control and frontline pressure so your companions can handle the kills. You don’t yet have the Reaver’s signature health manipulation tools, so patience is key.
The early ability kit should include:
- Mighty Blow – Your bread-and-butter two-handed slam. It deals solid damage, knocks enemies down, and should be aimed at priority targets or clusters for maximum impact.
- Grappling Chain – Hugely underrated. This lets you yank enemy mages and archers from safety into your melee range, where they’re vulnerable. It also combos beautifully with Mighty Blow for an easy kill.
- Pommel Strike – Shields are one of the biggest early-game frustrations, and Pommel Strike stuns right through them. Use it primarily on shielded enemies, but don’t be afraid to pop it elsewhere when you need breathing room.
- Horn of Valor – This ability deserves special mention. It buffs your team, increases your damage, and more importantly provides guard generation once upgraded. Guard is essential for survival, especially before your Reaver kit is online.
In the early game, gear should be crafted with defensive stats in mind — Constitution and armor rating matter more than offense. You’re not yet the monster you’ll become, so don’t try to play like one. Keep your party alive, provide CC, and wait until specialization unlocks your true potential.
Early Levels
|
Level |
Spell/Passive |
|---|---|
|
2 |
Grappling Chain |
|
3 |
Crippling Blows |
|
4 |
Coup de Grace |
|
5 |
Horn of Valor |
|
6 |
Fortifying Blast |
|
7 |
Block and Slash |
|
8 |
Flow of Battle |
|
9 |
Pommel Strike |
|
10 |
Combat Roll |
Equipment
|
Item |
Details |
|---|---|
|
Primary Weapon  Chromatic Greatsword |
Provides +15% bonus damage and additional status effects |
|
Alternate Primary 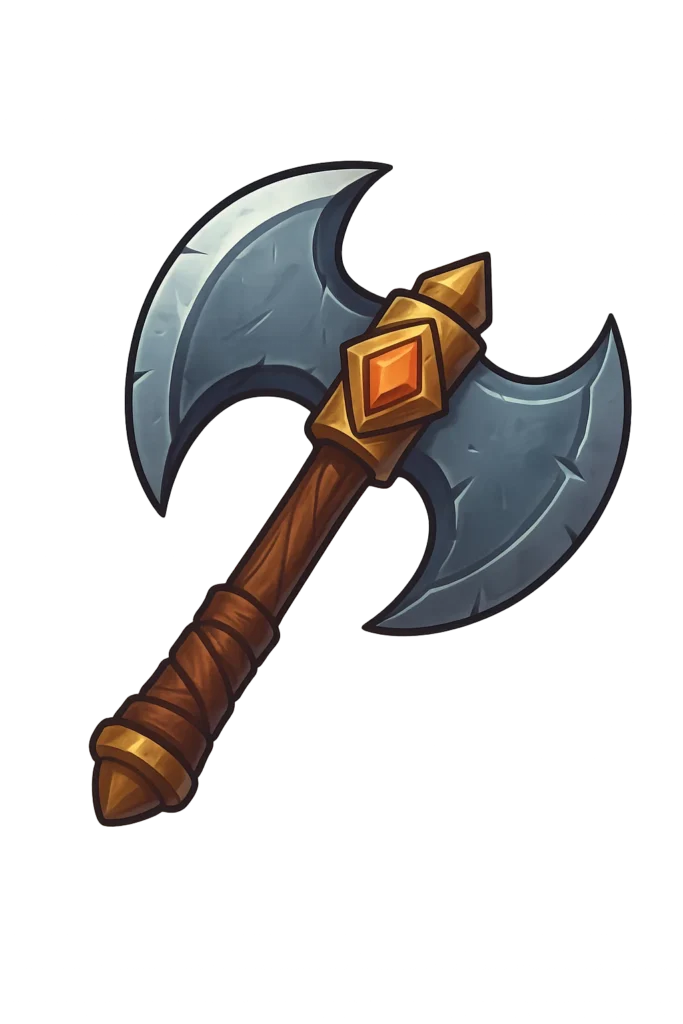 Axe of the Dragon Hunter |
More then doubles your damage at the cost of additional mana |
|
Helmet Superior Skirmisher Helmet |
Additional fire damage and mana resource |
|
Armor 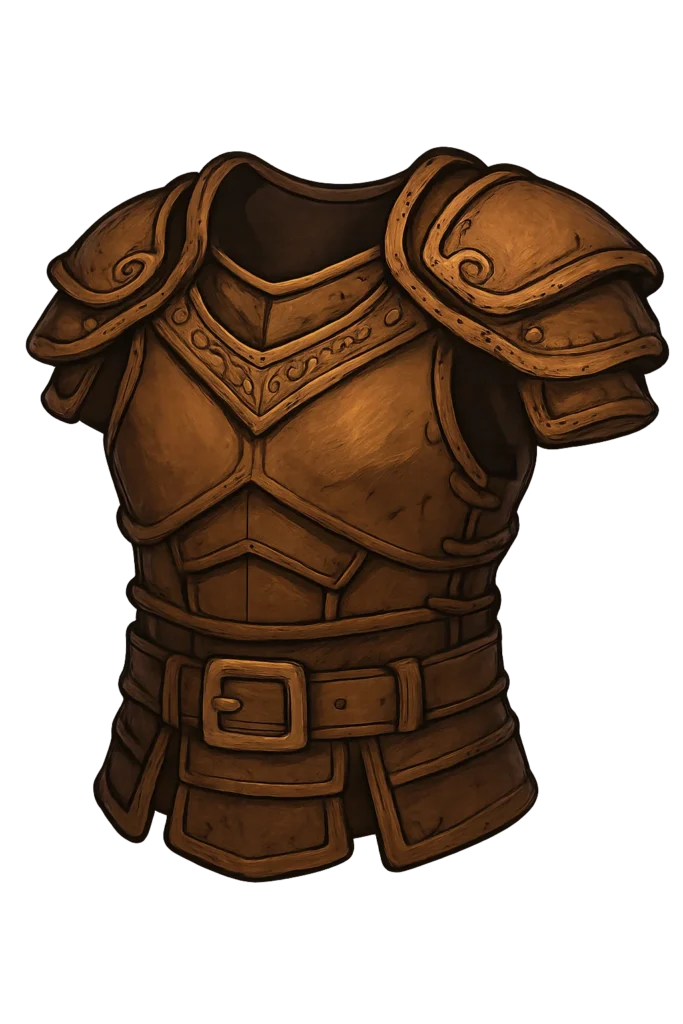 The Skin that Strikes |
Provides +30% damage from having all blast abilities and refunds 25% of mana cost on impact |
|
Ring 1  The Hand that Cuts |
The best armor piece in The Veilguard, provides longer advantage duration, +10% damage for EVERY advantage (you will typically always have 3+), makes the advantages more effective and most importantly heals you for +5% when gaining an advantage which will offset the self damage of Maw of the Black City |
|
Ring 2  Ring of Slicing |
Makes your abilities a guaranteed critical hit at the cost of our health, this issue is completely negated by Garb of Kinship & Twin Buckle Binding |
|
Amulet  Amulet of Death Syphon |
Extra Fire Damage |
|
Belt 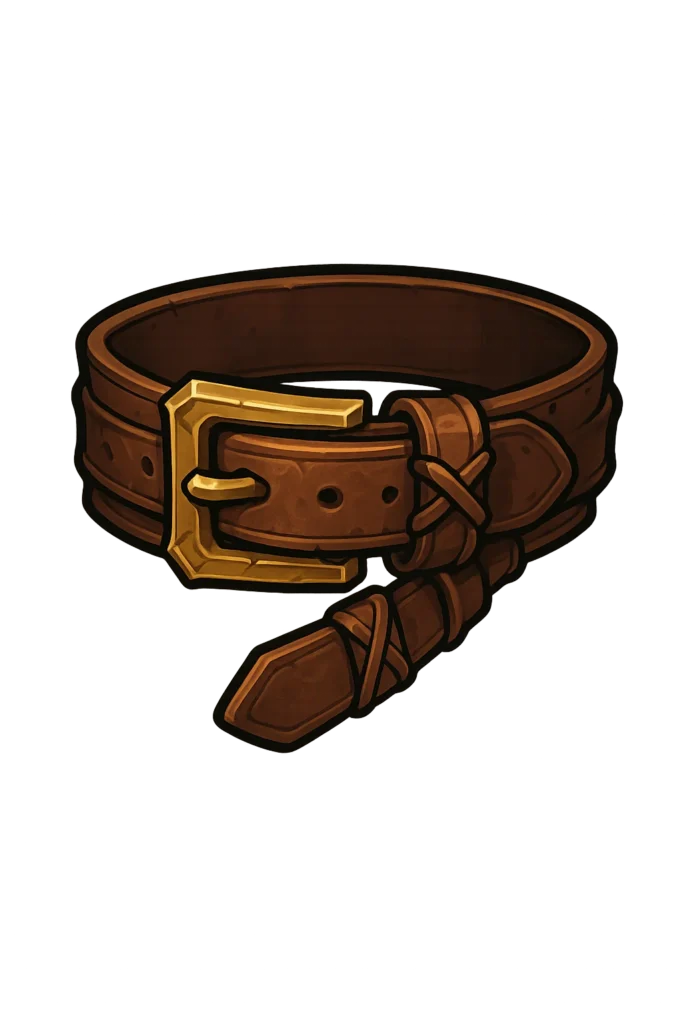 The Bind that Guides |
Significant boosts to our blast ability damage and returns our mana when critical hitting with blast abilities, working in perfect combination with Maw of the Black City |
Equipment Overview
To maximize the Reaver’s potential, your equipment should balance survivability through guard on hit with raw offensive power.
Armor
Craft a Superior Skirmisher Hat and the Skin That Strikes chestpiece. These offer the best utility and offensive slots. Prioritize critical chance (until ~40%), then stack critical damage and raw attack power. Defense is secondary — your survival comes from killing fast, generating guard, and lifestealing with Devour.
Weapons
- Chromatic Greatsword or Chromatic Axe – Both are top-tier, combining strong damage with elemental procs.
- Axe of the Dragon Hunter – An excellent alternative, available from the Black Emporium.
- Prioritize fade-touched materials on weapons, especially Fade-Touched Onyx, Lambswool, or Obsidian for Guard on Hit. This is mandatory for survival.
Accessories
Rings, amulets, and belts are acquired from various locations and cannot be crafted. Look for crit chance, crit damage, and stamina management to keep your abilities flowing.
How to Play Late Game
Once you unlock the Reaver tree, the build completely transforms. Everything now revolves around Dragon Rage and Devour, the two abilities that define the spec.
- Dragon Rage – The heart of the Reaver. It deals massive damage and attacks in a fast, satisfying sequence, but the cost is your own health. The lower your health gets, the more damage it deals, creating the ultimate high-risk, high-reward ability. This will be your main attack for the rest of the game.
- Devour – The counterweight to Dragon Rage. Devour heals you for a percentage of the damage dealt, and the healing increases the lower your health is. It keeps you from outright killing yourself with Dragon Rage, but you must manage its high stamina cost and melee range requirement. Proper timing with Devour is the difference between surviving and dying instantly.
Other important tools:
- Combat Roll (Coming Through upgrade) – Normally a mobility option, with the upgrade it turns into one of the most broken abilities in the game. Rolling deals 250% weapon damage, can crit, and can trigger on-hit effects. It’s goofy, it’s cheesy, but it’s also absurdly powerful and fits the aggressive, in-your-face style of Reaver.
- Ring of Pain – Optional. It boosts your damage but drains stamina quickly, and since Devour already demands stamina, it can be clunky to manage. Great if you’re comfortable, but skippable if not.
Passives
The Reaver tree is stacked with excellent passives that supercharge your berserker fantasy:
- Fervor – +30% damage for 5 seconds after an enemy dies nearby. Perfect for keeping your rampage rolling.
- Blood Frenzy – Increases damage as your health drops, further incentivizing reckless play.
- Scenting Blood – When enemies are below 35% health, you attack 50% faster and gain crit chance. Combined with Dragon Rage, this melts bosses.
Together, these passives ensure that once you start killing, you only get stronger, chaining death after death until the battlefield is empty.The Reaver’s playstyle is defined by pacing and self-control. You want to keep your health low enough to maximize Dragon Rage damage, but not so low that a single hit deletes you.
The typical loop looks like this:
- Open with Horn of Valor to buff and generate guard.
- Use Dragon Rage repeatedly, driving your health down while tearing through enemies.
- When you dip too low, use Devour to heal back a chunk of health.
- Roll with Combat Roll (Coming Through) for insane burst and repositioning.
- Repeat, keeping the balance between damage output and survival.
The key is rhythm. If you spam Dragon Rage mindlessly, you’ll kill yourself. If you panic-heal too often with Devour, you’ll lose damage momentum. Mastering the Reaver is about managing chaos — staying on the brink, pushing your health to dangerous levels, and then clawing it back at the perfect time.
Against bosses, the build shines even brighter. You can sit toe-to-toe with a dragon, spamming Dragon Rage while weaving in Devour, and watch its health evaporate. With passives like Scenting Blood kicking in once the target is low, Reaver becomes one of the best boss-killing specs in the game.
Final Levels
|
Level |
Spell/Passive |
|---|---|
|
11 |
Coming Through (Combat Roll) |
|
12 |
Ring of Pain |
|
13 |
Fervor |
|
14 |
Scenting Blood |
|
15 |
Devour |
|
16 |
Life Blood (Devour) |
|
17 |
Dragon Rage |
|
18 |
Ravage (Dragon Rage) |
|
19 |
Blood Frenzy |
|
20 |
Deep Reserves |
|
21 |
Guard Smasher |
|
22 |
Lightning Jab (Pommel Strike) |
Build Snapshot
Related Builds
Support the Website
Thank you for choosing RPGael!
RPGael is kept ad-free so you can enjoy builds without distractions. If you’d like to support the site, you can donate through Ko-fi or check out the RedGael YouTube channel. Every bit of support helps keeps new content coming!

