Solas Guide
Overview
Solas is the backbone of many Nightmare teams in Dragon Age: Inquisition. While he’s divisive as a character, from a pure gameplay perspective, he is the strongest mage companion you can bring. The reason is simple: he has access to both the universal mage tools every team needs and the most powerful support specialization in the game, Rift Mage. Where other mages can lean into necromancy or firepower, Solas brings something that feels custom-designed for difficult playthroughs: crowd control, debuffing, and battlefield manipulation that directly protect the party.
The most important thing a mage brings on Nightmare is the Barrier spell. With properly timed barriers, squishy rogues and warriors can survive hits that would otherwise one-shot them. This alone makes any mage valuable, but Solas elevates the role beyond just shielding. Rift Mage revolves around the Weaken status effect, which lowers enemy damage by a flat 25%. Combined with Barrier, this means enemies not only struggle to break your defenses but deal a quarter less damage when they do. On higher difficulties where attrition kills most parties, this effect is game-changing.
The Rift Mage toolkit also provides constant disruption. Stonefist is a spammable, hard-hitting projectile that doubles as a knockback tool. Veil Strike flattens entire groups of enemies while applying Weaken across the board. These abilities let Solas shut down dangerous foes on command, whether it’s preventing an archer from lining up a shot or toppling a cluster of demons before they can swarm the tank. In player hands, Pull of the Abyss is one of the strongest spells in the game, grouping enemies for devastating area combos. The AI unfortunately misuses it, but even without relying on it, Solas has more than enough tools to define fights.
Beyond control, Solas still contributes respectable damage. Arcane Barrage, Immolate, and his own Stonefist spam allow him to contribute steady DPS in between support casts. Unlike Dorian’s Necromancer tree, which focuses on delayed damage, Rift Mage immediately turns every spell into a mix of offense and defense. Every Stonefist isn’t just damage, it’s also a debuff. Every Veil Strike isn’t just a stun, it’s a team-wide survival boost. The layering of utility on top of raw damage is what makes Solas unique compared to other mage options.
When positioned correctly in the backline, Solas can carry an entire team through long fights. He’s not flashy — you won’t see him obliterate bosses with giant numbers — but he makes everyone else better. With Blackwall or Cassandra tanking, and a rogue like Sera or your Inquisitor pouring out damage, Solas fills the essential role of keeping the entire engine running. That mix of control, safety, and steady damage is what makes him the single most reliable companion mage for Nightmare.
Leveling
|
Level |
Spell/Passive |
|---|---|
|
1 |
Energy Barrage |
|
2 |
Barrier |
|
3 |
Energetic Defense (Barrier) |
|
4 |
Winters Grasp |
|
5 |
Peaceful Aura |
|
6 |
Energy Bombardment (Energy Barrage) |
|
7 |
Conductive Current |
|
8 |
Winter Stillness |
|
9 |
Immolate |
|
10 |
Flashpoint |
|
11 |
Clean Burn |
|
12 |
Veilstrike |
|
13 |
Punching Down (Veilstrike) |
|
14 |
Restorative Veil |
|
15 |
Stonefist |
|
16 |
Shatterstone |
|
17 |
Encircling Veil |
|
18 |
Firestorm |
|
19 |
Twisting Veil |
|
20 |
Smothering Veil |
Equipment
|
Item |
Details |
|---|---|
|
Primary Weapon Wrath of Lovias |
Provides +15% bonus damage and additional status effects |
|
Helmet  Superior Skirmisher Hat |
More then doubles your damage at the cost of additional mana |
|
Armor 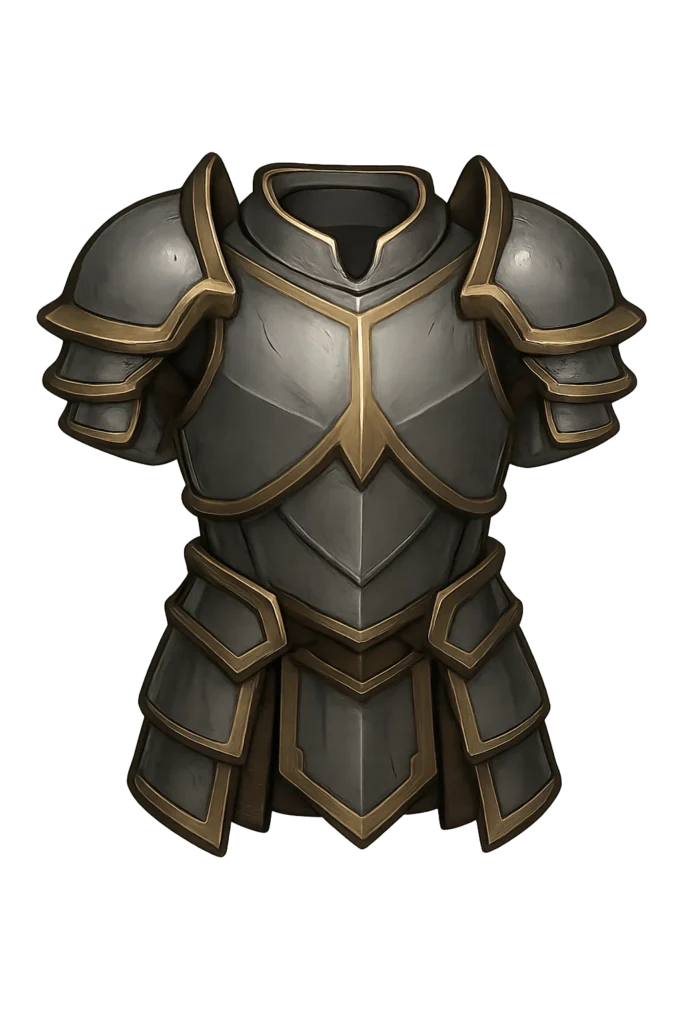 Superior Battlemage Armor |
Additional fire damage and mana resource |
|
Ring 1  Ring of Doubt |
Provides +30% damage from having all blast abilities and refunds 25% of mana cost on impact |
|
Ring 2  The Hand that Cuts |
The best armor piece in The Veilguard, provides longer advantage duration, +10% damage for EVERY advantage (you will typically always have 3+), makes the advantages more effective and most importantly heals you for +5% when gaining an advantage which will offset the self damage of Maw of the Black City |
|
Amulet  Andrastes Sacrifice |
Makes your abilities a guaranteed critical hit at the cost of our health, this issue is completely negated by Garb of Kinship & Twin Buckle Binding |
|
Belt 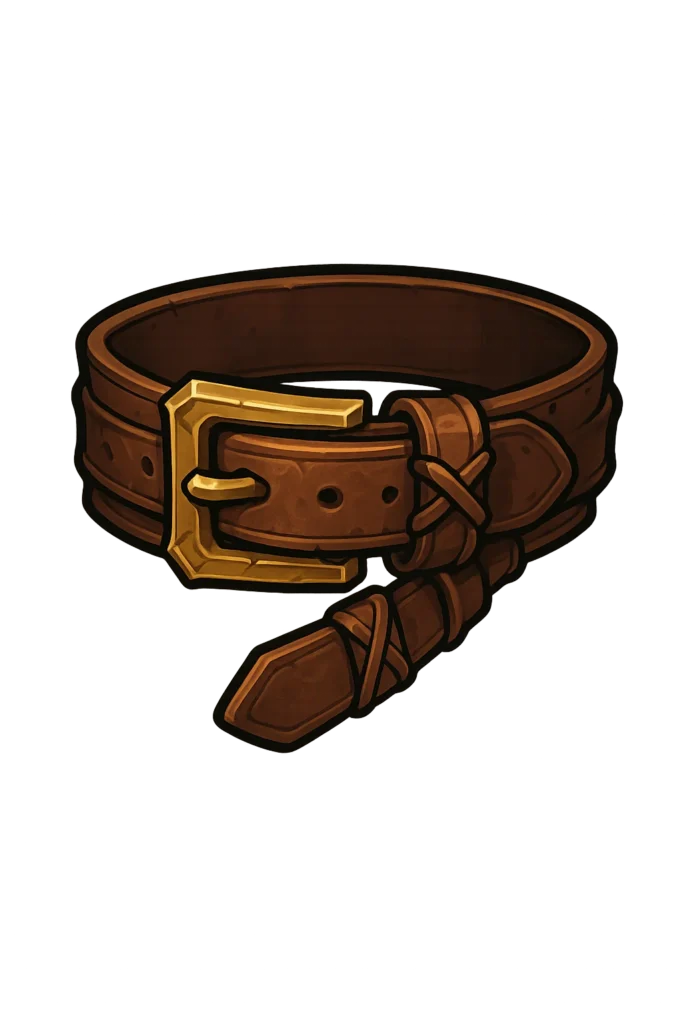 The Bind that Guides |
Extra Fire Damage |
Equipment Overview
Like most mages, Solas performs best when fully kitted in crafted gear. The priority is not survivability — his positioning and Barrier keep him safe — but cooldown reduction and offensive utility that let him spam spells as often as possible. A Superior Battlemage Coat with offensive and utility slots is the preferred armor choice, slotted with willpower, magic, and critical chance materials to maximize spell effectiveness. While Solas doesn’t rely heavily on critical hits, boosting crit chance alongside cooldown reduction makes Arcane Barrage and Immolate cycle faster and hit harder, giving him smoother damage output.
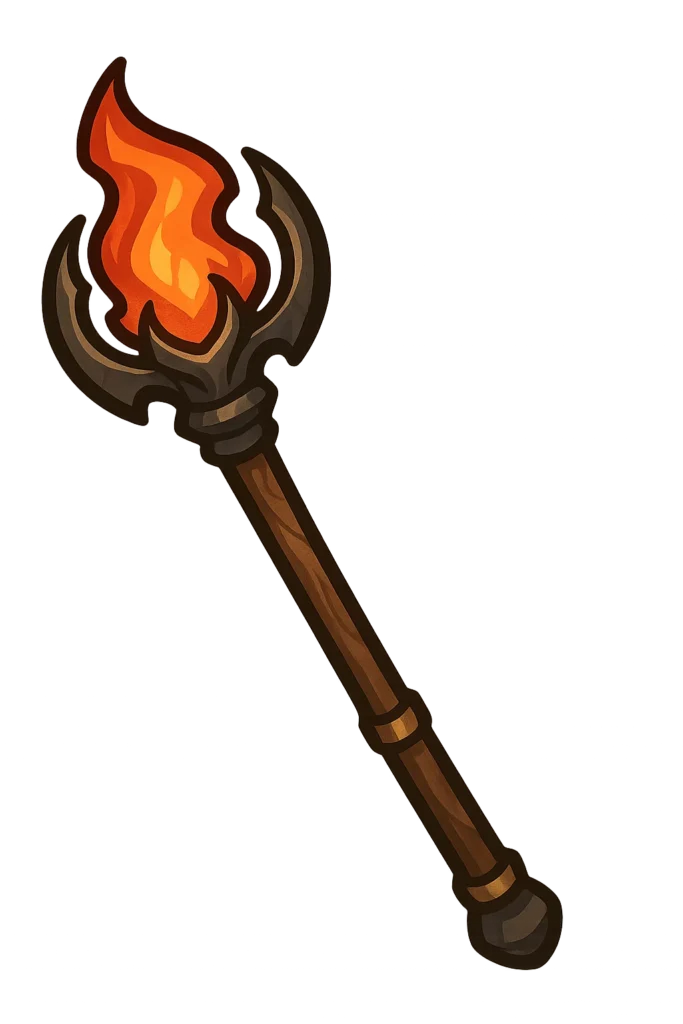
For his staff, crafted options such as Wrath of Lovias, Encore, or the Staff of Corruption are all excellent choices. Each provides strong base damage and useful rune slots, and they scale perfectly with his backline playstyle. Runic choices like spirit or fire are ideal to complement his spell spread, but elemental flexibility is always a strength since he can swap depending on which enemies he’s facing.
Accessories finish off the kit. Rings that reduce cooldowns on Barrier or Stonefist give him more uptime on his most valuable tools. Belts that add spirit resistance or general defense can provide insurance against surprise spikes of damage, though in practice he rarely needs them if you keep barriers consistent. Amulets that add willpower or magic round things out, ensuring he scales with the rest of the party.
The key idea is that Solas doesn’t need to be built like a glass cannon or a pseudo-tank. His role is to constantly weaken enemies, lock them down, and keep the party standing. Gear that lets him cycle his spells more often does exactly that. With optimized equipment, Solas becomes a permanent safety net — a mage who guarantees your rogues and warriors have the space they need to finish fights on their own terms.
Support the Website
Thank you for choosing RPGael!
RPGael is kept ad-free so you can enjoy builds without distractions. If you’d like to support the site, you can donate through Ko-fi or check out the RedGael YouTube channel. Every bit of support helps keeps new content coming!

