
Blackwall Guide
Overview
Blackwall is the single most reliable companion in Dragon Age: Inquisition, and for good reason: the Champion specialization is the most overtuned tank design in the entire series. On Nightmare difficulty where survivability is everything, Blackwall offers something that no other character can replicate — permanent frontline stability. He isn’t here to deal damage, he isn’t here to provide utility, and he isn’t here to feel flashy. He is here to ensure your party never wipes, no matter how bad the odds may look. Once his specialization is unlocked, he becomes functionally immortal, creating a scenario where you and your damage-dealers have unlimited time to burn through enemies while he holds the line.
What makes him so unique is that his kit stacks layer upon layer of survivability in ways that most enemies simply can’t break through. The Champion passives alone immediately push him into a tier above Cassandra or Iron Bull for tanking. Abilities like Adamant, Line in the Sand, and Fortifying Blast provide consistent boosts to armor, guard, and enemy control. But the defining piece of his specialization is the passive Unyielding, which revives him instantly upon taking lethal damage and makes him immune for five seconds afterward. On paper, it’s already absurdly strong. In practice, it means that even if he is swarmed or mispositioned, enemies will need to kill him twice in under a minute, which is almost impossible in normal circumstances.
And then you add Walking Fortress. This ability is hands down the most broken tank button in the game. When activated, it makes Blackwall completely invincible for eight seconds — not resistant, not reduced, but immune to all incoming damage. It only has a thirty-two second cooldown, and the Siege Breaker upgrade lowers that timer every time Blackwall is attacked. Against large groups or bosses that hit him relentlessly, this cooldown reduction effectively gives Walking Fortress a fifty percent uptime. The result is simple: Blackwall is untouchable for half the fight and nearly impossible to finish off during the other half.
The overall playstyle is brutally straightforward but incredibly effective. Blackwall plants himself in the center of the fight, taunts everything, and lets his allies unleash damage without fear of reprisal. Unlike DPS-focused warriors such as Reaver or two-handed Iron Bull, he isn’t gambling with health to put up numbers. He is deliberately slow and methodical, built to withstand constant punishment. And unlike Cassandra, who can tank respectably, Blackwall’s unique kit allows him to completely nullify damage in ways that trivialize long encounters or rift fights. He turns Nightmare difficulty from a test of attrition into something far more manageable, making him arguably the most irreplaceable party member in the game.
Leveling
|
Level |
Spell/Passive |
|---|---|
|
1 |
Payback Strike |
|
2 |
War Cry |
|
3 |
Turn the Bolt |
|
4 |
Lunge And Slash |
|
5 |
Challenge |
|
6 |
Trust the Steel |
|
7 |
Warriors Resolve |
|
8 |
Shield Bash |
|
9 |
Cutting Words |
|
10 |
Call them out (Challenge) |
|
11 |
Call to Arms (War Cry) |
|
12 |
Turn the Blade |
|
13 |
Line in the Sand |
|
14 |
Resilience |
|
15 |
Unyielding |
|
16 |
Walking Fortress |
|
17 |
Siege Breaker (Walking Fortress) |
|
18 |
Untouchable Defense |
|
19 |
It’ll Cost You |
|
20 |
Bulwark |
|
21 |
Adamant |
|
22 |
To the Death |
|
23 |
En Garde (To the Death) |
Equipment
|
Item |
Details |
|---|---|
|
Primary Weapon 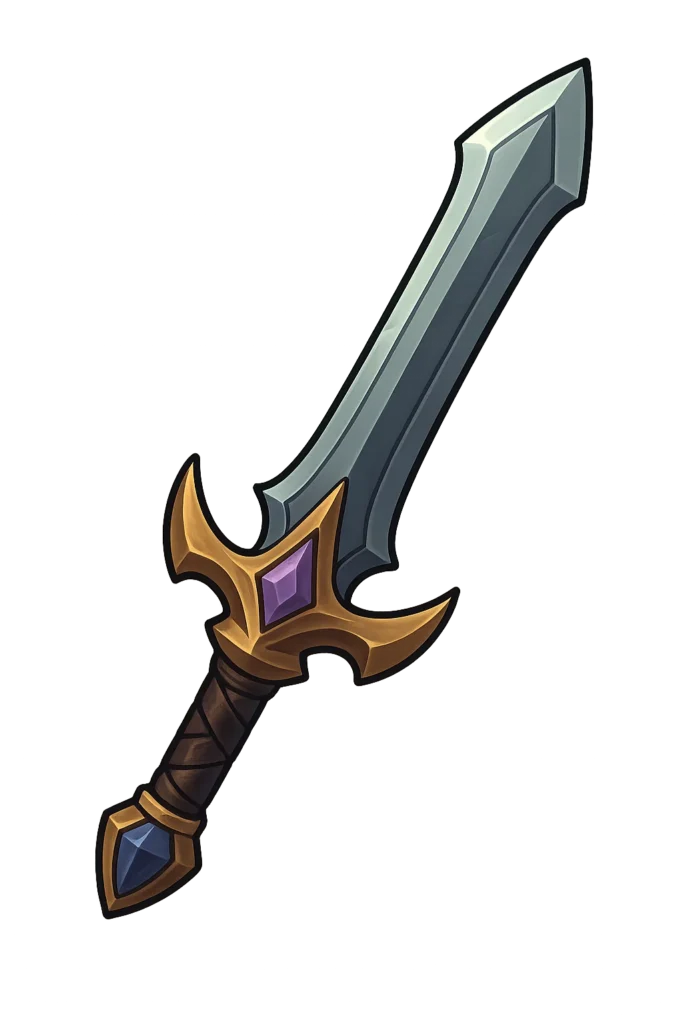 Revered Defender Longsword |
Provides +15% bonus damage and additional status effects |
|
Shield  Revered Defender Bulwark |
More then doubles your damage at the cost of additional mana |
|
Helmet Revered Defender Helm |
Additional fire damage and mana resource |
|
Armor 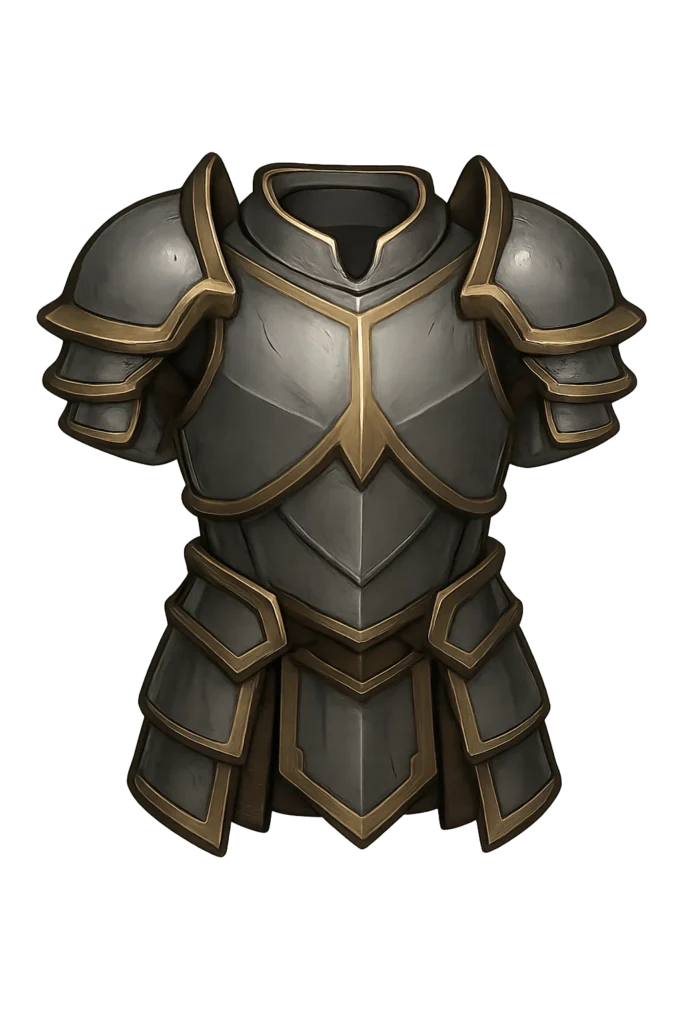 Revered Defender Armor |
Provides +30% damage from having all blast abilities and refunds 25% of mana cost on impact |
|
Ring  Superb Ring of Staggering |
The best armor piece in The Veilguard, provides longer advantage duration, +10% damage for EVERY advantage (you will typically always have 3+), makes the advantages more effective and most importantly heals you for +5% when gaining an advantage which will offset the self damage of Maw of the Black City |
|
Amulet 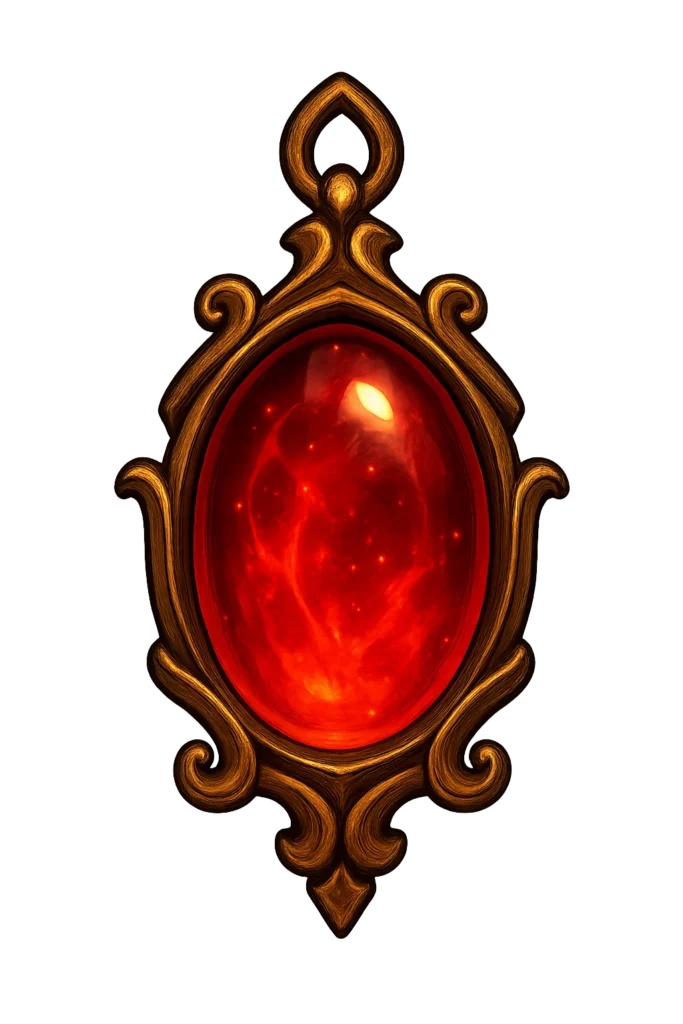 Master Cooldown Amulet |
Makes your abilities a guaranteed critical hit at the cost of our health, this issue is completely negated by Garb of Kinship & Twin Buckle Binding |
|
Belt 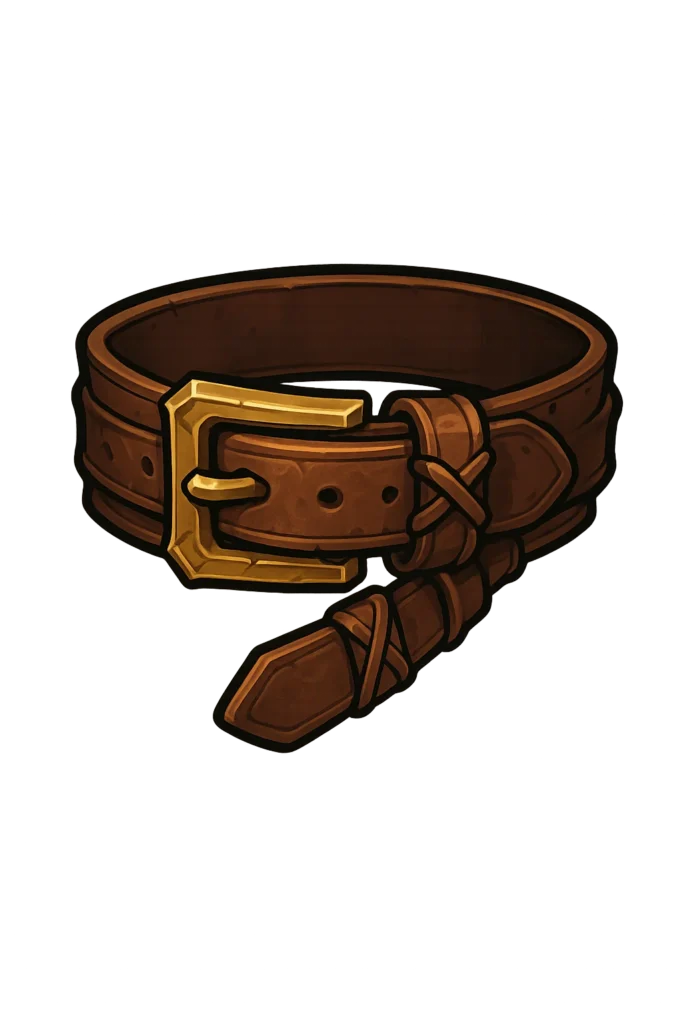 Master Guard Belt |
Extra Fire Damage |
Equipment Overview
Because Blackwall’s job is pure survival, his equipment loadout is extremely forgiving. He doesn’t need optimized gear to function at the highest level, which is part of what makes him so appealing. That said, maximizing his build does add consistency and further pushes him into absurd territory.
Blackwall should always use a sword and shield, as this complements his role as the team’s frontline anchor. A crafted shield with high guard-on-hit and constitution is the ideal choice, ensuring he layers even more defense every time he is struck. Weapons themselves are secondary to his abilities, but anything that provides stamina efficiency and additional guard generation works perfectly. The Chromatic Shield from the Descent DLC or a well-crafted dragonbone shield are both excellent options. For his sword, prioritize raw damage and defensive utility materials, but do not worry about squeezing every ounce of DPS out of it — his role is not to kill enemies but to absorb their attention.
When it comes to armor, crafted gear is again the best route. Superior Battlemaster Mail or any high-tier heavy armor with utility slots allows you to stack constitution, strength, and guard-on-hit bonuses. This build is one of the few where loading defensive materials into every slot is completely correct — Blackwall doesn’t need crit chance or damage multipliers, he just needs to be as unbreakable as possible. Accessories follow the same philosophy: belts that grant extra guard, amulets that increase maximum health, and rings that lower cooldowns on taunts or Walking Fortress keep him firmly unkillable.
The truth is that Blackwall’s equipment is more about redundancy than necessity. Even in mediocre crafted gear, his specialization ensures he will hold the line. But once you stack high constitution values, guard-on-hit materials, and reliable accessories, you essentially remove the possibility of failure. He becomes the perfect tank — one you can throw into any fight and forget about, confident that he will never fall.
Related Builds
Support the Website
Thank you for choosing RPGael!
RPGael is kept ad-free so you can enjoy builds without distractions. If you’d like to support the site, you can donate through Ko-fi or check out the RedGael YouTube channel. Every bit of support helps keeps new content coming!

