
The Invincible
Overview
The Arcane Warrior is widely considered the single strongest build in Dragon Age: Origins, and for good reason. It combines the raw damage of a mage with the durability of a front-line warrior, letting you walk through the game as a spell-slinging juggernaut. By the late game you’ll be running multiple sustained buffs that turn your mana pool into armor, resistances, and damage while swinging swords as if you were born with them. With access to both Arcane Warrior and Blood Mage specializations, this build is capable of shrugging off almost any threat, nuking enemy mages instantly, and locking down entire groups with devastating control spells. Whether you prefer to turtle behind a shield or dual-wield for maximum offense, the Arcane Warrior can do it all while being effectively unkillable all the way up to Nightmare difficulty.

Early Game
You begin as a standard mage, which means your survival depends on smart spell use and careful positioning until your specializations unlock. At character creation, invest primarily in Magic and Constitution, three points into Magic and two into Constitution at the start, then continue prioritizing Magic to scale your damage and eventual armor access. Constitution shores up your survivability until you fully transition into the Arcane Warrior.
The early spell package is Flame Blast, Glyph of Paralysis, and Fireball. Flame Blast gives you reliable damage with a quick cooldown, though it can easily wipe out your allies if you’re careless with its cone. Glyph of Paralysis is less about damage and more about survival — it freezes enemies in place, buying you breathing room to reposition or pelt them with staff attacks. Fireball rounds out the trio with explosive damage that deletes backline archers or clustered casters, but again be mindful of friendly fire.
A critical progression step is rushing the Brecilian Forest to unlock Arcane Warrior. Once you obtain it, your build shifts from a fragile mage into a melee warrior/mage hybrid. From there, the next goal is acquiring Blood Mage for additional sustain and the spell Blood Wound, either through Connor’s questline in Redcliffe or by purchasing it in Awakening. Until both specializations are secured, play cautiously, control enemies with Glyph and Fireball, and kite with staff attacks.
Early Levels
|
Level |
Spell/Passive |
|---|---|
|
2 |
2 Magic 1 Constitution – Weakness |
|
3 |
3 Magic – Flaming Weapons |
|
4 |
2 Magic 1 Constitution – Fireball |
|
5 |
3 Magic – Paralyze |
|
6 |
3 Constitution – Rock Armor |
|
7 |
1 Magic 2 Constitution – Miasma |
|
8 |
1 Magic 2 Constitution – Combat Magic |
|
9 |
1 Magic 2 Willpower – Mana Drain |
|
10 |
2 Magic 1 Constitution – Mana Cleanse |
Equipment
|
Item |
Details |
|---|---|
|
Primary Weapon 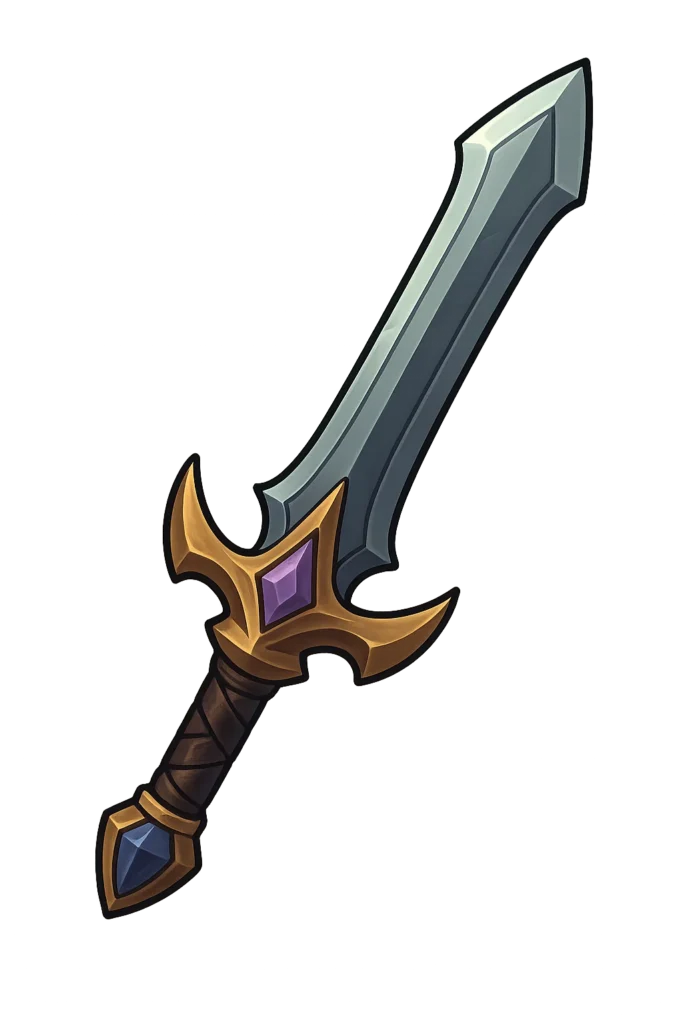 Maric’s Blade |
Provides +15% bonus damage and additional status effects |
|
Alternate Weapon Spellweaver |
More then doubles your damage at the cost of additional mana |
|
Shield  Maric’s Shield |
Additional fire damage and mana resource |
|
Helmet Helm of Honnleath |
Provides +30% damage from having all blast abilities and refunds 25% of mana cost on impact |
|
Armor  Evon the Great Mail |
The best armor piece in The Veilguard, provides longer advantage duration, +10% damage for EVERY advantage (you will typically always have 3+), makes the advantages more effective and most importantly heals you for +5% when gaining an advantage which will offset the self damage of Maw of the Black City |
|
Gloves 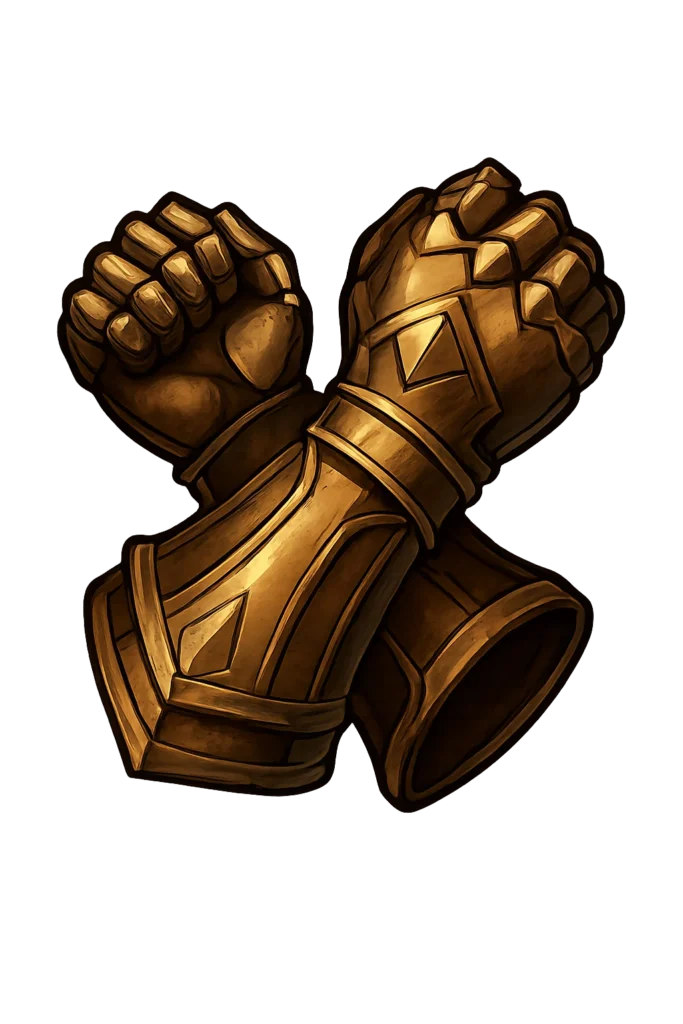 Wades Superior Heavy Dragonscale Gauntlets |
Makes your abilities a guaranteed critical hit at the cost of our health, this issue is completely negated by Garb of Kinship & Twin Buckle Binding |
|
Boots 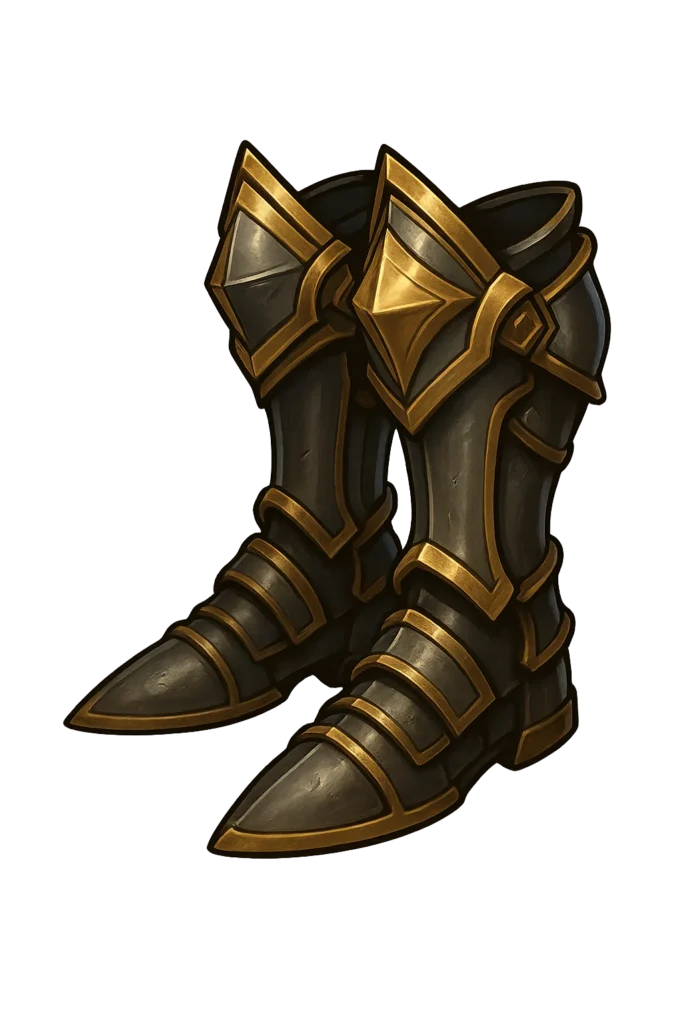 Wades Superior Heavy Dragonscale Boots |
Extra Fire Damage |
|
Ring 1  Lifegiver |
Significant boosts to our blast ability damage and returns our mana when critical hitting with blast abilities, working in perfect combination with Maw of the Black City |
|
Ring 2  Key to the City |
Extra healing and ability damage |
|
Amulet 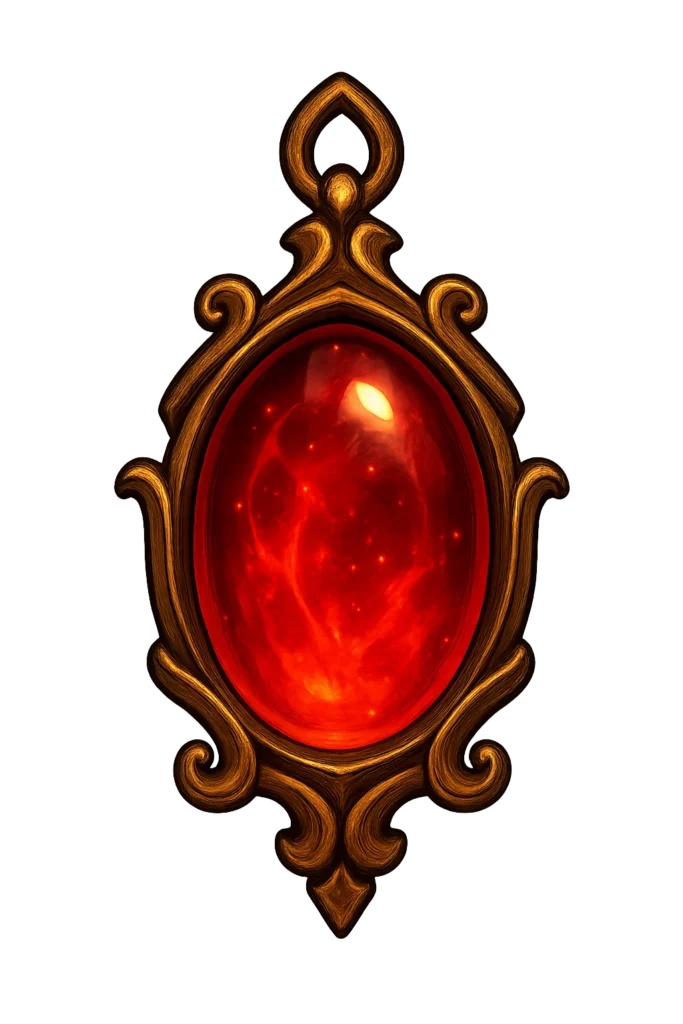 The Spellward |
|
|
Belt  Andruil’s Blessing |
Equipment Overview
The equipment setup pushes this build even further beyond.
Weapons & Shield. The standard approach is a one-handed weapon plus shield. The shield provides even more durability, while your sustained spells turn your mana pool into armor, resistances, and damage output. If you want a more aggressive playstyle, you can swap to dual swords to maximize offense, sacrificing some defense but still remaining durable thanks to your sustained buffs.
Armor & Accessories. With Arcane Warrior active, your high Magic stat allows you to equip heavy or massive armor without penalty, so go straight into the best defensive sets available. Pair this with amulets, belts, and rings that provide mana regeneration, resistances, or bonuses to spellpower. By the late game you’ll be stacking sustained spells like Rock Armor, Shimmering Shield, and Arcane Shield, making you practically untouchable while still outputting strong melee damage. Blood Mage further complements this by letting you fuel abilities with health instead of mana, ensuring you never run dry.
The end result is a character walking around in full plate armor, swinging like a warrior, but with the scaling and spell access of a mage. You become both a tank and damage dealer in one package.
How to Play Late Game
Once the Arcane Warrior is fully online, your spell bar is dominated by sustained spells: Shimmering Shield, Arcane Shield, Combat Magic, Rock Armor, and any elemental weapon buffs you prefer. These provide constant resistances, armor, and damage boosts without requiring active management. You effectively convert your mana pool into defense, making you harder to kill than any warrior build could possibly imagine.
The active abilities you keep are where the control and burst damage shine. Mana Clash instantly deletes enemy mages, making dangerous fights trivial. Combine it with Glyph of Paralysis for control, freezing entire squads before they can act. The capstone is Blood Wound, a massive AoE that deals heavy damage while stunning everything caught inside it. With Glyph, Blood Wound, and Fireball, you can lock down whole encounters while carving enemies apart in melee.
In terms of combat flow, you open fights by locking down groups with Glyph or Blood Wound, then rush into melee range with your sustained defenses active. Swing your weapon freely while layering Fireball or Flame Blast into clusters for extra damage. Against enemy casters, lead with Mana Clash to erase them instantly. Because Blood Mage allows you to spend health instead of mana, you maintain your sustained buffs indefinitely, only dipping into your life pool when casting big spells. Health regeneration, potions, and your sheer durability ensure that this cost never becomes a liability.
The endgame Arcane Warrior is a true one-man army: tank, crowd-controller, and nuker rolled into a single character. On Nightmare difficulty it trivializes encounters, allowing you to walk headfirst into fights that would overwhelm other builds.
Check the links below to browse more of the Best Builds for Dragon Age!
Final Levels
|
Level |
Spell/Passive |
|---|---|
|
11 |
3 Willpower – Spell Might |
|
12 |
1 Magic 2 Willpower – Mana Clash |
|
13 |
1 Magic 2 Constitution – Aura of Might |
|
14 |
2 Magic 1 Constitution – Shimmering Shield |
|
15 |
3 Magic – Blood Magic |
|
16 |
1 Magic 2 Willpower – Blood Sacrifice |
|
17 |
3 Magic – Blood Wound |
|
18 |
3 Magic – Heroic Offense |
|
19 |
1 Magic 2 Willpower – Heroic Aura |
|
20 |
3 Magic – Heroic Defense |
|
21 |
3 Magic – Haste |
|
22 |
3 Magic – Spell Wisp |
Build Snapshot
Related Builds
Support the Website
Thank you for choosing RPGael!
RPGael is kept ad-free so you can enjoy builds without distractions. If you’d like to support the site, you can donate through Ko-fi or check out the RedGael YouTube channel. Every bit of support helps keeps new content coming!

