
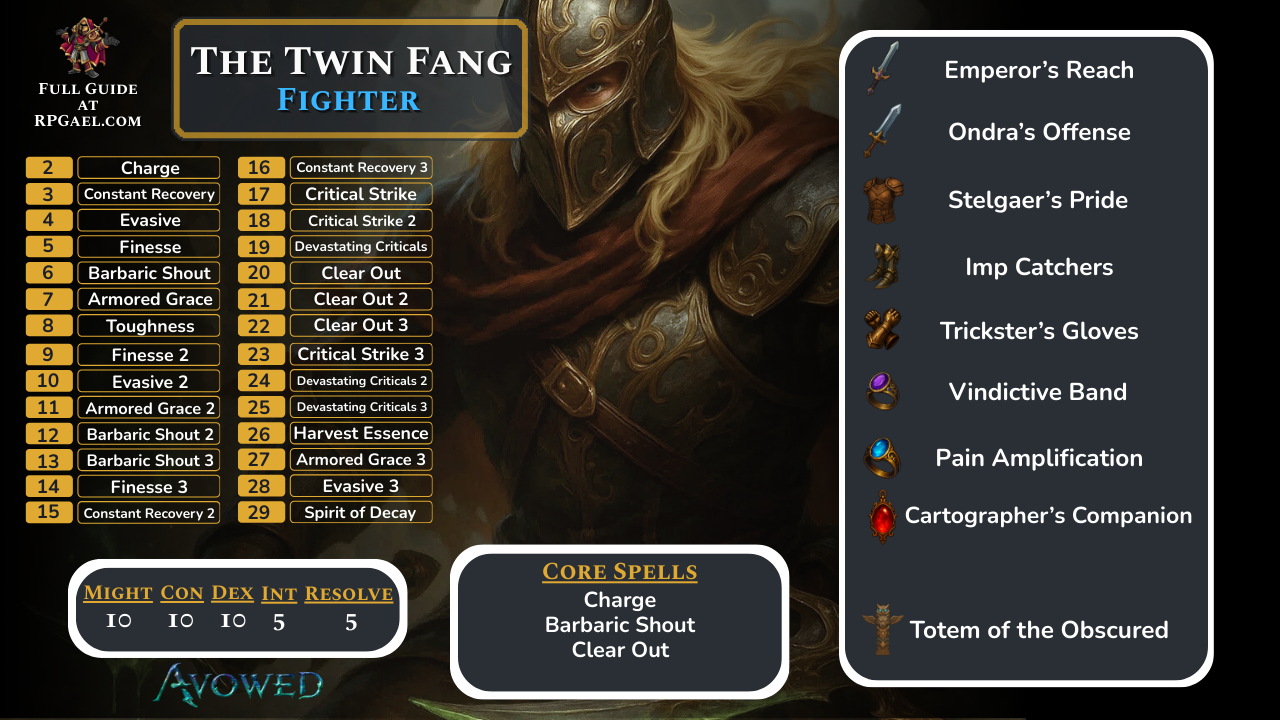
The Twin Fang
Overview
The Viper is a dual-wield assassin built around blistering speed, relentless crit chains, and stacking status to lock enemies down while you carve through them. Lean into Dexterity for attack speed, add Might so every swing hits like a truck, then round it out with Perception for crit rate and Resolve so your stamina never chokes your offense. Your core loop funnels foes into a stun–bleed–freeze blender: Barbaric Shout taunts and shields, Charge snaps you onto targets and knocks them off balance, and Clear Out erupts in three sweeping strikes that build accumulations and end in a knockdown. Pair that tempo with on-crit engines—totems and rings that add poison or frost—and your daggers turn every flurry into a status explosion that keeps packs helpless and bosses permanently under pressure.
Act 1
|
Might |
Constitution |
Dexterity |
Perception |
Intelligence |
Resolve |
|
3 |
0 |
3 |
1 |
0 |
3 |
Open fights by closing the gap instantly. Charge erases distance and trips your first target, giving you a free window to start your light–light–heavy rhythm. As bodies converge, hit Barbaric Shout to grab aggro, layer on a huge overshield, and spike your stagger output so incoming swings get stuffed before they land. While they’re funneled onto you, unleash Clear Out. The first two arcs stack crits and accumulations; the third swing plants everything on the floor. That knockdown is your green light to keep the blades running—reset on the nearest target, repeat the pattern, and let status ticks finish stragglers while you snowball to the next group.
The build’s damage and control both scale with pace. Fast attacks feed crits; crits proc your poison/frost package; poison shreds health while frost throttles movement and attack speed; the resulting hesitation makes future parries and dodges trivial. Don’t overextend into red telegraphs—one quick step, re-engage with Charge, and you’re back on script. Shout is your safety valve whenever the screen gets loud; Clear Out is the reset that turns chaos into advantage.
Early Levels
|
Level |
Spell/Passive |
|---|---|
|
2 |
Charge |
|
3 |
Constant Recovery |
|
4 |
Evasive |
|
5 |
Finesse |
|
6 |
Barbaric Shout |
|
7 |
Armored Grace |
|
8 |
Toughness |
|
9 |
Finesse II |
|
10 |
Evasive II |
|
11 |
Armored Grace II |
|
12 |
Barbaric Shout II |
|
13 |
Barbaric Shout III |
|
14 |
Finesse III |
|
15 |
Constant Recovery II |
Act 1 Equipment
|
Item |
Details |
|---|---|
|
Primary Weapon  Last Light of Day |
Provides +15% bonus damage and additional status effects |
|
Primary Weapon 2 Carnet’s Cutlass |
Additional fire damage and mana resource |
|
Armor  Stelgaer’s Pride |
The best armor piece in The Veilguard, provides longer advantage duration, +10% damage for EVERY advantage (you will typically always have 3+), makes the advantages more effective and most importantly heals you for +5% when gaining an advantage which will offset the self damage of Maw of the Black City |
|
Boots 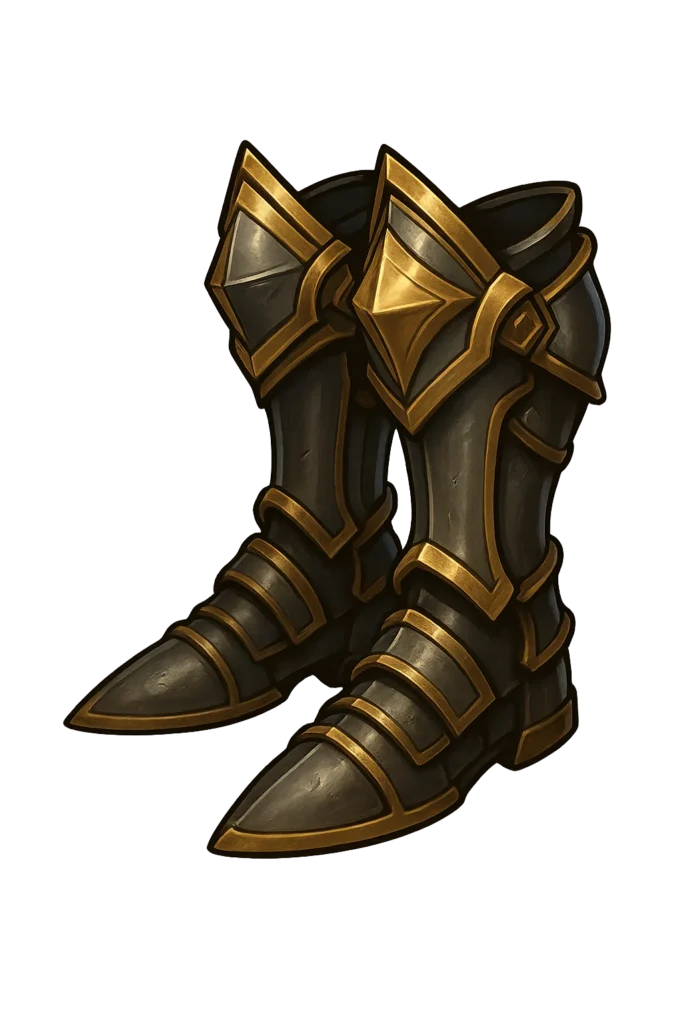 Eothasian Boots |
Makes your abilities a guaranteed critical hit at the cost of our health, this issue is completely negated by Garb of Kinship & Twin Buckle Binding |
|
Gloves 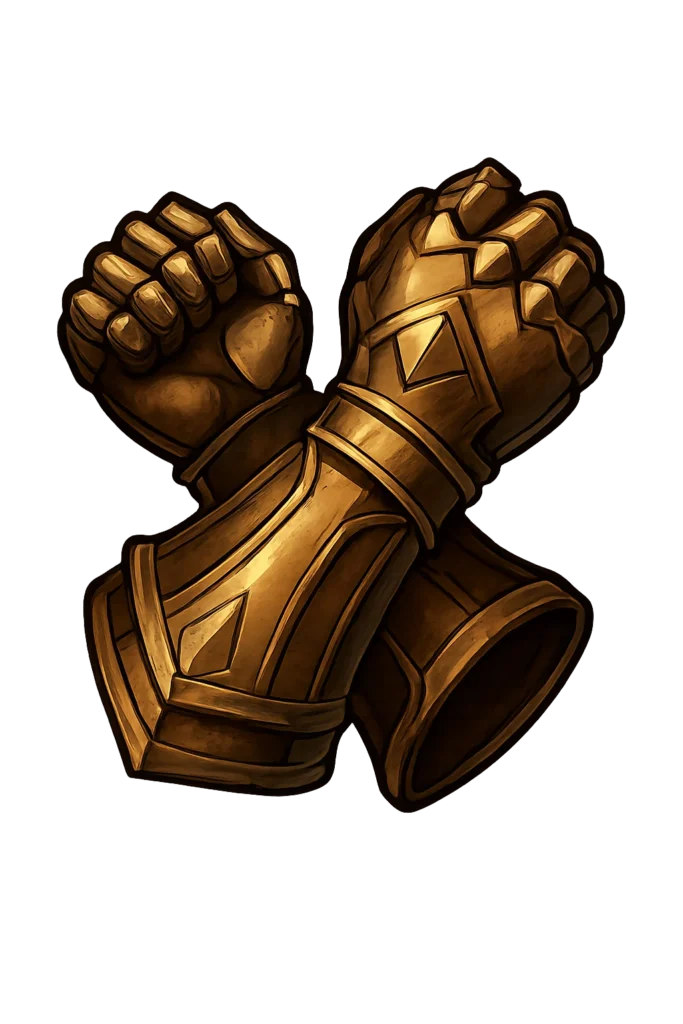 Blackwing Gloves |
Extra Fire Damage |
|
Ring 1  Vindictive Band |
Significant boosts to our blast ability damage and returns our mana when critical hitting with blast abilities, working in perfect combination with Maw of the Black City |
|
Ring 2  Ring of Pain Amplification |
Extra healing and ability damage |
|
Amulet  Enchanted Suolenet |
|
|
Totem 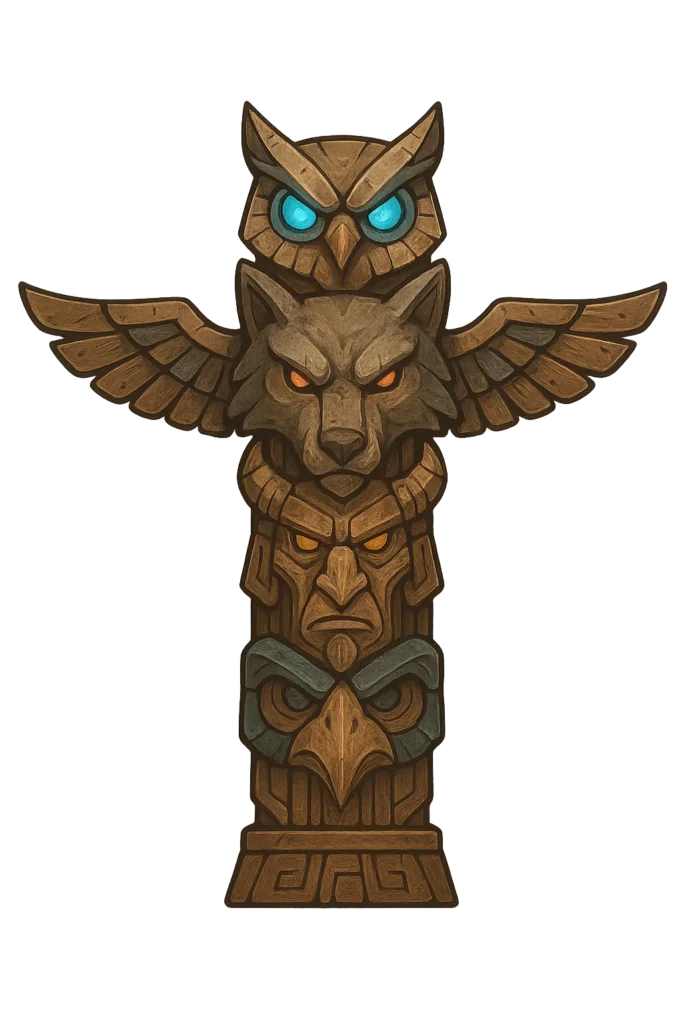 The Schemer’s Offering |
Final Build
|
Might |
Constitution |
Dexterity |
Perception |
Intelligence |
Resolve |
|
10 |
0 |
10 |
10 |
0 |
10 |
Keep everything tight and repeatable. Charge → light–light–heavy → Shout → Clear Out is the all-purpose opener against groups; the taunt pulls bodies into your arcs, the overshield lets you stand and deliver, and the triple sweep either deletes the pack outright or leaves the survivors frozen, poisoned, and face-down. Against high-health targets, swap the Clear Out timing: Shout → Charge (to interrupt) → sustained strings on Andras’s Offense until frost locks them, then weave Emperor’s Reach to spike crits and chase stagger. Kill confirms are fuel—Emperor’s Reach bumps your speed, your on-crit gear adds fresh accumulations, and you slingshot into the next target before they recover.
Resource flow is the only thing that can stall you, so build the habit of dodging in, spending a short string, and dodging out as stamina breathes; Shout covers greedier windows by absorbing chip while you finish the chain. Re-cast it proactively whenever you feel the screen tilting. If a wave sprawls, don’t chase—Charge to the backline, flip the formation, and let the melee pour into your overshield while Clear Out knocks them all down in place. On bosses, the safest loop is Charge bait → step cancel → counter-string; frost uptime and crit damage do the heavy lifting while you avoid the handful of animations that can actually tag you.
One final optimization: the Eyes of the Obscured totem. With this kit’s crit volume, its passive rolls random accumulations constantly; layered with Andras’s frost and a poison-on-crit ring, every second of uptime compounds. It also brings a lifesaving second wind and damage reduction hooks that trigger right after Clear Out—exactly when you’ve drawn the most attention. Put it all together and the Viper doesn’t trade— it erases. You enter, you shout, you spin, and the fight is already over.
Final Levels
|
Level |
Spell/Passive |
|---|---|
|
16 |
Constant Recovery III |
|
17 |
Critical Strike |
|
18 |
Critical Strike II |
|
19 |
Devastating Critical’s |
|
20 |
Clear Out |
|
21 |
Clear Out II |
|
22 |
Clear Out III |
|
23 |
Critical Strike III |
|
24 |
Devastating Critical’s II |
|
25 |
Devastating Critical’s III |
|
26 |
Harvest Essence |
|
27 |
Armored Grace III |
|
28 |
Evasive III |
|
29 |
Spirit of Decay |
Final Equipment Overview
Weapons. Run Emperor’s Reach in one hand and Andras’s Offense in the other. Emperor’s Reach is a momentum engine: kills juice your movement and attack speed, so your baseline flurry becomes a blur and you’re constantly hopping lane to lane before archers can reposition. It also pings nearby kith with a mini-stun on specials, which helps you hold packs inside your Clear Out arcs. Andras’s Offense is the control blade—its frost buildup scales absurdly well with your hit rate, so enemies freeze quickly and stay frozen long enough for you to route the rest. Slot the mitigation debuff enchant (full combo applies roughly –40% enemy damage for a sizeable window) to convert aggression into safety; the wrong parry-boost enchant does nothing for this kit. Together, these swords create exactly the cadence you want: one weapon pushing speed and kill-to-kill flow, the other locking targets in ice so your crits keep rolling.
Armor & trinkets. St. Garis’ Pride is the chest that lets you play with the throttle pinned. When you get clipped, it auto-fires Barbaric Shout—instant overshield, fresh taunt, and a big spike to crowd control—so you can keep swinging instead of disengaging. Trickster Gloves stack critical damage, turning every status-primed hit into a chunk. For boots, Man-Catchers keep the engine fueled: more stamina, more movement speed, and longer dodge distance so you’re never stuck watching your bar while a boss spools up. Grab a dex/perception Cartographer’s Companion (or any trinket with those stats) to pump attack rate and crit reliability. Rings are your flex lane: Vindictive Band fits the venom theme and is great while you’re still ramping, but in late game swap to a wealth-scaled crit ring or the pure crit-damage option to maximize burst. There’s also a glass-cannon ring that offers massive melee damage at the cost of taking double damage—use only if you’re confident in perfect spacing, because surprise one-shots will happen. Whichever pair you choose, make sure one slot meaningfully increases crit damage so your Clear Out chains and finishing strings always cash out. Round the set with a stamina-friendly amulet; if you prefer a failsafe, a piece that grants Arcane Veil at low health is a clean safety net that doesn’t slow your tempo.
|
Item |
Details |
|---|---|
|
Primary Weapon The Emperor’s Reach |
Provides +15% bonus damage and additional status effects |
|
Primary Weapon 2 Ondra’s Offense |
Additional fire damage and mana resource |
|
Armor  Stelgaer’s Pride |
The best armor piece in The Veilguard, provides longer advantage duration, +10% damage for EVERY advantage (you will typically always have 3+), makes the advantages more effective and most importantly heals you for +5% when gaining an advantage which will offset the self damage of Maw of the Black City |
|
Boots Imp Catcher’s |
Makes your abilities a guaranteed critical hit at the cost of our health, this issue is completely negated by Garb of Kinship & Twin Buckle Binding |
|
Gloves Trickster’s Gloves |
Extra Fire Damage |
|
Ring 1 Vindictive Band |
Significant boosts to our blast ability damage and returns our mana when critical hitting with blast abilities, working in perfect combination with Maw of the Black City |
|
Ring 2 Ring of Pain Amplification |
Extra healing and ability damage |
|
Amulet Cartographer’s Companion |
|
|
Totem Eye’s of the Obscured |
Build Snapshot
Related Builds

Support the Website
Thank you for choosing RPGael!
RPGael is kept ad-free so you can enjoy builds without distractions. If you’d like to support the site, you can donate through Ko-fi or check out the RedGael YouTube channel. Every bit of support helps keeps new content coming!

