
The Revenant
Overview
The Dark Revenant is a juggernaut of frost and darkness, built around high stun, powerful control, and one of the best weapons in the game: the Star of Unbeing. Inspired by Mordekaiser-style gameplay, this build turns you into a slow, unstoppable executioner who pulls enemies into your grasp, locks them in place, and smashes them into the ground. You walk forward like an inevitable wall of steel and ice, dismantling everything with crushing blows. With a shield for defense, frost spells for control, and brutal melee finishers, this build thrives on dominating the battlefield and punishing enemies that dare to approach.
Act 1
|
Might |
Constitution |
Dexterity |
Perception |
Intelligence |
Resolve |
|
3 |
3 |
0 |
0 |
1 |
3 |
At character creation, lean into Constitution for tankiness and Might for melee power. Intellect becomes more valuable later as your spell usage increases, while Resolve ensures you always have stamina to swing, parry, and block. This isn’t a glass-cannon setup—you’re investing in durability from the start to play the slow juggernaut role.
In the first stretch, abilities like Titan Stomp and Spectral Bulwark give you serviceable crowd control and survivability while you grow into the build. Maces provide strong stagger even early on, so focus on smashing enemies into takedown range and using your shield to hold the line. Unlike assassin or rogue archetypes, the Dark Revenant doesn’t care about speed—you’re setting the pace of every fight by shutting enemies down with control effects and sheer resilience.
Early Levels
|
Level |
Spell/Passive |
|---|---|
|
2 |
Charge |
|
3 |
Constant Recovery |
|
4 |
Shield Bash |
|
5 |
Barbaric Shout |
|
6 |
Armored Grace |
|
7 |
Finesse |
|
8 |
Armored Essence |
|
9 |
Arcane Veil |
|
10 |
Barbaric Shout II |
|
11 |
Stunning Blows |
|
12 |
Harvest Essence |
|
13 |
Grimoire Mastery |
|
14 |
Bristling Frost |
|
15 |
Stunning Blows II |
Act 1 Equipment
|
Item |
Details |
|---|---|
|
Primary Weapon 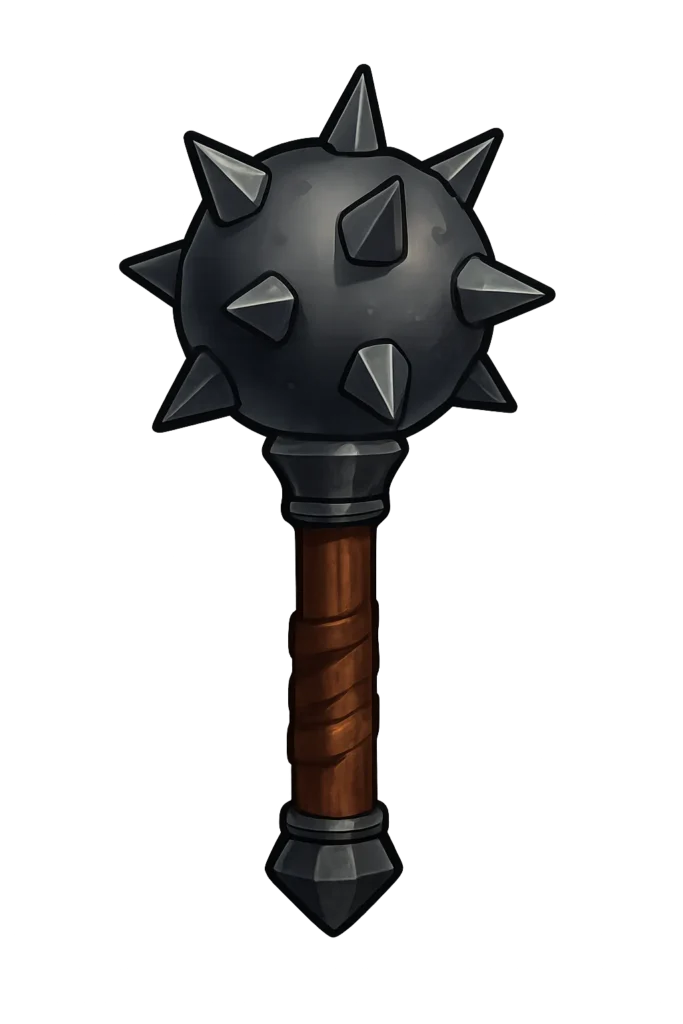 Lodestone |
Provides +15% bonus damage and additional status effects |
|
Shield  Unflinching Duty |
Additional fire damage and mana resource |
|
Offhand Weapon  Grimoire of Defense |
Provides +30% damage from having all blast abilities and refunds 25% of mana cost on impact |
|
Armor 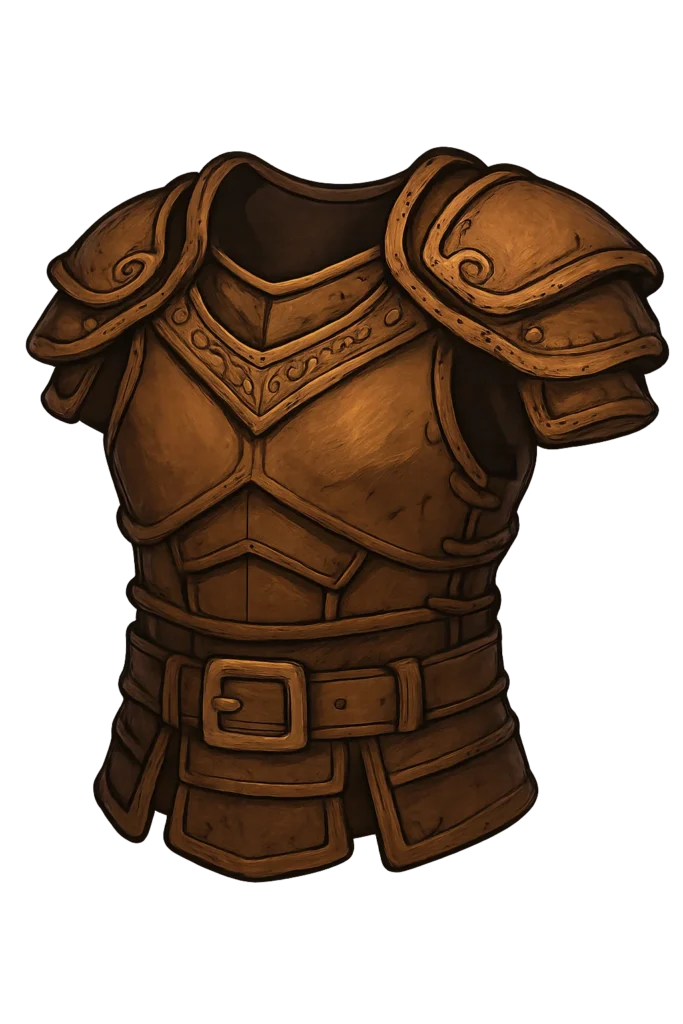 Stelgaer’s Pride |
The best armor piece in The Veilguard, provides longer advantage duration, +10% damage for EVERY advantage (you will typically always have 3+), makes the advantages more effective and most importantly heals you for +5% when gaining an advantage which will offset the self damage of Maw of the Black City |
|
Boots 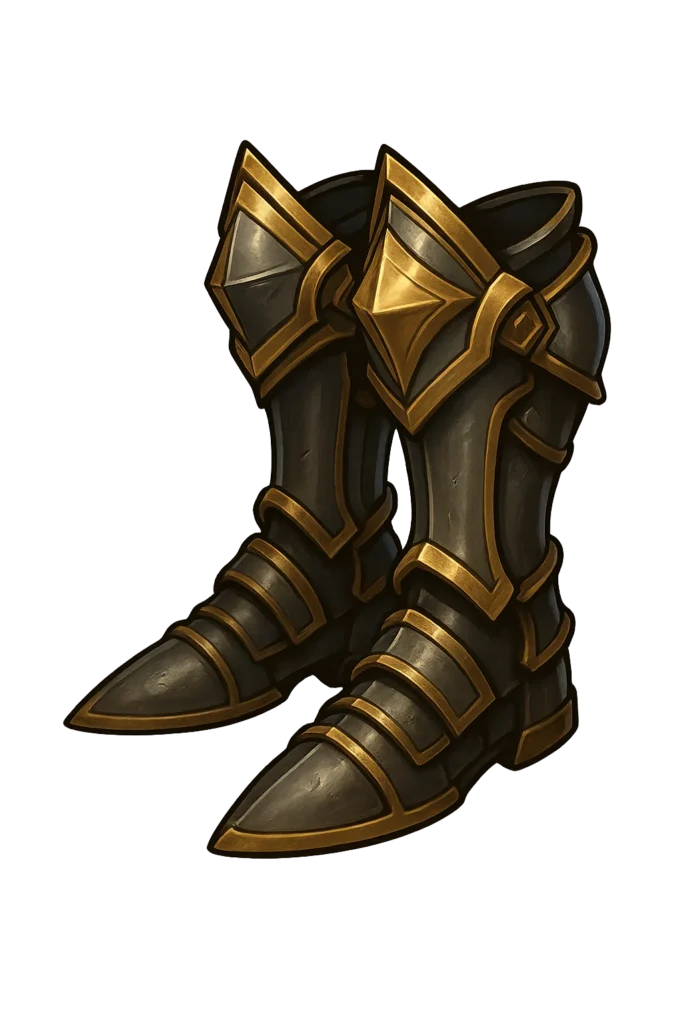 Eothasian Boots |
Makes your abilities a guaranteed critical hit at the cost of our health, this issue is completely negated by Garb of Kinship & Twin Buckle Binding |
|
Gloves 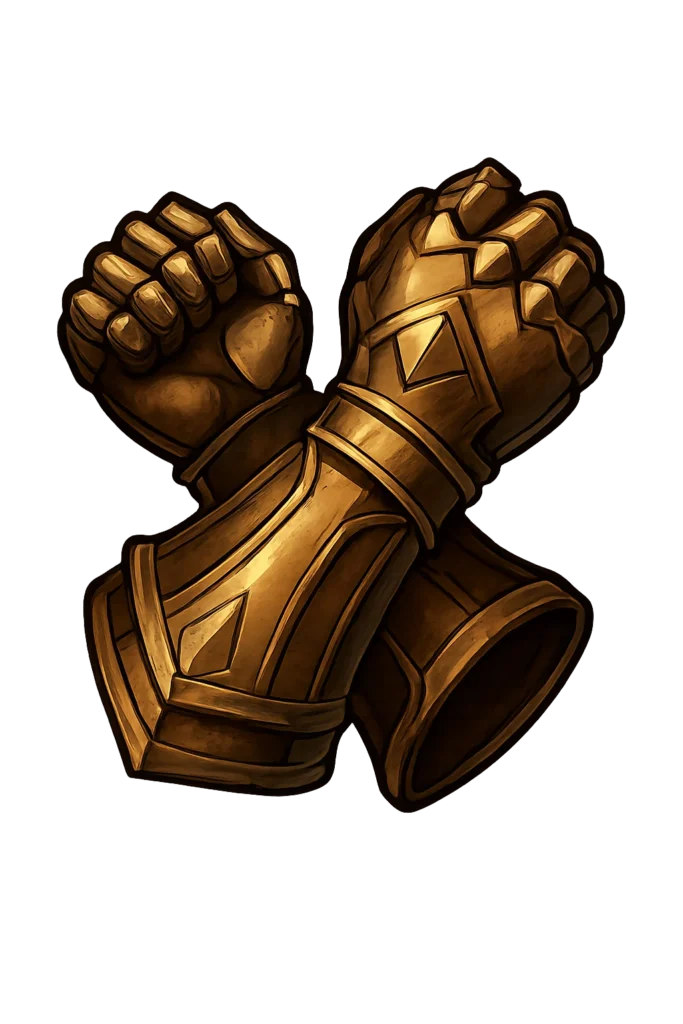 Steel Garrote Gloves |
Extra Fire Damage |
|
Ring 1  Bitter Bonding |
Significant boosts to our blast ability damage and returns our mana when critical hitting with blast abilities, working in perfect combination with Maw of the Black City |
|
Ring 2  Ring of Major Deflection |
Extra healing and ability damage |
|
Amulet  Enchanted Suolenet |
|
|
Totem  The Schemer’s Offering |
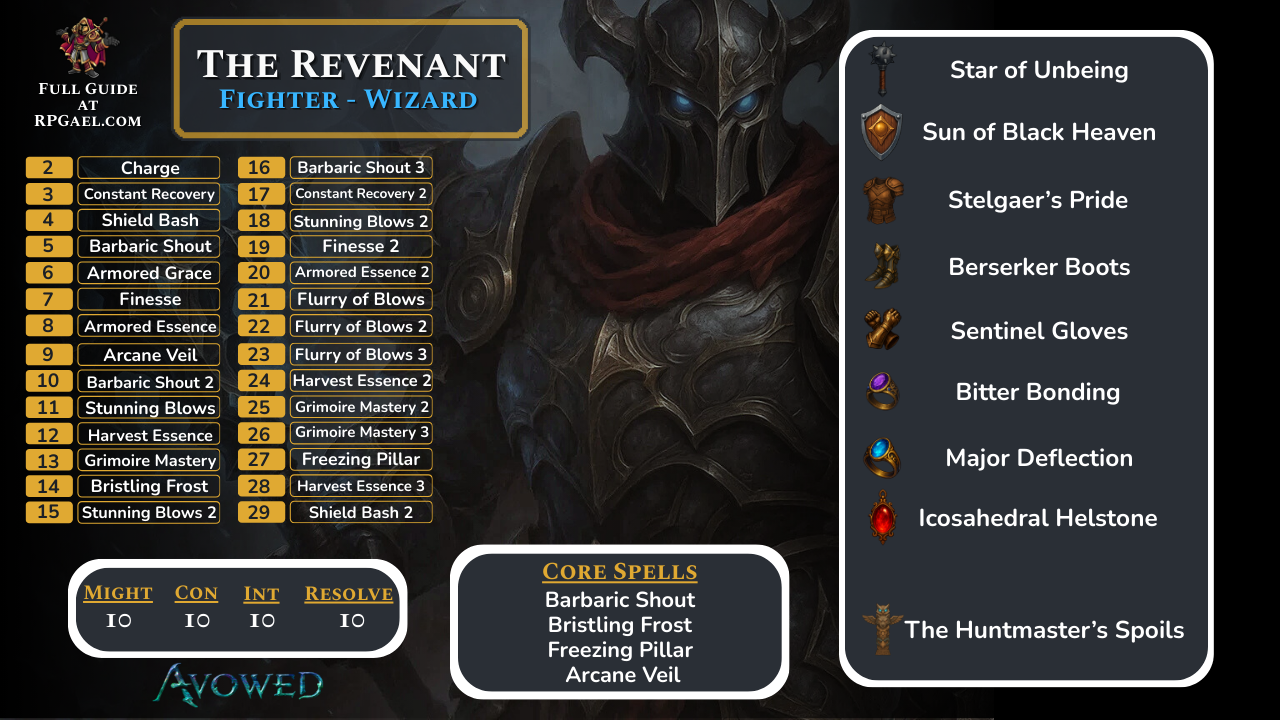
Final Build
|
Might |
Constitution |
Dexterity |
Perception |
Intelligence |
Resolve |
|
10 |
10 |
0 |
0 |
10 |
10 |
By the time you unlock the full kit, the Dark Revenant becomes a walking nightmare. Freezing Pillar locks down entire groups, both damaging and stacking frost accumulation to make them easier targets. Arcane Veil and Bristling Frost combine to give you enormous damage reduction while punishing melee attackers with frost buildup. Barbaric Shout grants an overshield, taunts nearby foes, and supercharges your stun output, ensuring every enemy is pulled into your zone of control.
Once foes are grouped, you unleash Pull of Eora from the Star of Unbeing, dragging enemies helplessly into the air while you crush them at leisure. Against bosses and elites, chaining Barbaric Shout into Flurry of Blows is devastating—your attack speed skyrockets, life steal keeps you standing, and stun builds so quickly that even the hardest encounters can be locked down until they collapse. The combat loop is simple: walk down your enemies, lock them in place with frost and pull effects, then hammer them into submission. Even if you’re surrounded, your layers of defense keep you alive long enough to grind everything around you into the dirt.
Final Levels
|
Level |
Spell/Passive |
|---|---|
|
16 |
Barbaric Shout III |
|
17 |
Constant Recovery II |
|
18 |
Stunning Blows II |
|
19 |
Finesse II |
|
20 |
Armored Essence II |
|
21 |
Flurry of Blows |
|
22 |
Flurry of Blows |
|
23 |
Flurry of Blows |
|
24 |
Harvest Essence |
|
25 |
Grimoire Mastery |
|
26 |
Grimoire Mastery |
|
27 |
Freezing Pillar |
|
28 |
Harvest Essence II |
|
29 |
Shield Bash II |
Final Equipment Overview
The heart of the build is the Star of Unbeing, one of the strongest maces in the game. Its ability to trigger Pull of Eora means you always have access to battlefield-wide crowd control. Pair it with the Sun of Black Heaven shield to solve your essence economy—this build is essence hungry, and the shield both increases your pool and refunds essence on block. Keep a Grimoire of Defense handy in the offhand to cast Arcane Veil and Bristling Frost more efficiently before fights.
For armor, nothing fits better than Stelgar’s Pride, which automatically casts Barbaric Shout when you’re hit hard. This not only adds survivability but keeps your stun pressure up without effort. Sentinel Gloves amplify stun damage and reduce stamina cost when blocking, while Berserker Boots greatly increase stamina regeneration—perfect for chaining heavy swings and takedowns without running dry. Accessory slots keep the tanky theme: the Berserker Ring for Constitution, the Ring of Major Deflection for flat damage reduction, and a stat-boosting trinket such as the Pearlescent Eoshedral Hellstone to round out your Might and Resolve.
Finally, the Huntsmaster’s Spoils totem is a perfect match—it grants massive damage boosts against knocked-down enemies, more barbaric shouts, crucial Might and Constitution, and even movement speed on kill, offsetting the build’s one weakness: mobility. Altogether, this gear package completes the fantasy of the Dark Revenant: a relentless dark knight who controls space, absorbs punishment, and slowly but inevitably crushes everything in his path
|
Item |
Details |
|---|---|
|
Primary Weapon Star of Unbeing |
Provides +15% bonus damage and additional status effects |
|
Shield Sun of Black Heaven |
Additional fire damage and mana resource |
|
Offhand Weapon Battletrance |
Provides +30% damage from having all blast abilities and refunds 25% of mana cost on impact |
|
Offhand Weapon 2 Grimoire of Defense |
Provides +30% damage from having all blast abilities and refunds 25% of mana cost on impact |
|
Armor  Stelgaer’s Pride |
The best armor piece in The Veilguard, provides longer advantage duration, +10% damage for EVERY advantage (you will typically always have 3+), makes the advantages more effective and most importantly heals you for +5% when gaining an advantage which will offset the self damage of Maw of the Black City |
|
Boots Berserker Boots |
Makes your abilities a guaranteed critical hit at the cost of our health, this issue is completely negated by Garb of Kinship & Twin Buckle Binding |
|
Gloves Sentinel Gloves |
Extra Fire Damage |
|
Ring 1 Bitter Bonding |
Significant boosts to our blast ability damage and returns our mana when critical hitting with blast abilities, working in perfect combination with Maw of the Black City |
|
Ring 2 Ring of Major Deflection |
Extra healing and ability damage |
|
Amulet Pearlescent Icosahedral Helstone |
|
|
Totem The Huntmaster’s Spoils |
Build Snapshot
Related Builds
Support the Website
Thank you for choosing RPGael!
RPGael is kept ad-free so you can enjoy builds without distractions. If you’d like to support the site, you can donate through Ko-fi or check out the RedGael YouTube channel. Every bit of support helps keeps new content coming!

