
The Sunblade
Overview
The Sunblade is the closest thing Avowed has to a Paladin: a righteous knight wielding sword, shield, and holy flame. This build blends heavy defense with fire magic, giving you both survivability and the power to smite enemies in bursts of divine fire. With access to Fireball, Ring of Fire, Arcane Veil, Barbaric Shout, and Dream Touch, the Sunblade becomes a durable frontline tank that can protect allies, control the battlefield, and strike down enemies with holy fury. It’s powerful, thematic, and one of the most fun archetypes for anyone who loves the idea of playing a Paladin.
Act 1
|
Might |
Constitution |
Dexterity |
Perception |
Intelligence |
Resolve |
|
3 |
1 |
3 |
0 |
0 |
3 |
At character creation, the stats to prioritize are Constitution for durability, Might for raw damage, and Dexterity to speed up your swings and allow for smoother weapon–grimoire swapping. Resolve is also important to sustain blocking, dodging, and spellcasting. While the Sunblade’s full identity takes shape after level 15 when you acquire Fireball, the early game can still be approached as a sturdy frontline Warrior. Focus on defensive abilities to keep yourself alive while supplementing damage with melee strikes.
By the midgame, you’ll acquire the key spells that form the Paladin playstyle. Fireball becomes your first true divine strike: a high-damage AOE that leaves lingering flames, softening groups before you close in. Ring of Fire grants a defensive flaming aura that reduces damage taken while punishing melee attackers with fire buildup. Arcane Veil provides 25% damage reduction and projectile deflection, a perfect way to endure heavy ranged pressure. Dream Touch brings the holy element of restoration, letting you heal yourself and revive allies, which is invaluable in difficult encounters. Lastly, Barbaric Shout gives you an overshield, staggers enemies, and taunts foes into focusing on you, cementing the tank role. With these abilities online, the Sunblade embodies both protection and destruction.
Early Levels
|
Level |
Spell/Passive |
|---|---|
|
2 |
Charge |
|
3 |
Constant Recovery |
|
4 |
Shield Bash |
|
5 |
Barbaric Shout |
|
6 |
Finesse |
|
7 |
Parry |
|
8 |
Armored Grace |
|
9 |
Toughness |
|
10 |
Barbaric Shout II |
|
11 |
Finesse II |
|
12 |
Barbaric Shout III |
|
13 |
Armored Essence |
|
14 |
Arcane Veil |
|
15 |
Grimoire Mastery |
Act 1 Equipment
|
Item |
Details |
|---|---|
|
Primary Weapon 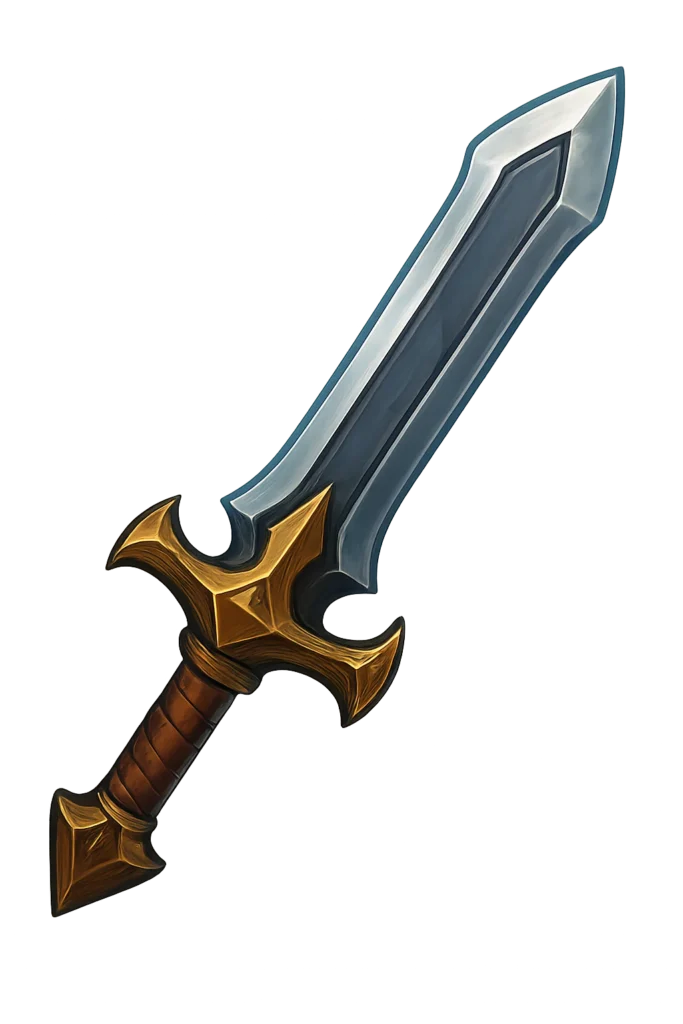 Last Light of Day |
Provides +15% bonus damage and additional status effects |
|
Shield  Unflinching Duty |
Additional fire damage and mana resource |
|
Offhand Weapon  Grimoire of Defense |
Provides +30% damage from having all blast abilities and refunds 25% of mana cost on impact |
|
Armor 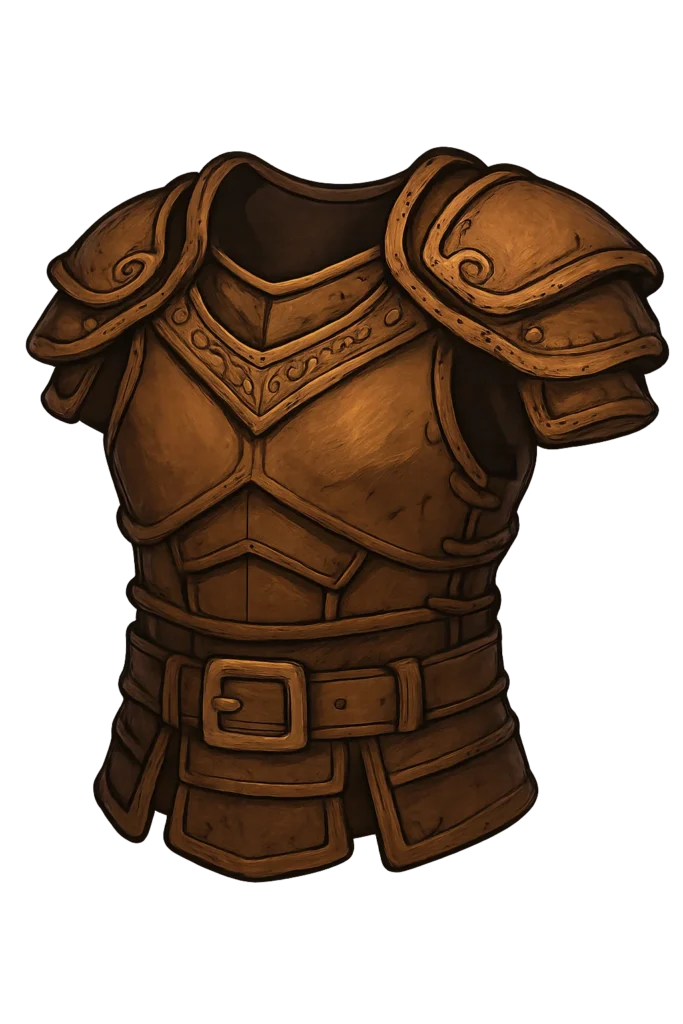 Stelgaer’s Pride |
The best armor piece in The Veilguard, provides longer advantage duration, +10% damage for EVERY advantage (you will typically always have 3+), makes the advantages more effective and most importantly heals you for +5% when gaining an advantage which will offset the self damage of Maw of the Black City |
|
Boots 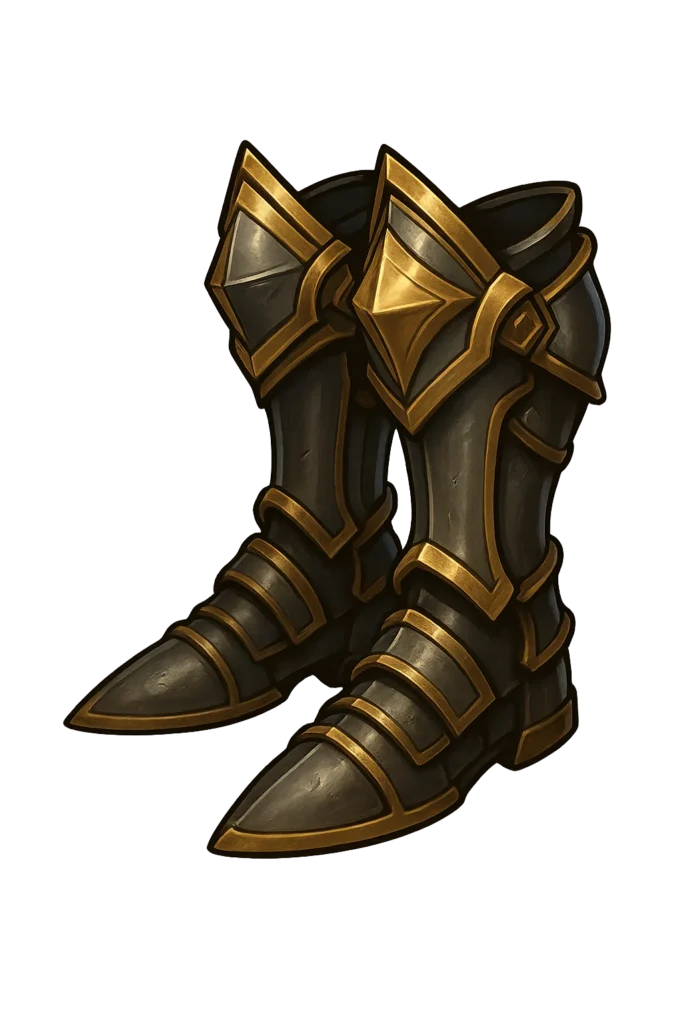 Eothasian Boots |
Makes your abilities a guaranteed critical hit at the cost of our health, this issue is completely negated by Garb of Kinship & Twin Buckle Binding |
|
Gloves 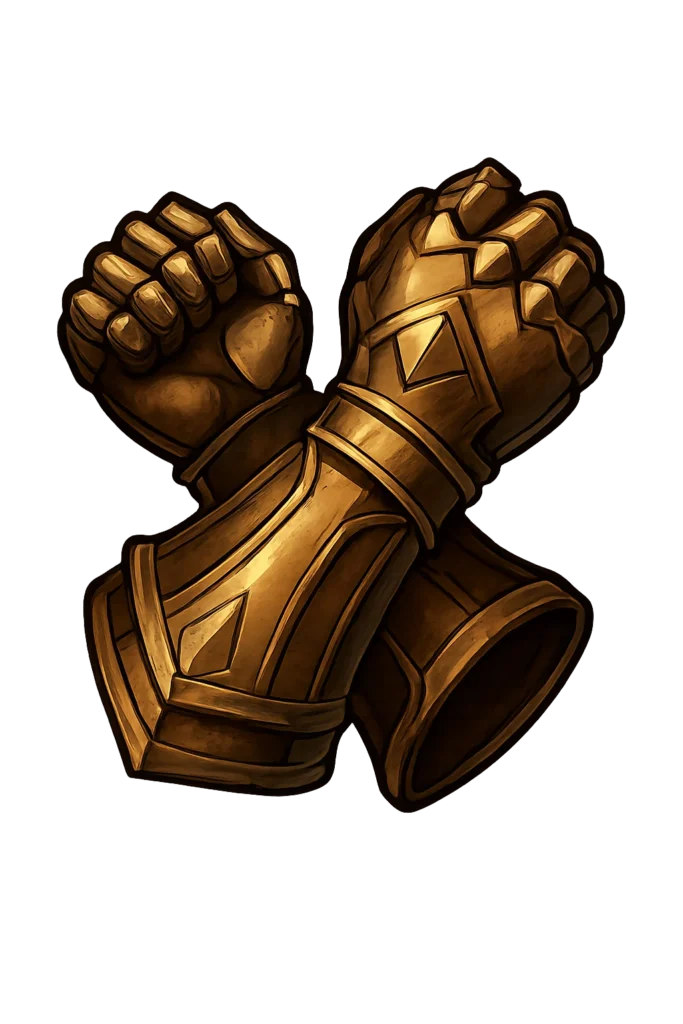 Steel Garrote Gloves |
Extra Fire Damage |
|
Ring 1  Arcanist’s Ring |
Significant boosts to our blast ability damage and returns our mana when critical hitting with blast abilities, working in perfect combination with Maw of the Black City |
|
Ring 2  Ring of the Founder |
Extra healing and ability damage |
|
Amulet  Rathun Figurine |
|
|
Totem  The Schemer’s Offering |
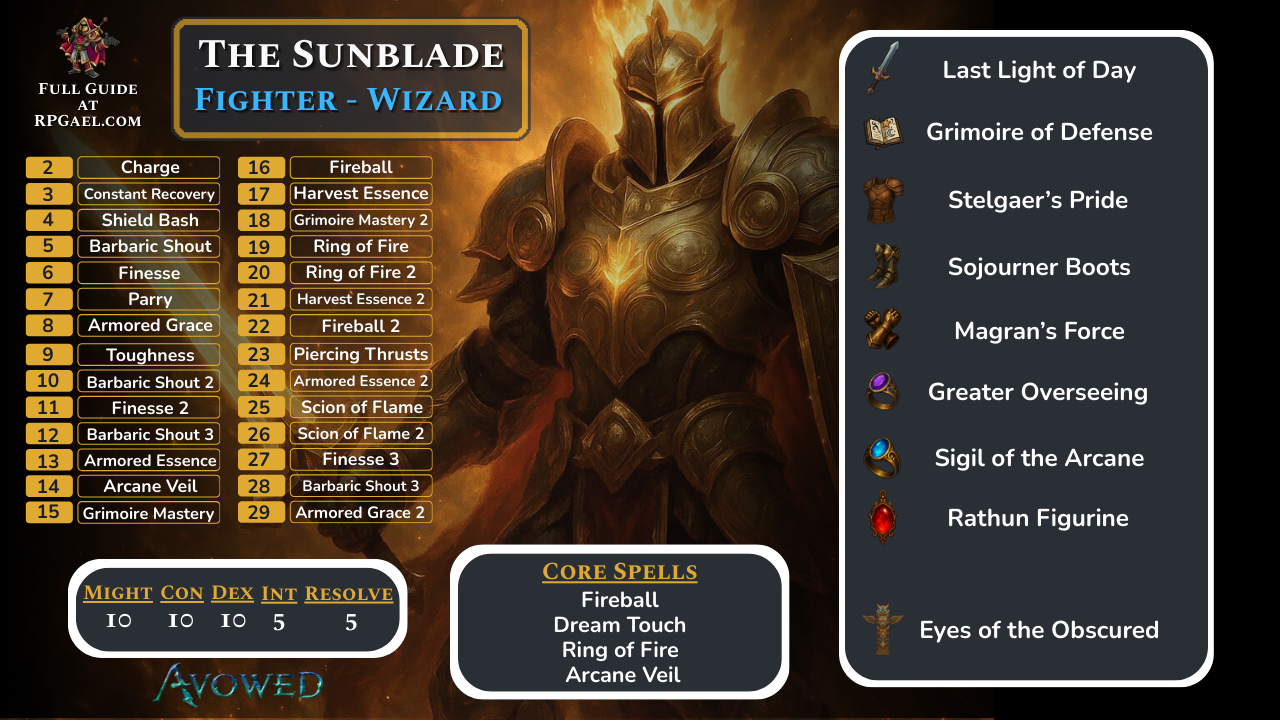
Final Build
|
Might |
Constitution |
Dexterity |
Perception |
Intelligence |
Resolve |
|
10 |
10 |
10 |
0 |
5 |
5 |
The Sunblade’s core loop is about preparation, control, and punishment. Before fights, activate Arcane Veil and Ring of Fire to layer defenses and stack fire buildup on incoming melee attackers. Once enemies are drawn in, unleash Barbaric Shout for the overshield, stun buildup, and taunt. This combination makes you incredibly hard to kill while keeping enemy focus on you instead of allies.
Once stabilized, use Fireball to detonate clustered enemies and spread lingering flames across the battlefield. Fireball pairs perfectly with your tanking role—while enemies are locked on to you, they’ll stay inside the blast zone and burn. If companions go down, Dream Touch acts as your divine safeguard, restoring the team and reviving allies so fights stay under control.
The main combat combo revolves around layering defenses and punishing enemies when they overcommit. Arcane Veil + Ring of Fire + Barbaric Shout gives you enormous damage reduction and crowd control. Use Fireball to soften groups, then close in with sword-and-shield strikes. For single targets, keep the taunt and stun pressure going, striking between spell activations. If your health dips or allies fall, use Dream Touch to reset momentum and push the fight back in your favor. The Sunblade is less about flashy burst combos and more about relentlessly holding the line, burning everything in front of you while protecting your team.
Final Levels
|
Level |
Spell/Passive |
|---|---|
|
16 |
Fireball |
|
17 |
Harvest Essence |
|
18 |
Grimoire Mastery |
|
19 |
Ring of Fire |
|
20 |
Ring of Fire |
|
21 |
Harvest Essence II |
|
22 |
Fireball |
|
23 |
Piercing Thrusts |
|
24 |
Armored Essence II |
|
25 |
Scion of Flame |
|
26 |
Scion of Flame II |
|
27 |
Finesse III |
|
28 |
Barbaric Shout III |
|
29 |
Armored Grace II |
Final Equipment Overview
Armor. You’ve got two clean lanes. Death Knight Armor is the tank route: more damage reduction and stronger sustain so you can learn timings without paying for each mistake. If you pick this path, Sojourner Boots slot neatly in, adding extra healing to the kit and letting you anchor longer when you’re face-tanking a pack while waiting for parry baits. The aggressive lane is St. Garis’ Pride. It trades raw mitigation for stamina flow and occasional free Barbaric Shout procs, which means more shields, more staggers, and more chances to chain heavy finishers without ever feeling winded. Pair it with Berserker Boots for very high stamina regeneration so you can dodge, parry, and swing on every beat. Sentinel Gloves are the constant regardless of chest/boots—the stun boost is exactly what this build scales, turning every perfect parry and every Clear Out swing into faster knockdowns. For jewelry, decide how you want to survive. Berserker Ring adds flat Constitution that stacks nicely with Death Knight. Bitter Bonding converts pressure into sustain; with your hit count and bleeds, the lifesteal keeps you topped through extended trades. The safe second slot is the Ring of Major Deflection for a straight damage-taken shave that compounds with Arcane Veil. Mortal Haven is the right amulet: an emergency Arcane Veil when you dip below 25% acts as a built-in failsafe during greedy strings or late cancels. Taken together, these sets align with the two identities—ironclad bruiser learning timings, or relentless duelist who never lets the engine stall.
Weapons. Horse Cutter is the reason this build exists. Beyond raw two-hand damage, its kit bleeds everything you touch and pays out when your counter counts as the final hit of a combo. That interaction is the keystone: perfect parry → counter → Horse Cutter applies massive stun and an AoE bleed pop, which instantly sets up takedowns or lets Clear Out finish a line of enemies. Every system you invest in amplifies that moment. Barbaric Shout buys the breathing room to fish for the parry. Arcane Veil ensures the trade is safe even if you’re a fraction late. Clear Out corrals the survivors, refreshes your advantage, and forces the next bite. On bosses, you’ll often rotate Shout → charged heavy → parry/counter → Flurry (if slotted) to juggle sustained bleed with consistent stun; on packs, Shout → Clear Out (all three swings) → takedown blitzes most waves with minimal risk. There isn’t a sidegrade that matches Horse Cutter’s payoff for this design—build around it and lean into the counter-finisher synergy.
|
Item |
Details |
|---|---|
|
Primary Weapon Last Light of Day |
Provides +15% bonus damage and additional status effects |
|
Shield Bastion of Solace |
Additional fire damage and mana resource |
|
Offhand Grimoire of Defense |
Provides +30% damage from having all blast abilities and refunds 25% of mana cost on impact |
|
Armor  Stelgaer’s Pride |
The best armor piece in The Veilguard, provides longer advantage duration, +10% damage for EVERY advantage (you will typically always have 3+), makes the advantages more effective and most importantly heals you for +5% when gaining an advantage which will offset the self damage of Maw of the Black City |
|
Boots Sojourner Boots |
Makes your abilities a guaranteed critical hit at the cost of our health, this issue is completely negated by Garb of Kinship & Twin Buckle Binding |
|
Gloves Magran’s Force |
Extra Fire Damage |
|
Ring 1 Ring of Greater Overseeing |
Significant boosts to our blast ability damage and returns our mana when critical hitting with blast abilities, working in perfect combination with Maw of the Black City |
|
Ring 2 Sigil of the Arcane |
Extra healing and ability damage |
|
Amulet Rathun Figurine |
|
|
Totem Eyes of the Obscured |
Build Snapshot
Related Builds
Support the Website
Thank you for choosing RPGael!
RPGael is kept ad-free so you can enjoy builds without distractions. If you’d like to support the site, you can donate through Ko-fi or check out the RedGael YouTube channel. Every bit of support helps keeps new content coming!

