
The Archon
Overview
Learn how to use one of the strongest builds in Avowed with the Archon. Meet the Archon: a control-heavy, glass-howitzer that erases packs with layered AoE while shrugging off return fire behind stacked magical defenses. The core loop is to pin everything with Pull of Aora, freeze and shred with Freezing Pillar, rain lingering damage with Meteor, and finish the survivors with Crackling Bolt—while Arcane Veil keeps you upright long enough to finish the job. Arcane Veil took a nerf, but paired with proper timing it still buys the cast windows this build needs. Between constant slows, freezes, and forced clustering, you will become the bringer of the storm.
Act 1
|
Might |
Constitution |
Dexterity |
Perception |
Intellect |
Resolve |
|
3 |
0 |
3 |
0 |
3 |
1 |
In character creation, open with high Intellect so your Essence pool can support frequent spell use, then add Might for raw numbers and a touch of Dexterity to make basic attacks and swapping feel snappier between casts. Your first priorities are survivability and setup. Arcane Veil is your safety net, pop it before any extended brawls or when ranged mobs sight you. Use Tanglefoot and Chill Blades as supplementary spells when you have nothing else to use. Crackling Bolt is your primary damage spell early on; it arcs through clustered packs and still performs into single targets because it bounces on the same unit when nothing else is nearby. Grab Constant Recovery so chip damage from archers doesn’t force you to run away. Harvest Essence is a nice quality of life so you have to worry much less about Essence running low.
It is important to know that denying Godwoken spells will give you extra skill points, ultimately those spells are not very good so I recommend always denying them to help ramp your build up faster.
Another recommendation I have that generically applies throughout the game is to always eat food, food provides you with extremely powerful long lasting buffs in this game that will help you stay alive and do more damage.
Early Levels
|
Level |
Spell/Passive |
|---|---|
|
2 |
Tanglefoot |
|
3 |
Chill Blades |
|
4 |
Armored Essence |
|
5 |
Wand Mastery |
|
6 |
Arcane Veil |
|
7 |
Grimoire Mastery |
|
8 |
Crackling Bolt |
|
9 |
Arcane Veil II |
|
10 |
Constant Recovery |
|
11 |
Crackling Bolt II |
|
12 |
Harvest Essence |
|
13 |
Wand Mastery II |
|
14 |
Crackling Bolt III |
|
15 |
Harvest Essence II |
Act 1 & 2 Equipment
|
Item |
Details |
|---|---|
|
Primary Weapon 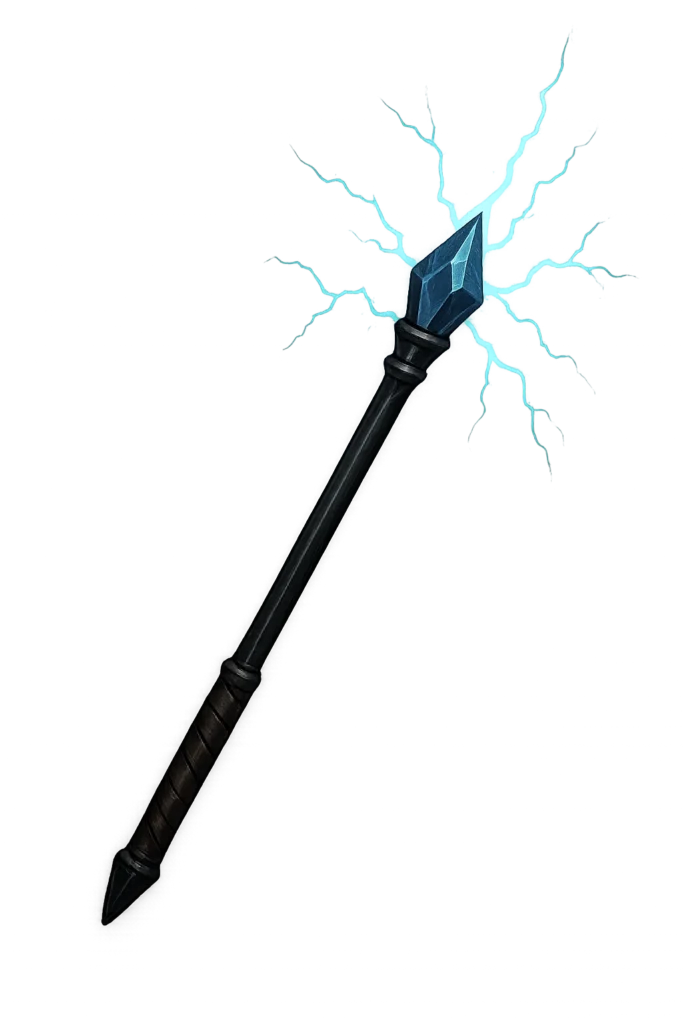 Minoletta Conduit |
Fior – Purchased from Abritt Porrya |
|
Primary Weapon 2  Grimoire of Elements |
Dawnshore – Purchased from Merchant Valtur |
|
Armor  Arcanist’s Gambeson |
Dawnshore – Yellowband Camp |
|
Boots 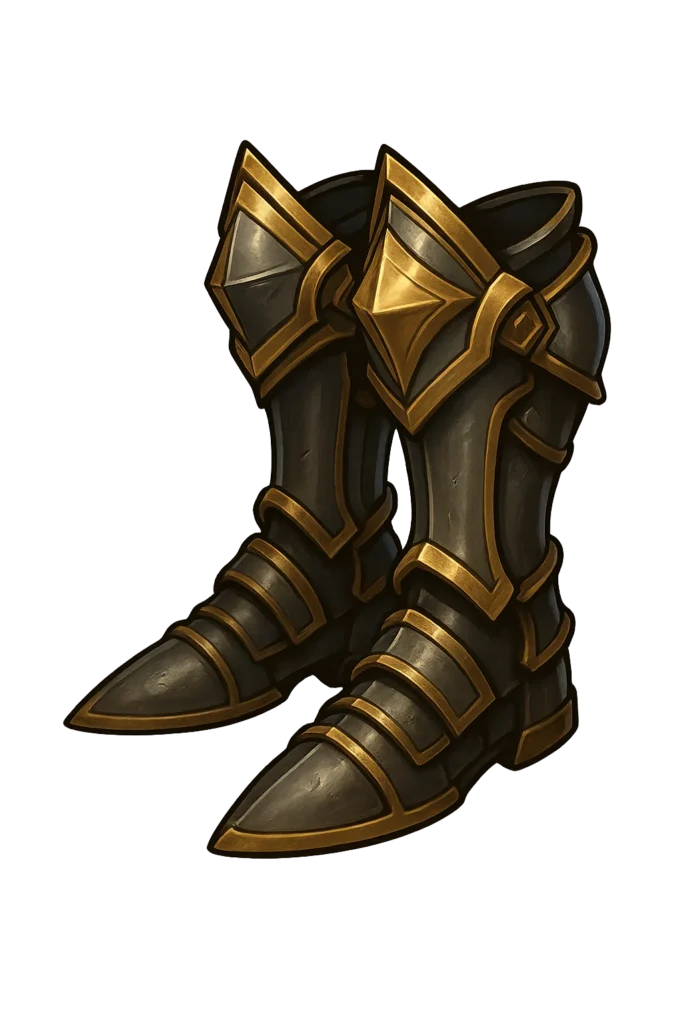 Warmage Boots |
Emerald Stair – Chest at Paradisan Rebels camp |
|
Gloves 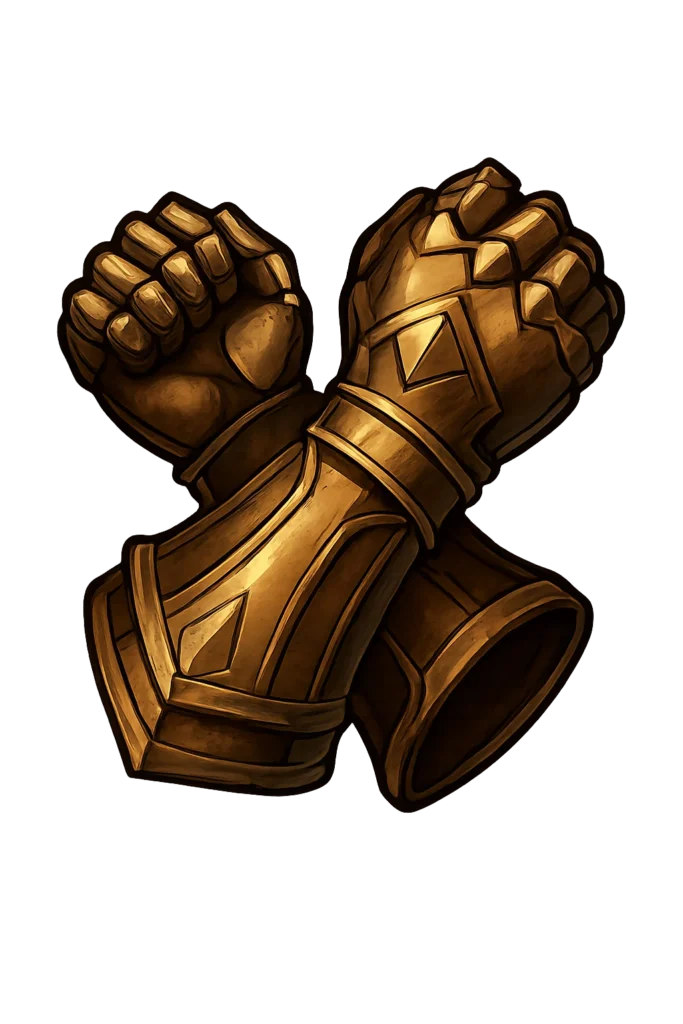 Warmage’s Bracers |
Emerald Stair – Ector Brewer |
|
Ring 1  Arcanist’s Ring |
Dawnshore – Lockbox in Castol’s Folly |
|
Ring 2  Ring of the Founder |
Emerald Stair – Ancient Grotto |
|
Amulet  Enchanted Suolenet |
Dawnshore – Shanty Town Quest (Do Not ask for reward) |
|
Totem 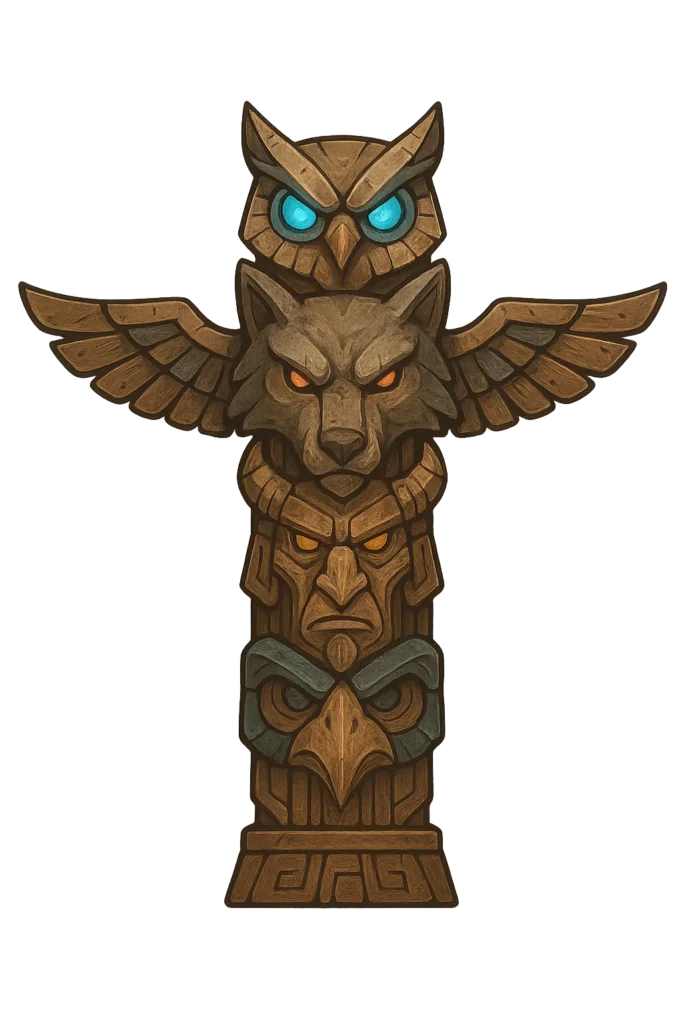 The Schemer’s Offering |
Final Build
|
Might |
Constitution |
Dexterity |
Perception |
Intelligence |
Resolve |
|
13 |
0 |
7 |
2 |
13 |
6 |
Further into the game you will acquire more spells. Freezing Pillar arrives at level 18, cast it onto your pull to root, freeze, and spike damage, then weave wand shots while your cooldowns tickdown. Pull of Aora is your opener as soon as you can slot it: clustering enemies means every follow-up lands on maximum targets and keeps melee from peeling you. Meteor Shower will bolster your AoE damage. Lastly, pick up Arcane Seal to smooth Essence costs and cast speed. Eilara’s Grimoire, your spellbook of choice, will have these spells included which will reduce there cost and make them more powerful.
Open every fight the same way: Veil first, Pull second. The Veil will keep you healthy and alive. Pull of Aora yanks everything into a tidy circle. Drop Freezing Pillar directly onto the vortex to slam Frost damage and CC, most trash won’t leave that circle alive. Layer Meteor on top of the ice for lingering burns that punish anything with a health bar left, then thread Crackling Bolt through the cluster to chain-clean the stragglers. On Path of the Damned you’ll often repeat the sequence; re-Veil when pressured, re-Pull if the scrum breaks. Between cycles, pepper them with wand fire; the Archon’s wand hits are meaningful and keep pressure on elites during downtime.
Boss fights mirror packs: Veil → Pull to pin the add wave and the boss, Pillar to freeze, Meteor to keep them burning, Bolt on cooldown as the cleanup. Your CC spells trivialize many bosses.
You will acquire more skill points then there is in the build, feel free to experiment and pick things you find interesting, the build is fundamentally complete at 29 points.
Final Levels
|
Level |
Spell/Passive |
|---|---|
|
16 |
Grimoire Mastery II |
|
17 |
Grimoire Mastery III |
|
18 |
Freezing Pillar |
|
19 |
Harvest Essence III |
|
20 |
Constant Recovery II |
|
21 |
Grimoire Mastery IV |
|
22 |
Arcane Seal |
|
23 |
Freezing Pillar II |
|
24 |
Arcane Seal II |
|
25 |
Meteor Shower |
|
26 |
Meteor Shower II |
|
27 |
Pull of Eora |
|
28 |
Pull of Eora II |
|
29 |
Constant Recovery III |
Final Equipment Overview
The weapon core is a long-range wand plus a spellbook. Minoletta’s Conduit is the preferred wand: superb reach and excellent basic damage make your auto attacks more meaningful. Pair it with Eilara’s Grimoire; it bundles Pull of Aora, Freezing Pillar, and Meteor, upgrades each by a rank, and slashes their Essence costs so your full rotation feels “free.” Spirit Lance on the book is a fun bonus for opportunistic pokes, but you’ll live at far distance so will not use it often.
For armor, use the Robes of Surpassing Brilliance that grant +15% area damage and +40% maximum Essence. War Mage’s Bracers push the damage engine harder with –10% ability Essence cost and +15% shock damage, directly lifting Crackling Bolt and your wand’s elemental damage. Counselor’s Shoes add maximum Essence, a bit of Dexterity so your wand stays smooth, and extra dodge distance for more safety. Your trinket is the Pearlescent Icosahedral Helstone for +3 Intellect, cleanly scaling both damage and sustain. Rings are perfect for this build: Ring of Greater Overseeing for +20% AoE damage, and Sigil of the Arcane for +20% cast speed and –20% ability Essence cost. Those four numbers – bigger, faster, cheaper, and more – are exactly what the Archon wants.
Veil creates your cast window with safety, Pull amplifies every number by forcing clumps, Pillar locks them in place and spikes the board, Meteor sustains pressure, and Bolt erases anything pretending to live. Your gear makes the AoE bigger, speeds the hands, and keeps the tank full so the storm never stops.
Check the links below to browse more of the Best Builds for Avowed!
|
Item |
Location |
|---|---|
|
Primary Weapon Minoletta’s Conduit |
Fior – Purchased from Abritt Porrya |
|
Primary Weapon 2 Eilara’s Grimoire |
Galawain’s Tusks – Living Archives |
|
Armor Robes of Surpassing Brilliance |
Shatterscarp – Small Cave in the Ancient Lakebed |
|
Boots  Councilor’s Shoes |
Galawain’s Tusks – Councilor Kostya |
|
Gloves Warmage’s Bracers |
Emerald Stair – Ector Brewer |
|
Ring 1 Ring of Greater Overseeing |
Galawain’s Tusks – Inside locked chest at top floor of Northern Warden Tower |
|
Ring 2 Sigil of the Arcane |
Shatterscarp – Power up 3 generators in Shark’s Teeth area |
|
Amulet Pearlescent Icosahedral Helstone |
Galawain’s Tusks – Sold by Gylin |
|
Totem Eyes of the Obscured |
Build Snapshot

Related Builds
Support the Website
Thank you for choosing RPGael!
RPGael is kept ad-free so you can enjoy builds without distractions. If you’d like to support the site, you can donate through Ko-fi or check out the RedGael YouTube channel. Every bit of support helps keeps new content coming!

