Stealth Archer
Overview
It’s that time of year again: the leaves are falling, the air is sharp, and the urge to disappear into the treeline and delete enemies from a football field away is back. This Stealth Archer is built for players who want the classic “ghost with a bow” fantasy in Inquisition—sniping from max range, vanishing between shots, and methodically cleaning a battlefield without ever letting danger touch them. Unlike most rogue setups in this game, you won’t be dive-bombing packs with Leaping Shot or whirling through melee with Throwing Blades. This is a fully ranged, patience-pays playstyle that lives and dies by positioning, stealth resets, and colossal single-arrow burst. If you want the easiest nightmare run possible, my close-range rogue builds are still the meta picks; if you want the feel of the classic stealth archer done right in Inquisition, this is the one.
Early Game
Rogue early game is always the same story: a little starved for stats, a little undergeared, and forced to win with fundamentals. That’s fine—this build scales like crazy once the passives and Assassin spec click. In the prologue and early zones, start by crafting anything that pushes raw offense: prioritize Dexterity and Cunning, then slot as much crit damage as you can scrounge up. You’ll rarely be taking hits, so defensive affixes are a luxury. When assigning attributes, lean Dexterity first for baseline damage and crit chance, then Cunning for crit damage; Constitution can stay modest because your best defense is distance and stealth uptime.
Your core kit from level 1 is simple and immediately useful. Long Shot is your workhorse and will remain so all game: it scales with distance and hits hardest at 25m+, which cleanly reinforces the playstyle—back up, line up, and let the bow do the talking. Explosive Shot is your utility valve: use it to topple shield carriers, peel for your own backline, and punish clusters that try to rush. It’s also your best answer when a shield wall is blanking Long Shot; knock them over, then pierce them. Stealth is the backbone of the build, not because you want to chain permanent invisibility, but because its on-press damage bonus makes the next shot meaner and its aggro drop keeps you off enemy radar. Get comfortable hitting stealth almost on cooldown; the rhythm of the build is vanish, fire, reposition, repeat. Finally, Full Draw is the nuke—obscene damage against targets at full health, and the perfect opener when paired with the stealth bonus. A quirk worth knowing: stealth’s damage buff is taken on ability press, not on impact, so you still get the full benefit even though Full Draw visibly pops you out of stealth during the wind-up.
The early loop is measured: open from stealth with Full Draw on a high-value backliner (mage, archer), fall back to 25–30 meters, pepper with Long Shot, and use Explosive Shot to protect your space whenever melee gets ideas. You shouldn’t need much in the way of defensive tools, but if you want insurance, slot Evade as a panic step. Stay patient; your numbers are about to skyrocket.
Early Levels
|
Level |
Spell/Passive |
|---|---|
|
2 |
First Blood |
|
3 |
Explosive Shot |
|
4 |
Eagle Eye |
|
5 |
Chain Reaction (Explosive Shot) |
|
6 |
Pin Cushion |
|
7 |
Full Draw |
|
8 |
Evasion |
|
9 |
Evade |
|
10 |
Ambush |
Equipment
|
Item |
Details |
|---|---|
|
Primary Weapon 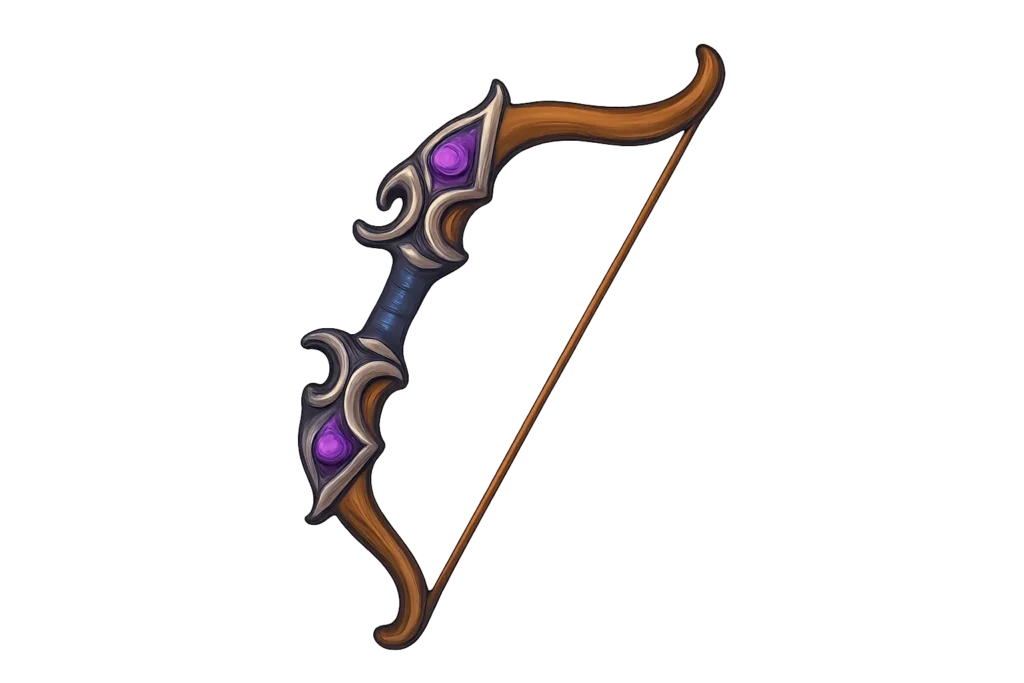 Elgar’nan Enaste |
Provides +15% bonus damage and additional status effects |
|
Helmet  Superior Skirmisher Hat |
More then doubles your damage at the cost of additional mana |
|
Armor  Superior Prowler Armor |
Additional fire damage and mana resource |
|
Ring 1  The Hand that Cuts |
Provides +30% damage from having all blast abilities and refunds 25% of mana cost on impact |
|
Ring 2  Ring of Slicing |
The best armor piece in The Veilguard, provides longer advantage duration, +10% damage for EVERY advantage (you will typically always have 3+), makes the advantages more effective and most importantly heals you for +5% when gaining an advantage which will offset the self damage of Maw of the Black City |
|
Amulet  Malika’s Guard |
Makes your abilities a guaranteed critical hit at the cost of our health, this issue is completely negated by Garb of Kinship & Twin Buckle Binding |
|
Belt  Warden’s Signet |
Extra Fire Damage |
Equipment Overview
Gear for this archetype is blissfully straightforward: stack offense, amplify crit damage, and let your passives handle crit chance. For armor, Superior Prowler Armor with a Superior Skirmisher Hat is the ideal pairing—their utility and offensive slots let you shovel in Dexterity, Cunning, and raw crit damage. Because Knife in the Shadows guarantees the crit on your stealth opener, you get far more mileage out of crit damage than trying to force more chance; every empowered shot hits like a truck, and Throatcutter multiplies that finish pressure as bars drop.
Your bow is the heart of the build. If you have Golden Nug access, Elgar’nan Enaste is the gold standard and will carry the entire run once you sync it; if not, pick up Grundmann’s Bow from the Black Emporium as your reliable early and mid-game option. Both reward raw stat stacking and clean lines of fire, which is exactly how you play. Slot runes and grips that favor straight damage; you’re not leaning on special on-hit gimmicks here—just bigger numbers, faster.
Rings and amulets are about polishing the same edge. Superb Critical Damage and offensive amulets that boost Dexterity keep your scaling honest, while belts can be flex picks: elemental resistance belts are valuable in zones that spam a specific damage type, but most of the time you’ll prefer an offensive belt to keep the momentum going. If you want a comfort pick, a bit of maximum stamina never hurts for evasive options, though you shouldn’t be spamming them often. For masterwork choices on crafted armor, look for procs that enhance damage on kill or grant short spikes of power after an ability—anything that feeds your “stealth → kill → stealth” conveyor.
The build’s beauty is that it doesn’t require a weird unicorn drop to unlock its ceiling. With a solid bow, Prowler/Skirmisher crafting, and aggressive crit-damage slotting, you’re fully online. From there, it’s all about the player: hold your 25–30m lane, take the high-percentage shot, detonate the mark on your terms, and vanish before anyone can point back to your perch. On nightmare, discipline beats chaos; this setup turns discipline into damage.
How to Play Late Game
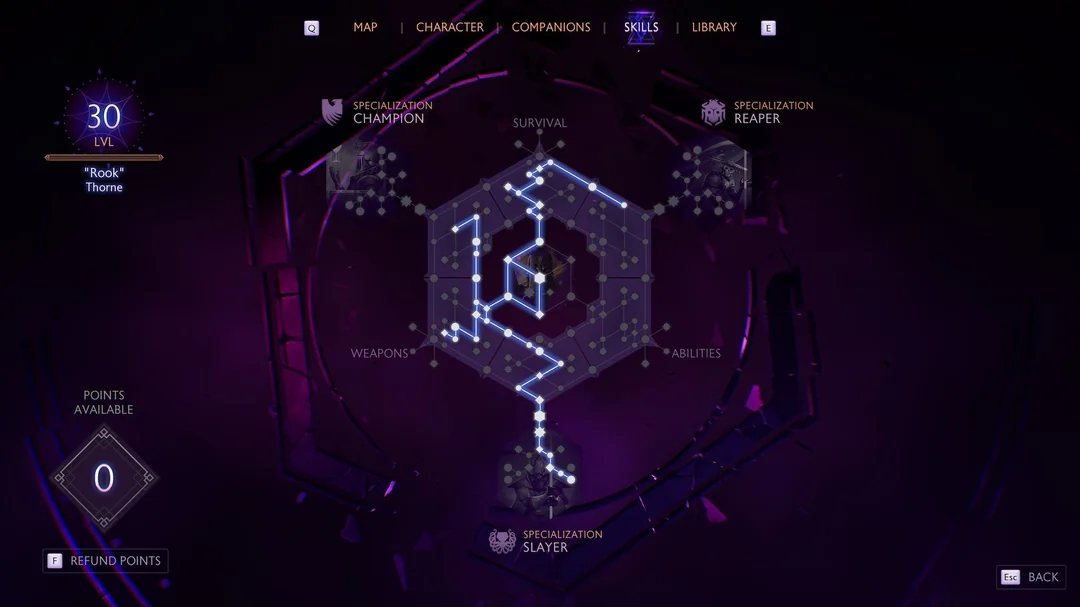
Assassin is what turns the Stealth Archer from “patient” to “predatory.” It doesn’t add new range skills so much as it supercharges what you already do: surgical openings, guaranteed crits out of stealth, and detonation-style finishers. The rotation becomes a tight loop of stealth windows, lethal openers, and clean exits, supported by passives that reward kills with more stealth and kills that hit harder the closer your enemies are to death.
Start fights with the classic Stealth → Full Draw opener on the most dangerous target in line of sight. The stealth bonus and Full Draw’s “full health” multiplier snap together for truly disgusting numbers; most trash dies instantly and elites are left bleeding out. From here, lean back into your Long Shot cadence at 25m+ while you set up the next window. When a priority target won’t drop cleanly, layer Mark of Death first. Every arrow you land charges the mark; detonate it manually at around eight seconds to cash out the full payout, then immediately vanish and set up your next clean shot. For targets that simply need to cease existing, tap Hidden Blades between stealth windows—post-upgrade, its extra procs push it into “point-and-delete” territory, and it slots neatly into your single-target burst without dragging you out of position.
The passives are what make the loop sing. Knife in the Shadows guarantees a crit every time you fire from stealth, so your first Long Shot out of invis is a mini-nuke. Throatcutter acts like a built-in execute, ramping your damage as health bars dip, which means anything that survives your opener becomes easier to finish with each follow-up arrow. And the keystone, I Was Never Here, resets Stealth on kill—this is the motor. Pick off a squishy, get stealth back, take another stealth shot, and keep the conveyor belt moving. In practice, encounters devolve into a rhythm of: stealth, Full Draw opener or Long Shot crit depending on target health, Hidden Blades to erase something stubborn, manual Mark of Death detonate to finish a bruiser, stealth reset from a kill, and repeat from a new angle.
Because your control is ranged, Explosive Shot keeps its niche even late: it breaks shield stances, interrupts charging brutes, and flips melee onto their backs so you can keep operating at max distance. If you’re tempted to fold in Leaping Shot, you absolutely can—it’s one of the strongest rogue buttons in the game—but this script deliberately proves you don’t need it (or Throwing Blades, or Pin Cushion) to make a ranged rogue feel dominant. The whole fantasy here is staying in the tree line and winning with clean shots, smart resets, and discipline.
A few quality-of-life notes for nightmare: play the camera, not the minimap—your line-of-sight lanes matter more than pathing. Fight from elevation whenever possible to keep Long Shot unobstructed and to buy yourself safer stealth re-entries. And if cooldowns feel long, lean into patience: sit in stealth, hard kite, and pick targets one at a time. The build doesn’t need to “pop off” to win; it just needs one good window every few seconds.
Final Levels
|
Level |
Spell/Passive |
|---|---|
|
11 |
Caltrops |
|
12 |
Hidden Blades |
|
13 |
I was Never Here |
|
14 |
Looked Like it Hurt |
|
15 |
Cheap Shot |
|
16 |
Knife in the Shadows |
|
17 |
Overkill (Hidden Blades) |
|
18 |
Mark of Death |
|
19 |
Throatcutter |
|
20 |
Mark of Doom (Mark of Death) |
|
21 |
Poisoned Weapons |
|
22 |
Infected Wounds |
|
23 |
Fighting Dirty |
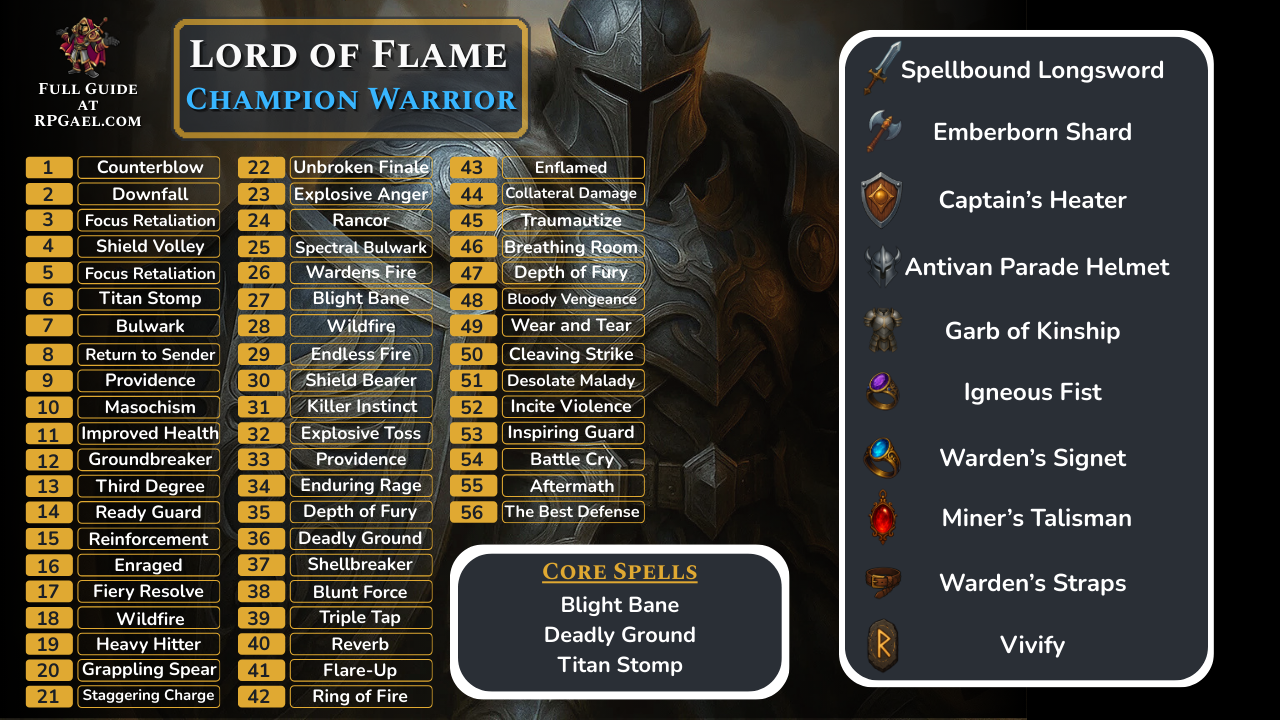
Build Snapshot
Support the Website
Thank you for choosing RPGael!
RPGael is kept ad-free so you can enjoy builds without distractions. If you’d like to support the site, you can donate through Ko-fi or check out the RedGael YouTube channel. Every bit of support helps keeps new content coming!

