
The Spellsword
Overview
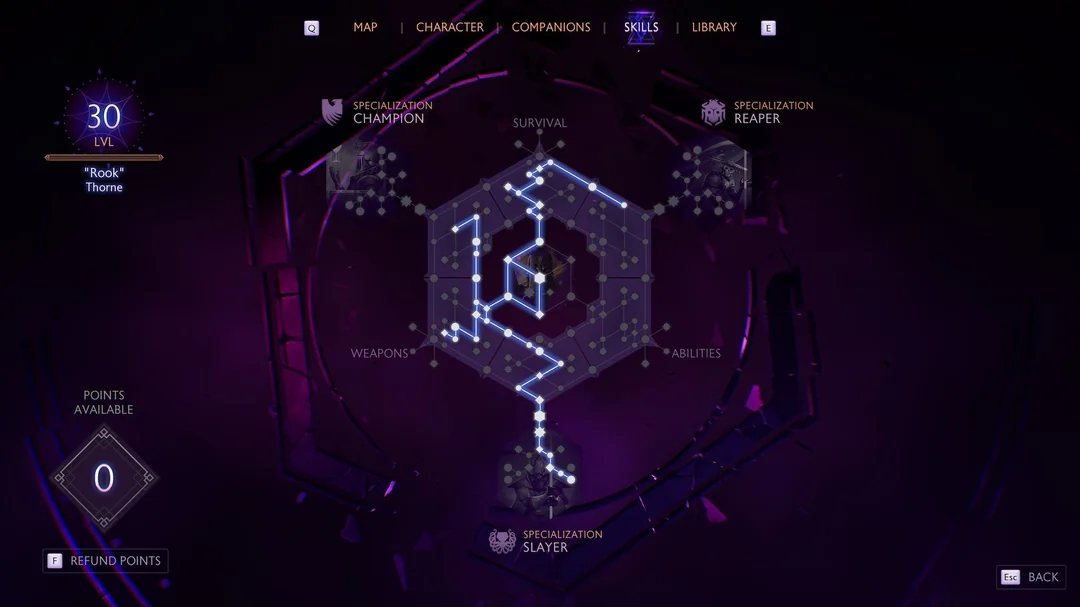
If you’ve ever wanted to play an in-your-face battle-mage who refuses to die, the Knight Enchanter is your playground. While mages in Inquisition often feel like back-line controllers, this specialization turns you into a front-liner powered by barriers, instant gap-closers, and relentless spell spam. On Nightmare, where mistakes are punished, the Knight Enchanter’s loop—deal damage to gain barrier, then spend that barrier to keep dealing damage—makes you absurdly durable without sacrificing pace. Spirit Blade gives you a satisfying arcane saber to swing, Fade Step turns you into a blur, and Fire Mine detonates rooms like a divine firecracker. With Fade Shield and Knight Protector sustaining a near-constant barrier, you can plant yourself in the thick of combat and carve. Play it aggressively: dash in, drop mines, cleave with Spirit Blade, pepper with Arcane/ Energy Barrage, and let your damage keep your defenses topped.
Early Game
Before Skyhold and specialization, you’ll play a classic caster from the back line. Chain Lightning, Immolate, and Energy Barrage will be your core rotation, with Fire Mine and Fade Step arriving as previews of the future. Until level 11, prioritize fights your tank can group: these three primaries have generous cones and arcs, so when enemies are stacked you’re hitting three or four targets per cast. Chain Lightning covers shock, Immolate covers fire, and Energy Barrage adapts to your staff element; that coverage matters because the Hinterlands and beyond are full of resistances and outright immunities.
Even in the early game, start forming Knight Enchanter habits. Drop Fire Mine where enemies are going to be, not where they are; it rewards prediction. Practice weaving Fade Step as both a dodge and a reposition tool, because later it becomes your greenlight to go melee. If you find yourself starved for survivability, kiting while your cooldowns cycle is fine—your power spike is coming.
For gear, crafted pieces are king this early. Defensive armor helps weather Nightmare’s opening hours, but the most reliable power gains come from utility and offensive slots. Socket crit chance, crit damage, Willpower, and Magic as you find them. Keep a shock staff and a fire staff on hand until Energy Barrage and Immolate are online together, then lean on Barrage for flexible damage typing. The goal is simply to reach Skyhold with good habits and enough stats to flip the switch when the specialization unlocks.
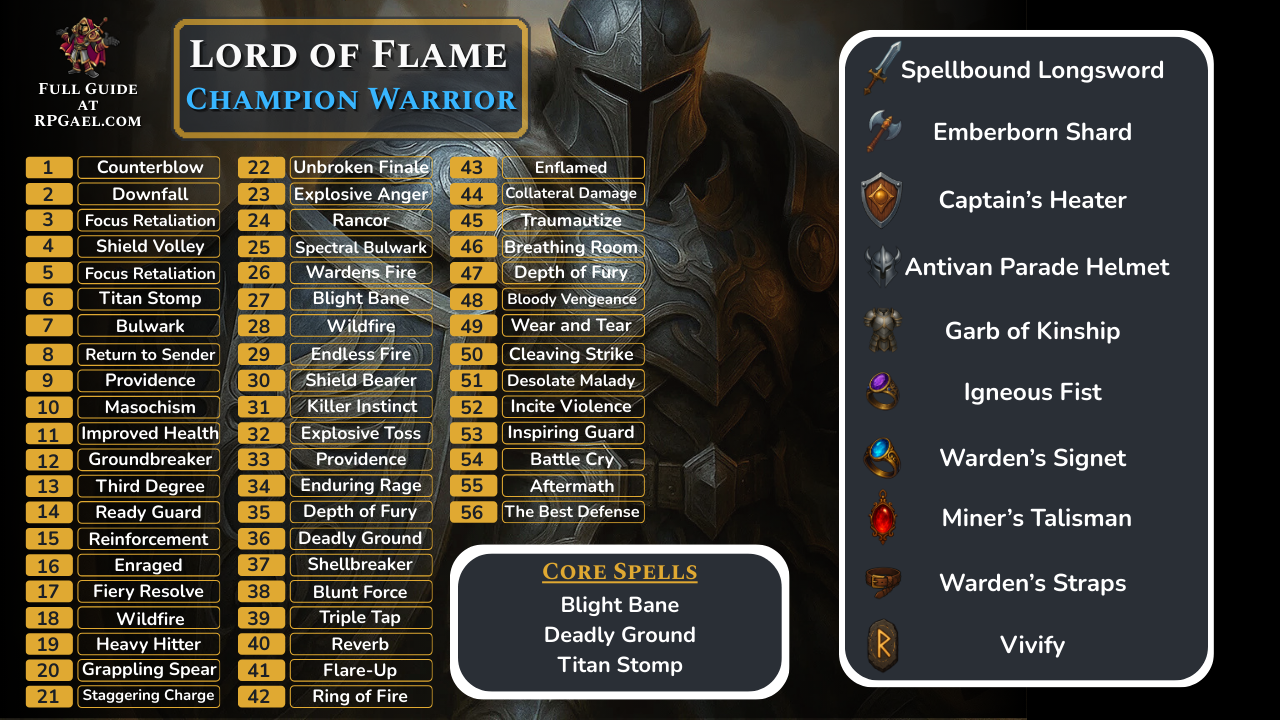
Early Levels
|
Level |
Spell/Passive |
|---|---|
|
1 |
Energy Barrage |
|
2 |
Energy Storm (Energy Barrage) |
|
3 |
Focus Retaliation |
|
4 |
Conductive Current |
|
5 |
Static Charge |
|
6 |
Fade Step |
|
7 |
Immolate |
|
8 |
Flash Point |
|
9 |
Pyromancer |
|
10 |
Fire Mine |
Equipment
|
Item |
Details |
|---|---|
|
Primary Weapon  Blade of Tidarion |
Provides +15% bonus damage and additional status effects |
|
Alternate Primary  Wrath of Lovias |
More then doubles your damage at the cost of additional mana |
|
Helmet  Superior Skirmisher Hat |
Additional fire damage and mana resource |
|
Armor 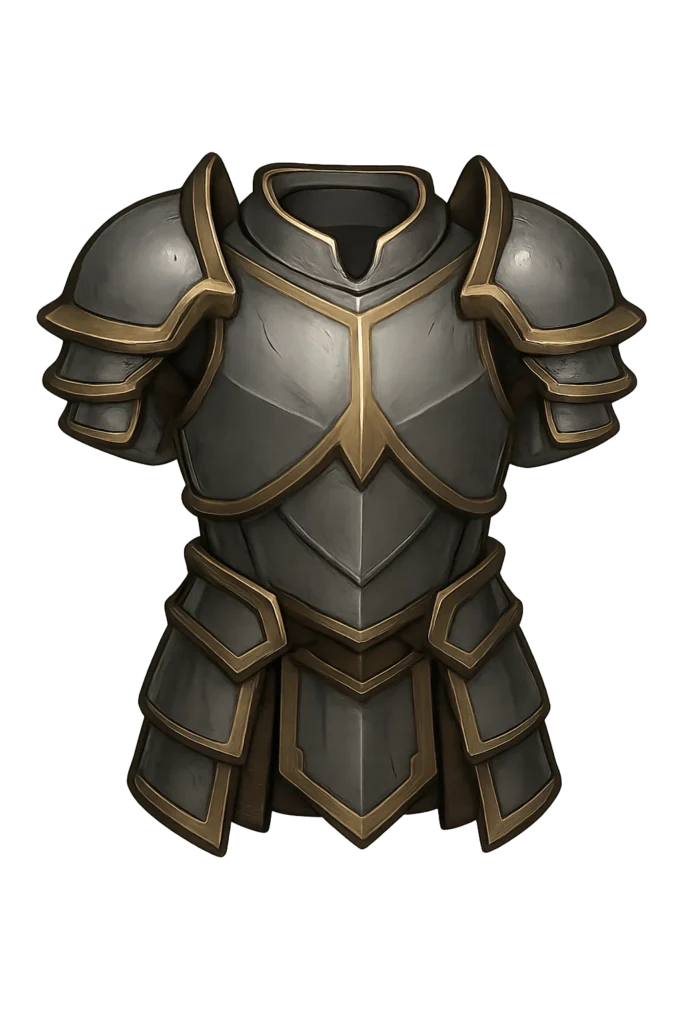 Superior Battlemage Armor |
Provides +30% damage from having all blast abilities and refunds 25% of mana cost on impact |
|
Ring 1  Ring of Doubt |
The best armor piece in The Veilguard, provides longer advantage duration, +10% damage for EVERY advantage (you will typically always have 3+), makes the advantages more effective and most importantly heals you for +5% when gaining an advantage which will offset the self damage of Maw of the Black City |
|
Ring 2  The Hand that Cuts |
Makes your abilities a guaranteed critical hit at the cost of our health, this issue is completely negated by Garb of Kinship & Twin Buckle Binding |
|
Amulet 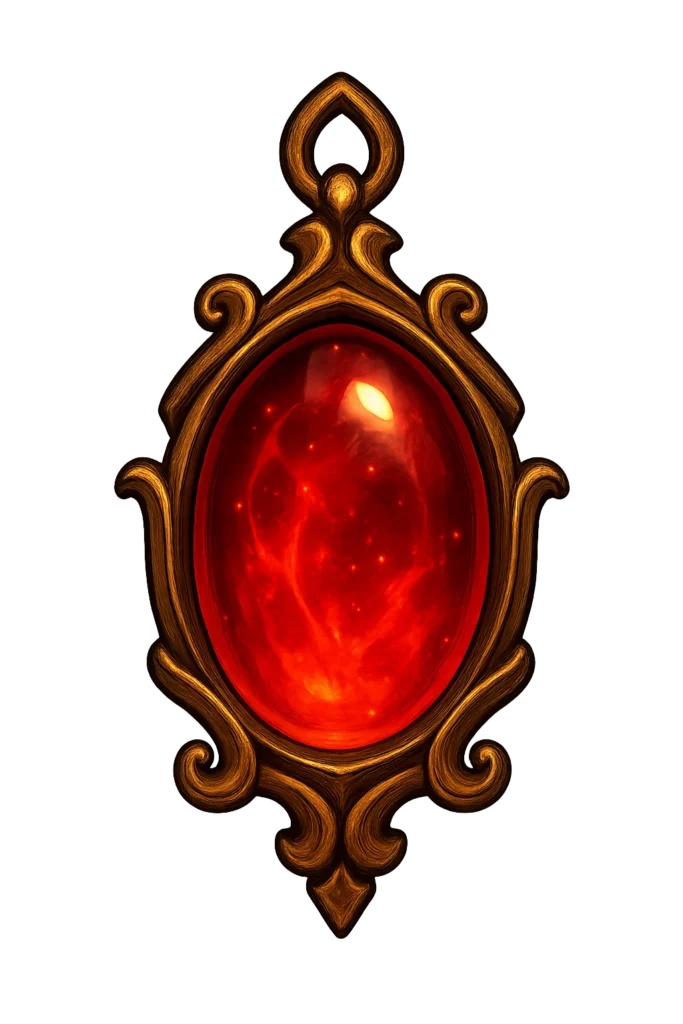 Andraste’s Sacrifice |
Extra Fire Damage |
|
Belt 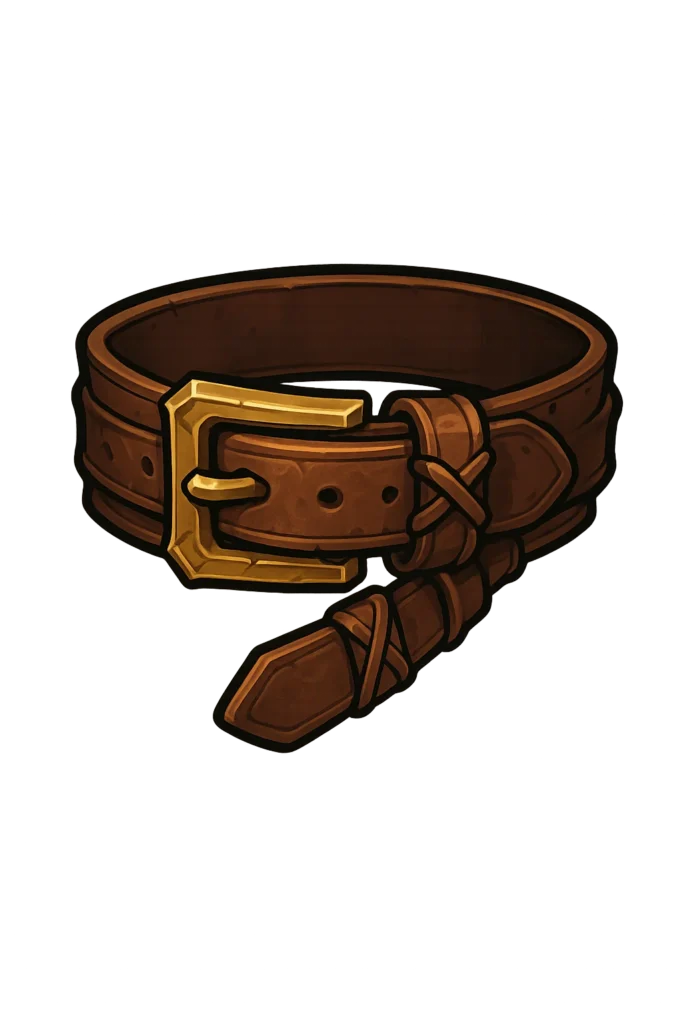 The Bind that Guides |
Significant boosts to our blast ability damage and returns our mana when critical hitting with blast abilities, working in perfect combination with Maw of the Black City |
Equipment Overview
Knight Enchanter will function with any decent kit, but the right pieces elevate it from strong to relentless. For armor, Superior Battlemage Armor paired with a Superior Skirmisher Hat gives the best blend of offensive and utility slots. Socket crit chance until you’re comfortable, then lean into crit damage, Magic, and Willpower. Masterwork procs that restore guard or grant heal-on-kill are nice, but the build’s true sustain is barrier throughput—don’t overinvest in passive defense at the expense of damage.
The weapon conversation is famous in Knight Enchanter circles. The stylish pick is the Blade of Tidarion, a unique one-hander mages can wield that perfectly fits the melee fantasy. It interacts cheekily with Energy Barrage—the well-known “extra projectile” quirk when you mismatch ruin and weapon element—which can juice on-hit effects and barrier gain. It feels incredible, it looks right, and it turns your mage into a glowing duelist. On pure DPS, however, a top-tier crafted staff like Encore or Wrath of Lovias tends to win in sustained damage and fluidity. Staves let you maintain pressure at every range and keep Barrage cycling smoothly without weapon swaps.
My guidance is simple: pick your fantasy. If you want the pure melee experience, use Blade of Tidarion and enjoy swashbuckling with arcane steel. If you prefer a hyper-smooth rotation and the highest numbers, craft a late-game staff and never look back. Either way, the core loop—Fade Step in, triple Fire Mine, Spirit Blade to spend, Barrage to refill, and constant barrier flow—remains the same. For rings, amulets, and belts, prioritize cast speed, mana/ focus generation, and raw offense. A cast-speed ring meaningfully tightens the rotation; crit-damage rings scale brilliantly with Fire Mine spikes; and anything that reduces ability cost keeps you glued to the front line longer.
Played boldly, the Knight Enchanter turns Nightmare into a highlight reel: blue barrier shimmering, mines roaring underfoot, a blade of light cutting arcs through the chaos. Build for damage, spend it for barrier, and never stop moving.
How to Play Late Game
Once you take Knight Enchanter, the fantasy becomes reality. Your core engine is three passives—Combat Clarity, Fade Shield, and Knight Protector—wrapped around a tight loop of Fade Step, Spirit Blade, Fire Mine, and Barrage. Combat Clarity feeds your mana when you’re close; Fade Shield converts 30% of your damage into barrier; Knight Protector slows barrier decay so your blue bar lingers while you chain casts. Together, they reward aggression.
Open fights by Fade Stepping into the pack at a diagonal to avoid body blocks, then instantly plant Fire Mine with the upgrade that drops three mines in a fan. That upgrade is the difference between “nice burst” and “what explosion?” As those detonate, start carving with Spirit Blade. Spirit Blade itself is a cheap, quick melee swipe whose damage scales off charges generated by your spell casts; the rhythm feels great—cast to charge, swing to spend, and repeat. Take its deflection upgrade for the Jedi-moment satisfaction and the safety; it will swat away the occasional projectile and make melee trading even safer.
Between swings, weave Arcane Barrage (or Energy Barrage depending on build) to refresh charges, tag distant threats, and keep Fade Shield pouring barrier into your bar. Barrage’s many hits pair beautifully with Fade Shield, letting you refill barrier even as you reposition. When packs loosen or elites arrive, kite with Fade Step in short, purposeful bursts that place you just off an enemy’s shoulder—close enough for Spirit Blade, never stuck in the center of three swings.
That’s the baseline cadence: Step in, lay mines, carve, barrage, step again. In tougher encounters, layer your other Knight Enchanter tools sparingly. Fade Cloak is a powerful panic button—brief invulnerability that can also deliver a massive discharge if you reappear inside a target. It’s not mandatory, but on Nightmare it erases burst windows from Revenants and Pride Demons. Disruption Field can stall fast movers or create a soft ring around your mines so enemies sit inside the danger zone longer; use it when you need time on target. Resurgence, the specialization focus, is a safety net: it revives and heals the team, but if you’re piloting the build well you won’t cast it often. It’s there for wipes, dragon nukes gone wrong, or chaotic rifts.
A few micro tips keep the engine purring. Drop Fire Mine slightly ahead of a pulled pack so your tank’s taunt or knockdown walks enemies across all three plates. Start Spirit Blade swings while pivoting your camera—its hitbox is forgiving, and you can “slew” the arc to catch adds. Don’t hoard mana: Combat Clarity replenishes it at melee range, so casting is defense as much as offense. And if a fight scatters, Fade Step to the most dangerous archer or mage, drop mines under them, and use them as an anchor while the field collapses toward you. The specialization is least comfortable when you’re chasing; solve that by making the fight come to you.
Final Levels
|
Level |
Spell/Passive |
|---|---|
|
11 |
Flaming Array (Fire Mine) |
|
12 |
Spirit Blade |
|
13 |
Combat Clarity |
|
14 |
Fade Shield |
|
15 |
Knight Protector |
|
16 |
Energizing Step (Fade Step) |
|
17 |
Clean Burn |
|
18 |
Defending Blade (Spirit Blade) |
|
19 |
Static Cage |
|
20 |
Lightning Cage (Static Cage) |
|
21 |
Fade Cloak |
|
22 |
Veiled Reposte |
|
23 |
Resurgence |
Build Snapshot
Related Builds
Support the Website
Thank you for choosing RPGael!
RPGael is kept ad-free so you can enjoy builds without distractions. If you’d like to support the site, you can donate through Ko-fi or check out the RedGael YouTube channel. Every bit of support helps keeps new content coming!

