
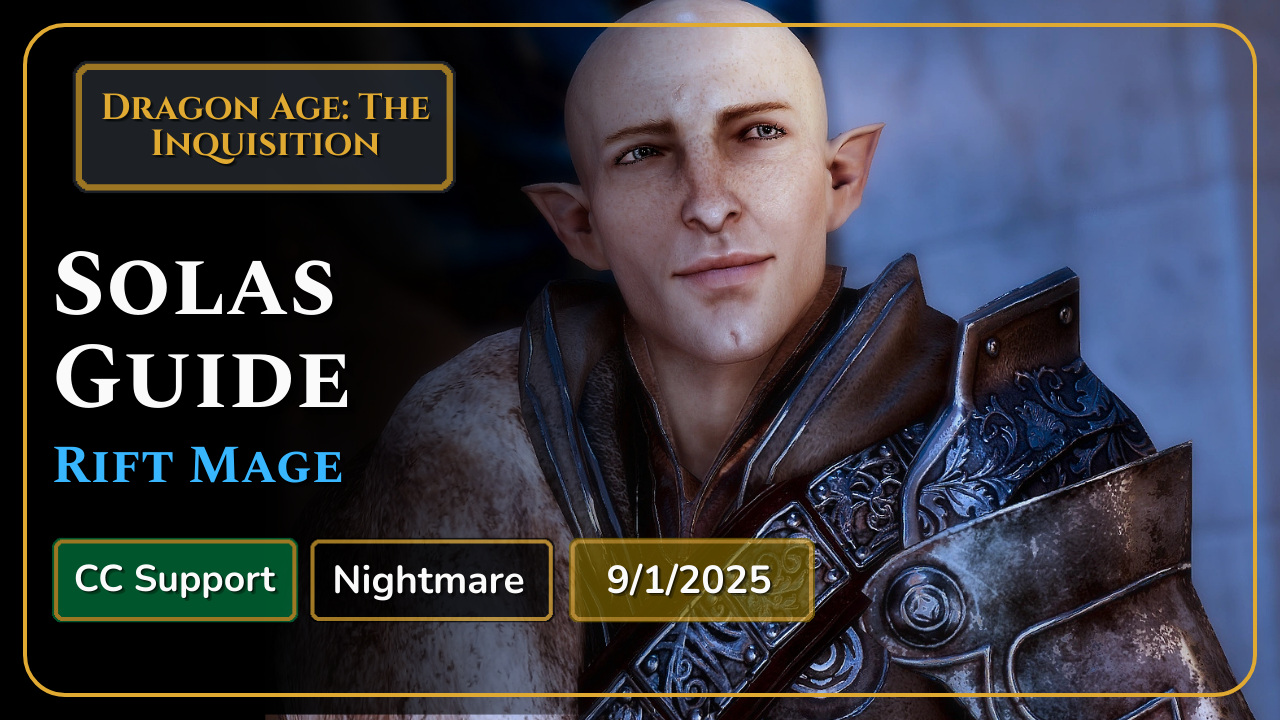
The Savior
Overview
The Rift Mage is one of the most satisfying specializations in Dragon Age Inquisition, and easily one of the strongest mage builds on Nightmare. Unlike the Night Enchanter, which thrives on survivability and melee aggression, the Rift Mage plays from the backline, dictating the flow of battle through weakening effects, powerful combos, and battlefield control.
What makes Rift Mage unique is the way it combines utility with raw destructive power. By chaining crowd control spells with devastating elemental abilities, you create windows where enemies are helpless and wide open to massive bursts of damage. Pull of the Abyss groups everything together, Veil Strike and Stonefist apply weaken, and then you detonate with Fire Mine or Firewall for catastrophic results. Every fight feels like setting a trap and then springing it at the perfect moment.
This build excels because it doesn’t rely on survivability gimmicks — instead, it keeps enemies disabled, debuffed, and destroyed before they can even retaliate. It’s also thematically fitting for the Inquisitor, as it uses Rift powers to tear the Fade open and weaponize it against your foes. If you want a backline mage who can both support allies and obliterate enemies, Rift Mage is one of the most rewarding choices in the game.
Early Game
Before specialization unlocks at Skyhold, you’ll play as a fairly standard mage. The first 10–11 levels can feel slow, but by picking the right abilities you’ll set yourself up for success once the Rift Mage tree opens.
Your core early game kit should look like this:
- Chain Lightning – Reliable AOE and great for enemies grouped by a tank. Provides consistent chip damage and shocks multiple targets.
- Immolate – Your bread-and-butter fire spell. Deals strong single-target damage while still hitting in a small AOE.
- Energy Barrage – Scales with your staff’s damage type, allowing flexible coverage of elements. Fantastic for finishing weakened enemies.
- Fade Step – Essential for mobility. Lets you reposition quickly, dash through enemies, and with its upgrade refunds mana for smooth rotations.
- Fire Mine – Your first big nuke. With upgrades, you’ll drop multiple mines in an array, making it devastating when cast on clustered targets.
The goal in early fights is to stay behind your tank, cast AOE spells, and keep your distance. Fade Step doubles as both an escape tool and an aggressive engage, letting you blink into position to drop Fire Mine directly on top of groups.
Early Levels
|
Level |
Spell/Passive |
|---|---|
|
2 |
Immolate |
|
3 |
Wildfire (Immolate) |
|
4 |
Barrier |
|
5 |
Energetic Defense (Barrier) |
|
6 |
Fade Step |
|
7 |
Energizing Step (Fade Step) |
|
8 |
Energy Barrage |
|
9 |
Flashpoint |
|
10 |
Pyromancer |
Equipment
|
Item |
Details |
|---|---|
|
Primary Weapon 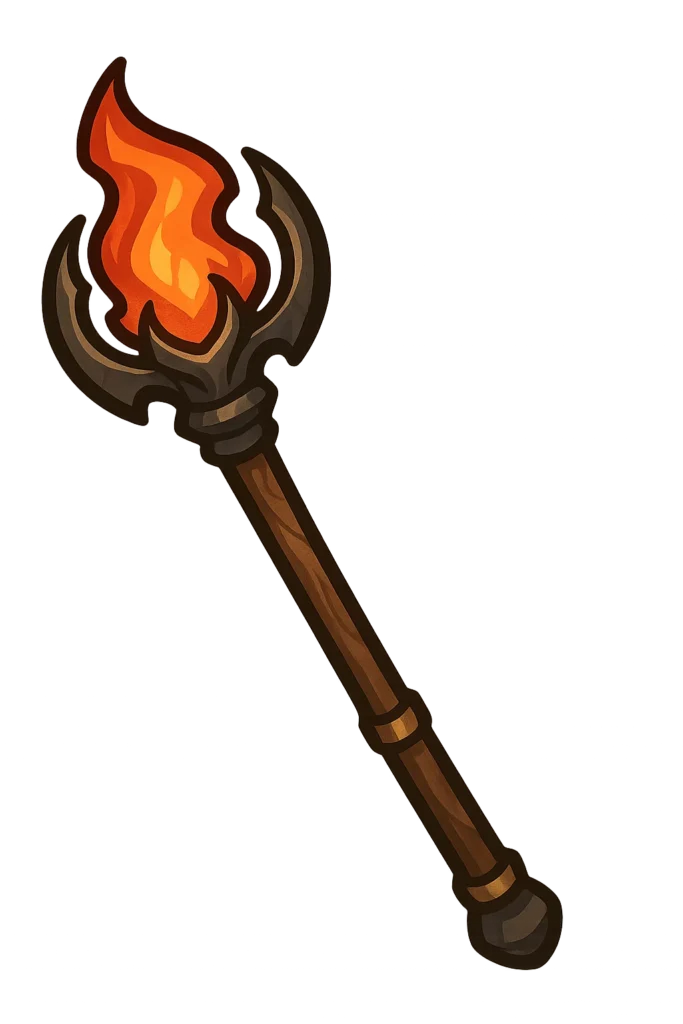 Wrath of Lovias |
Provides +15% bonus damage and additional status effects |
|
Helmet  Superior Skirmisher Hat |
More then doubles your damage at the cost of additional mana |
|
Armor 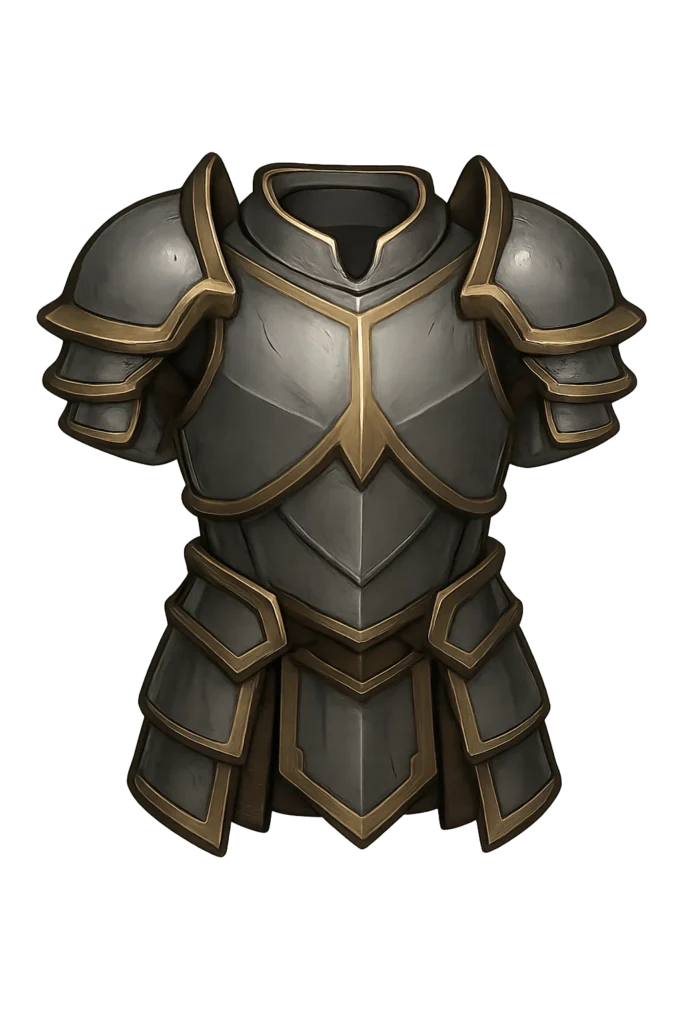 Superior Battlemage Armor |
Additional fire damage and mana resource |
|
Ring 1  Ring of Doubt |
Provides +30% damage from having all blast abilities and refunds 25% of mana cost on impact |
|
Ring 2  The Hand that Cuts |
The best armor piece in The Veilguard, provides longer advantage duration, +10% damage for EVERY advantage (you will typically always have 3+), makes the advantages more effective and most importantly heals you for +5% when gaining an advantage which will offset the self damage of Maw of the Black City |
|
Amulet 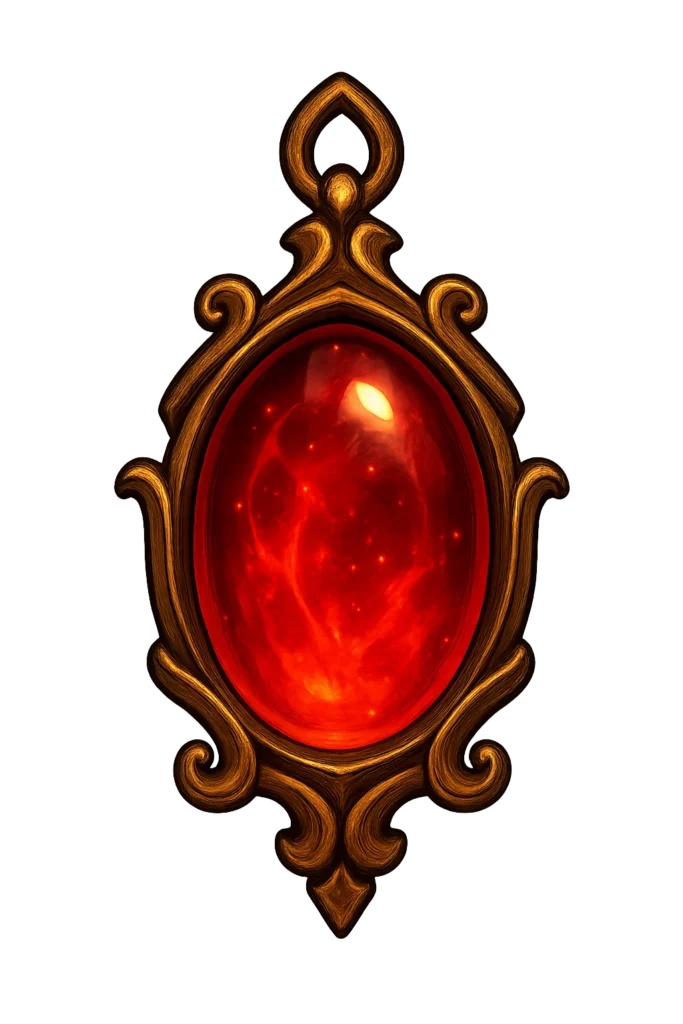 Andrastes Sacrifice |
Makes your abilities a guaranteed critical hit at the cost of our health, this issue is completely negated by Garb of Kinship & Twin Buckle Binding |
|
Belt  The Bind that Guides |
Extra Fire Damage |
Equipment Overview
Armor
- Superior Skirmisher Hat and Superior Battlemage Armor – Best slot distribution for offensive crafting. Stack crit chance, crit damage, Willpower, and Magic to boost all damage output.
- Survivability isn’t as important here as in the early game, since weaken effects already reduce incoming damage.
Weapons
The best staves for Rift Mage are:
- Wrath of Lovias – Strong damage, craftable, and reliable.
- Staff of Corruption – Another excellent crafted option with great stats.
- Encore – One of the strongest mage weapons in the game if you can acquire it.
All three are excellent, and your choice comes down to availability and crafting materials.
Accessories
Rings, amulets, and belts must be acquired through quests, vendors, or exploration. Prioritize:
Stamina or mana reduction effects to keep spell rotations flowing.
Crit chance and crit damage for higher burst.
How to Play Late Game
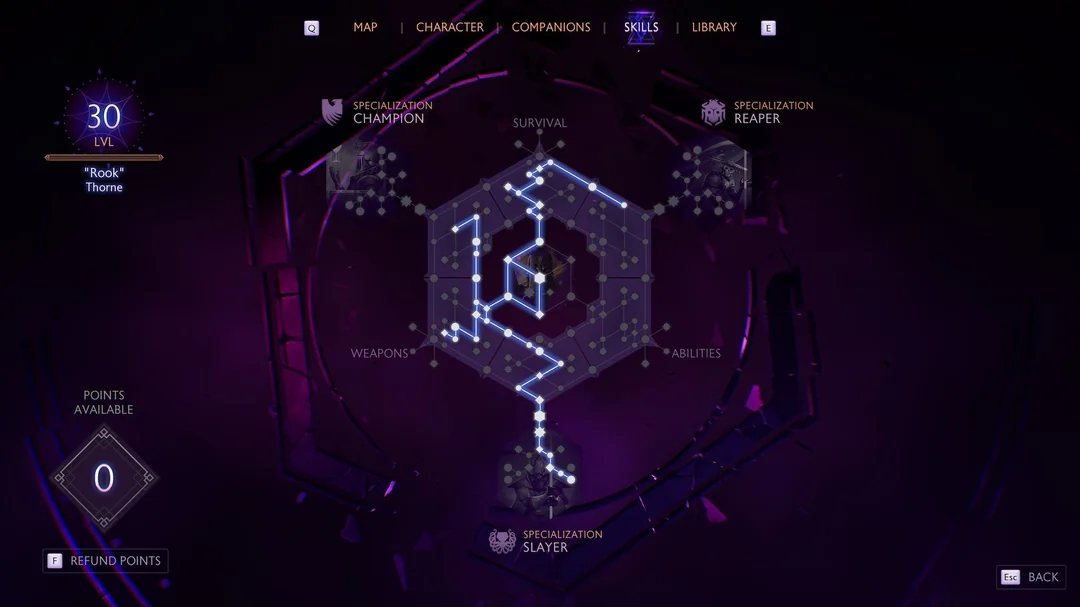
Specialization & Skill Tree
Once you unlock Rift Mage, the build truly comes alive. This specialization thrives on spreading weaken across enemies and then detonating with devastating spells.
Core Abilities
- Stonefist – Summons a boulder from the Fade to smash an enemy. With the upgrade, it deals AOE damage and applies weaken. Stonefist is spammable, hard-hitting, and one of your core setup tools.
- Veil Strike – Summons a fist from the Fade to knock down and weaken enemies in a wide AOE. Excellent for controlling melee threats or setting up detonations.
- Pull of the Abyss – The signature Rift Mage ability. Creates a gravitational vortex that drags enemies into the center. Perfect for grouping targets before unloading Fire Mine, Firewall, or Stonefist.
Passives
Every passive in the tree revolves around weaken and makes it more rewarding:
- Restorative Veil – Restores mana when you damage weakened targets.
- Smothering Veil – Reduces damage from weakened enemies, making you tougher.
- Twisting Veil – Increases damage dealt to weakened targets.
- Encircling Veil – Extends the duration of weaken effects.
These passives ensure that once enemies are weakened, they’re not only hitting softer but also fueling your mana pool while you annihilate them.
Focus Ability
Firestorm – Calls down meteors over a wide area for massive fire damage. It’s a strong choice, but some players prefer Mark of the Rift for flavor. Firestorm synergizes nicely with grouped enemies from Pull of the Abyss, making it an excellent option for big fights.The Rift Mage playstyle is about setup and execution. You’re not spamming random spells — you’re creating a carefully timed rotation that controls enemies and maximizes damage.
The standard combo flow is:
- Apply Weaken – Use Stonefist or Veil Strike to debuff enemies.
- Group Targets – Cast Pull of the Abyss to cluster enemies into one spot.
- Engage with Fade Step – Dash through the enemies for mana return and positioning.
- Detonate with Fire Mine – Drop your upgraded Fire Mine directly on the grouped enemies for catastrophic damage.
- Follow Up with Firewall or Energy Barrage – Layer extra damage over the weakened group.
By repeating this sequence, you’ll control the pace of fights. Enemy mages and archers get pulled out of safety, melee swarms are frozen in place, and everything ends with a minefield of explosions.
The weaken effect ensures that while enemies are alive, they deal reduced damage, making your party safer. Your passives then feed mana regeneration and damage boosts, letting you sustain your rotation with little downtime. The result is a constant cycle of battlefield manipulation and detonations that clears even Nightmare encounters quickly.
Against bosses, you won’t have as many grouping opportunities, but Stonefist spam plus Fire Mine and Firestorm still give you some of the best burst potential of any mage specialization.
Final Levels
|
Level |
Spell/Passive |
|---|---|
|
11 |
Fire Mine |
|
12 |
Flaming Array (Fire Mine) |
|
13 |
Stonefist |
|
14 |
Shatterstone (Stonefist) |
|
15 |
Encircling Veil |
|
16 |
Twisting Veil |
|
17 |
Pull of the Abyss |
|
18 |
Devouring Veil (Pull of the Abyss) |
|
19 |
Veilstrike |
|
20 |
Punching Down (Veilstrike) |
|
21 |
Restorative Veil |
|
22 |
Clean Burn |
|
23 |
Wall of Fire |
Build Snapshot
Related Builds
Support the Website
Thank you for choosing RPGael!
RPGael is kept ad-free so you can enjoy builds without distractions. If you’d like to support the site, you can donate through Ko-fi or check out the RedGael YouTube channel. Every bit of support helps keeps new content coming!

