
Give No Mercy
Overview
The Deathcaller Mage offers one of the most unique playstyles in Dragon Age: The Veilguard. Instead of weaving spells together or managing momentum carefully, this build transforms you into an unstoppable beam cannon who drains enemies while keeping yourself at full health. Once online, the build feels like piloting a lawnmower through the battlefield, with the beam auto-tracking targets, evaporating mobs in seconds, and leaving you nearly unkillable.
What makes the Deathcaller specialization so devastating is its synergy between self-sustain, near-infinite damage uptime, and passives that supercharge staff overcharges. You don’t juggle mana like other mages—you burn health instead, but because your beam leeches so aggressively, you never drop. The result is a low-effort, effective playstyle that feels unfairly strong and is arguably the easiest way to beat Nightmare.

Early Game
Mage early game is usually rough, but Deathcaller gets an edge thanks to Frost Nova, which you unlock right away. It freezes everything around you without costing mana, keeping enemies locked down so you can safely weave autos or detonate spirit bombs. Combine this with Corrupted Ground, which deals steady necrotic damage under frozen enemies, and you’ll cruise through the early levels with one of the smoothest mage openings possible.
Your third option is Ice Blast, which offers decent damage and applies weaken or chill for setup. It isn’t flashy, but in the early game it’s more reliable than Arcane Shot for single-target pressure. With Frost Nova freezing packs and Corrupted Ground chewing them up, Ice Blast fills the gaps when you need ranged control.
For passives, nothing game-changing arrives until the Deathcaller tree, so we just take what helps survival and utility. A small note—avoid leaning too hard on your beam staff in the early game. Mana is too precious, and the payoff isn’t there yet. Stick with Orb and Dagger or staff autos while saving mana for your spells.
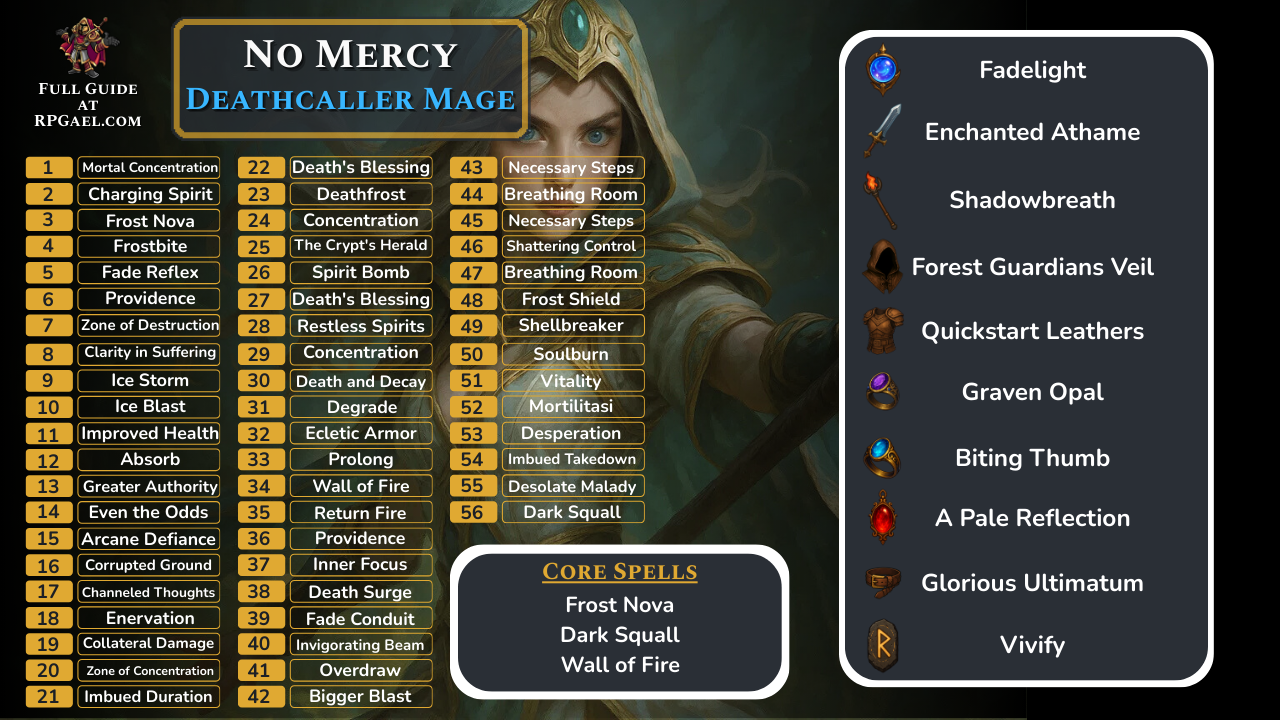
Early Levels
|
Level |
Spell/Passive |
|---|---|
|
1 |
Mortal Concentration |
|
2 |
Charging Spirit |
|
3 |
Frost Nova |
|
4 |
Frostbite |
|
5 |
Fade Reflex |
|
6 |
Providence |
|
7 |
Zone of Destruction |
|
8 |
Clarity in Suffering |
|
9 |
Ice Storm |
|
10 |
Ice Blast |
|
11 |
Improved Health |
|
12 |
Absorb |
|
13 |
Greater Authority |
|
14 |
Even the Odds |
|
15 |
Arcane Defiance |
|
16 |
Corrupted Ground |
|
17 |
Channeled Thoughts |
|
18 |
Enervation |
|
19 |
Collateral Damage |
|
20 |
Zone of Concentration |
|
21 |
Imbued Duration |
|
22 |
Death’s Blessing |
|
23 |
Deathfrost |
|
24 |
Concentration |
|
25 |
The Crypt’s Herald |
|
26 |
Spirit Bomb |
|
27 |
Death’s Blessing |
|
28 |
Restless Spirits |
|
29 |
Concentration |
|
30 |
Death and Decay |
Equipment
|
Item |
Details |
|---|---|
|
Primary Weapon Fadelight |
Provides +15% bonus damage and additional status effects |
|
Secondary Weapon 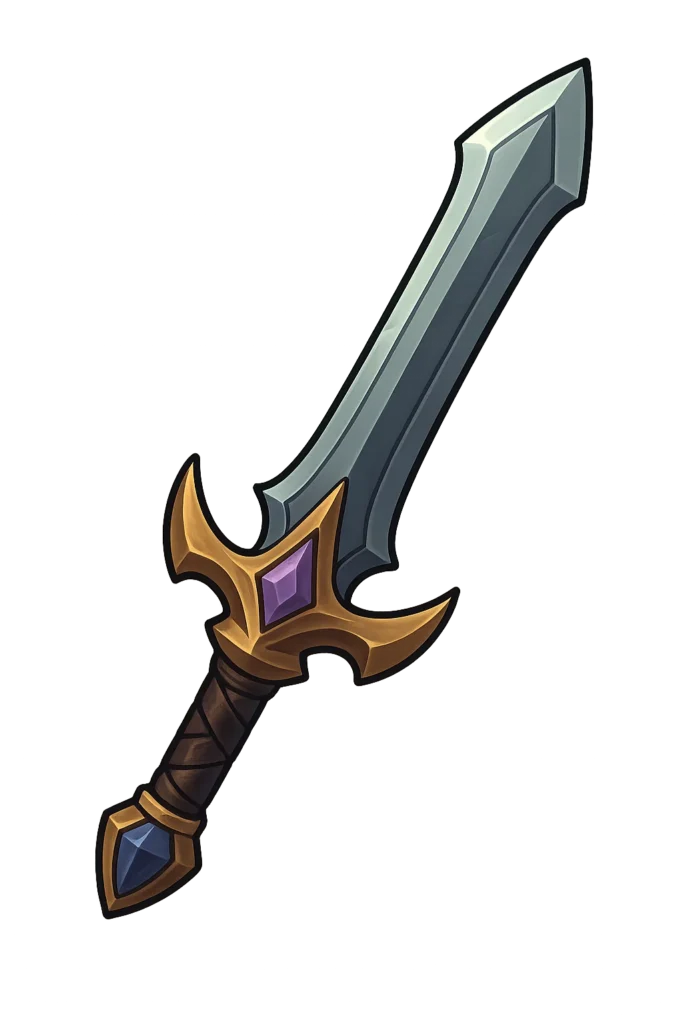 Enchanted Athame |
More then doubles your damage at the cost of additional mana |
|
Staff 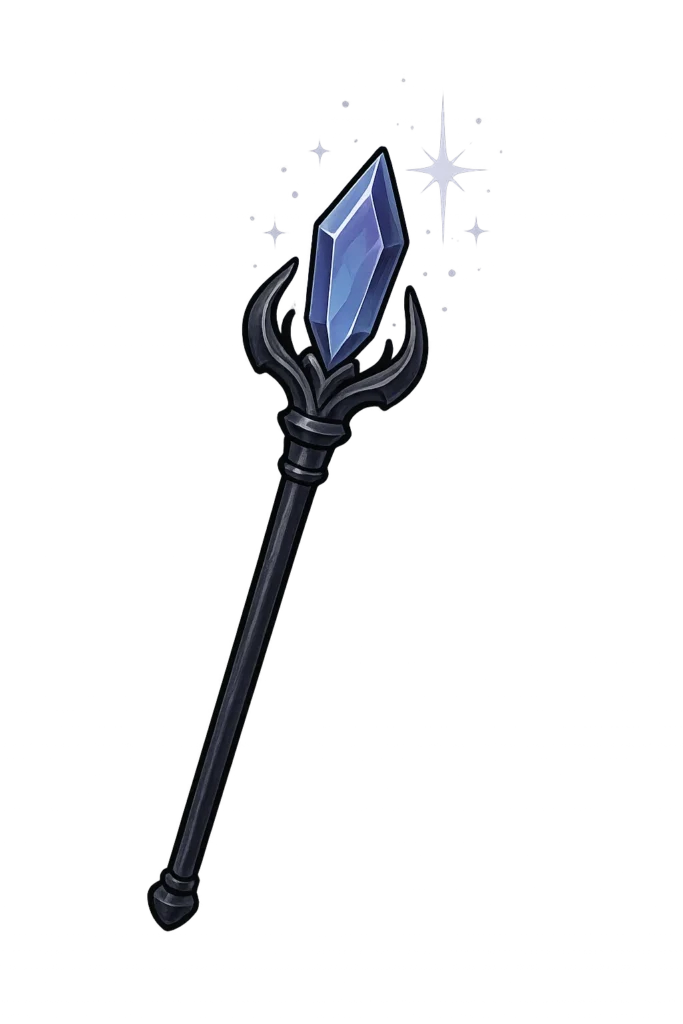 Shadowbreath |
Additional fire damage and mana resource |
|
Helmet  Forest Guardians Veil |
Provides +30% damage from having all blast abilities and refunds 25% of mana cost on impact |
|
Armor  Quickstart Leathers |
The best armor piece in The Veilguard, provides longer advantage duration, +10% damage for EVERY advantage (you will typically always have 3+), makes the advantages more effective and most importantly heals you for +5% when gaining an advantage which will offset the self damage of Maw of the Black City |
|
Ring 1  Graven Opal |
Makes your abilities a guaranteed critical hit at the cost of our health, this issue is completely negated by Garb of Kinship & Twin Buckle Binding |
|
Ring 2  Biting Thumb |
Extra Fire Damage |
|
Amulet  A Pale Reflection |
Significant boosts to our blast ability damage and returns our mana when critical hitting with blast abilities, working in perfect combination with Maw of the Black City |
|
Belt  Glorious Ultimatum |
Extra healing and ability damage |
|
Rune 1  Vivify |
Ability cooldowns are refreshed and the next ability is free |
|
Rune 2 ? |
Passive +10% Ability damage |
|
Rune 3 ? |
Passive +10% Fire damage |
Equipment Overview
Deathcaller doesn’t rely on a complicated gear puzzles, but there are a few standout synergies that elevate the beam playstyle:
- Fadelight – Your best all-around staff choice, as it increases both damage and healing. The sustain boost ensures you stay topped off even against larger mobs.
- Enchanted Athame – A dagger that gives a massive damage boost in mana-starved setups. Because this build abandons mana management, Athame is essentially free power.
- Shadowbreath – Excellent for boosting weak point damage and extending beam range, letting you melt enemies from further away. Swap to fire or necrotic staves situationally depending on enemy type.
For armor, Quickstart Leathers are a perfect fit, amplifying ranged damage especially against barriers, which pairs beautifully with how easily the beam tears through defenses. The Forest Guardian’s Veil helmet synergizes just as well, delivering huge weak point bonuses and makes barrier enemies simply vanish.
Accessories help tie the build together. A Pale Reflection provides a near-permanent 20% damage increase since weak enemies are always present, while also keeping your ultimate charged almost nonstop. Graven Opal and Biting Thumb stack on more ranged and weak point bonuses, reinforcing your core playstyle. And because you don’t need healing, the Glorious Ultimatum belt becomes a fun choice, keeping your ultimate, Crypt’s Herald, up constantly as a panic button.
Runes round out the loadout. Shatter adds strong passive damage with a useful knockdown active, Pierce helps cut through tankier enemies with extra penetration, and Ascend provides a flat damage boost, just don’t activate it, since the health drain is unnecessary.
How to Play Late Game
Once you unlock the Deathcaller specialization, the build shifts dramatically. At this stage you stop caring about mana and rely almost entirely on cooldown abilities and beam passives. Frost Nova remains your MVP, freezing huge areas to line up weak points. Ice Blast becomes free with the right passive, offering big AoE damage and weaken without taxing resources. Dark Squall adds crowd control, knocking back or chilling enemies that rush you.
The real star of the build is in its passives. Death Surge turns overcharged staff beams into a win condition—the overcharge hits absurdly hard, and when chained properly, it can delete entire squads. Invigorating Beam makes you immortal by converting beam damage into healing. Soul Burn adds huge weak point damage when aimed carefully, rewarding precision. And Mortal Aegis ensures you never run out of steam by letting you spend health instead of mana, which is instantly replenished by the beam’s leech effect. Together these passives form the “infinite beam loop,” where you never stop firing and never die.
The playstyle becomes laughably simple. Freeze packs with Frost Nova, overcharge your staff into Death Surge, and let Invigorating Beam sustain you while enemies melt. Use Ice Blast when you want extra AoE, Dark Squall to peel back attackers, and hit your ultimate whenever you feel pressured—it makes you invulnerable, heals you, and wipes the field. With Glorious Ultimatum, you’ll have Crypt’s Herald available so often it feels permanent.
By the late game, Deathcaller is less a mage and more of a power-washer simulator. It’s not the flashiest build, but the sheer efficiency is undeniable. You’ll beam through bosses, delete barrier users instantly, and laugh at the idea of dying. On Nightmare, very few setups feel as effortlessly dominant.
Final Levels
|
Level |
Spell/Passive |
|---|---|
|
31 |
Degrade |
|
32 |
Ecletic Armor |
|
33 |
Prolong |
|
34 |
Wall of Fire |
|
35 |
Return Fire |
|
36 |
Providence |
|
37 |
Inner Focus |
|
38 |
Death Surge |
|
39 |
Fade Conduit |
|
40 |
Invigorating Beam |
|
41 |
Overdraw |
|
42 |
Bigger Blast |
|
43 |
Necessary Steps |
|
44 |
Breathing Room |
|
45 |
Necessary Steps |
|
46 |
Shattering Control |
|
47 |
Breathing Room |
|
48 |
Frost Shield |
|
49 |
Shellbreaker |
|
50 |
Soulburn |
|
51 |
Vitality |
|
52 |
Mortilitasi |
|
53 |
Desperation |
|
54 |
Imbued Takedown |
|
55 |
Desolate Malady |
|
56 |
Dark Squall |
|
57 |
Underestimated |
|
58 |
Keen Insight |
|
59 |
Multiplicity |
|
60 |
Salt in the Wound |
|
61 |
Wrath |
|
62 |
Meteor |
|
63 |
Fade Strike |
|
64 |
Quick Recovery |
|
65 |
Chain Lightning |
- Every ability node is an extra 15% passive damage so we want to grab as many abilities as possible even if we are not using them
Build Snapshot
Related Builds

Support the Website
Thank you for choosing RPGael!
RPGael is kept ad-free so you can enjoy builds without distractions. If you’d like to support the site, you can donate through Ko-fi or check out the RedGael YouTube channel. Every bit of support helps keeps new content coming!

