
The Revenant
Overview

Early Game
In character creation, Veil Rangers offer the best raw efficiency with weak point damage, while Mour Watch provides extra affliction damage and stronger roleplay synergy. Either choice is excellent, though Mour Watch pairs especially well with the theme of the build.
Warriors excel in the opening levels, and this build is no different. You’ll be using sword and shield, leaning on strong passives to win fights quickly and safely.
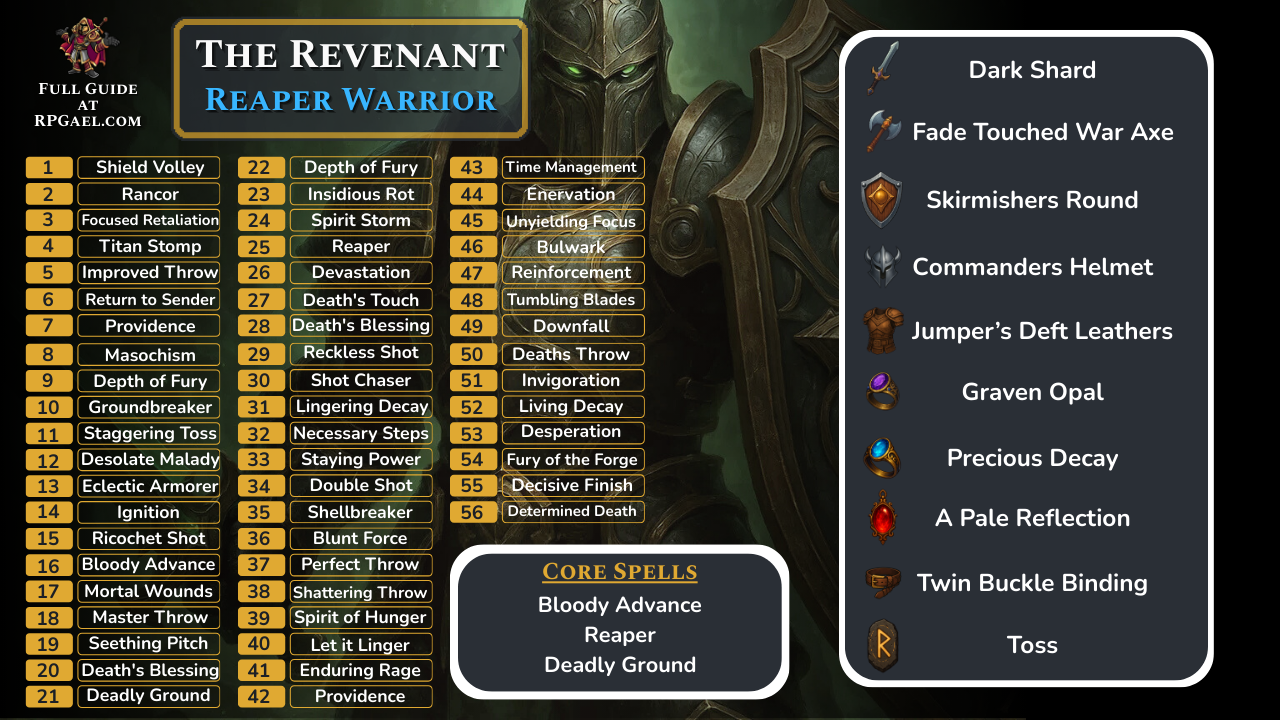
Core Abilities (Early Game):
- Titan Stomp – The best early warrior spell. Free CC in a wide area, applies Overwhelm, and costs no rage.
- Driving Kick – Strong utility tool for punting enemies off ledges, saving time against high-health foes.
- Bloody Advance – Fires blades that apply Sunder and Bleed, then detonates into an AOE if followed with a shield strike.
Key Passives:
- Shield Volley – Enables bouncing your shield up to three times for massive early burst. Use this constantly to delete ranged enemies.
- Return to Sender – Reflects most projectiles, keeping you safe until red attacks appear.
Together, these abilities make the early game feel trivial — CC from Titan Stomp, cleanup with shield toss, and punting elites off cliffs when needed.
Early Levels
|
Level |
Spell/Passive |
|---|---|
|
1 |
Shield Volley |
|
2 |
Rancor |
|
3 |
Focused Retaliation |
|
4 |
Titan Stomp |
|
5 |
Improved Throw |
|
6 |
Return to Sender |
|
7 |
Providence |
|
8 |
Masochism |
|
9 |
Depth of Fury |
|
10 |
Groundbreaker |
|
11 |
Staggering Toss |
|
12 |
Desolate Malady |
|
13 |
Eclectic Armorer |
|
14 |
Ignition |
|
15 |
Ricochet Shot |
|
16 |
Bloody Advance |
|
17 |
Mortal Wounds |
|
18 |
Master Throw |
|
19 |
Seething Pitch |
|
20 |
Death’s Blessing |
|
21 |
Deadly Ground |
|
22 |
Depth of Fury |
|
23 |
Insidious Rot |
|
24 |
Spirit Storm |
|
25 |
Reaper |
|
26 |
Devastation |
|
27 |
Death’s Touch |
|
28 |
Death’s Blessing |
|
29 |
Reckless Shot |
|
30 |
Shot Chaser |
Equipment
|
Item |
Details |
|---|---|
|
Primary Weapon 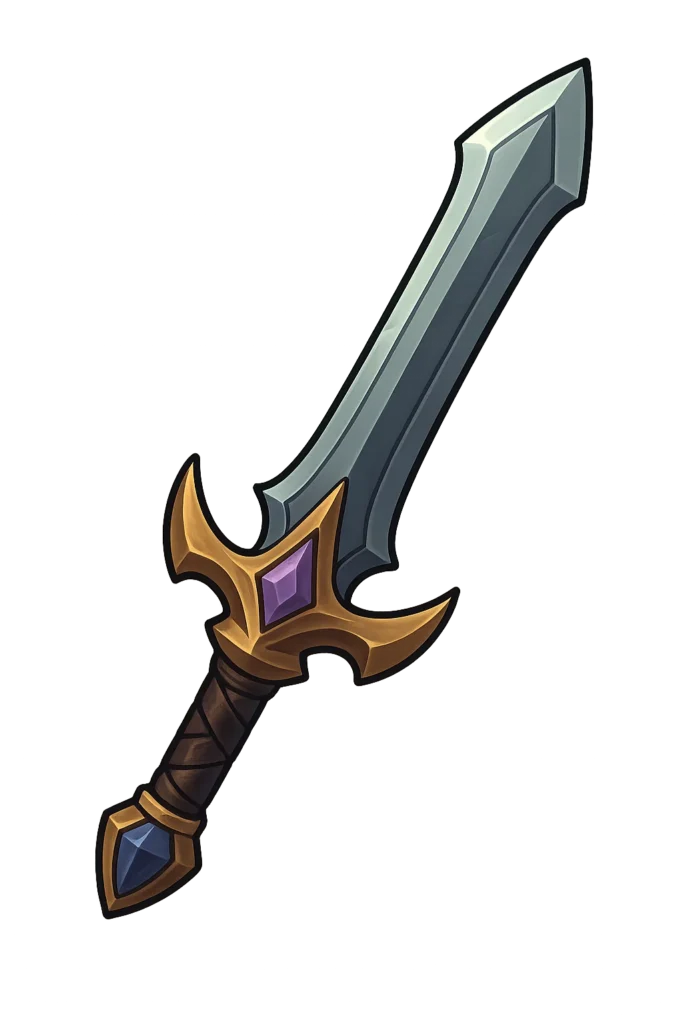 Dark Shard |
Provides +15% bonus damage and additional status effects |
|
Secondary Weapon 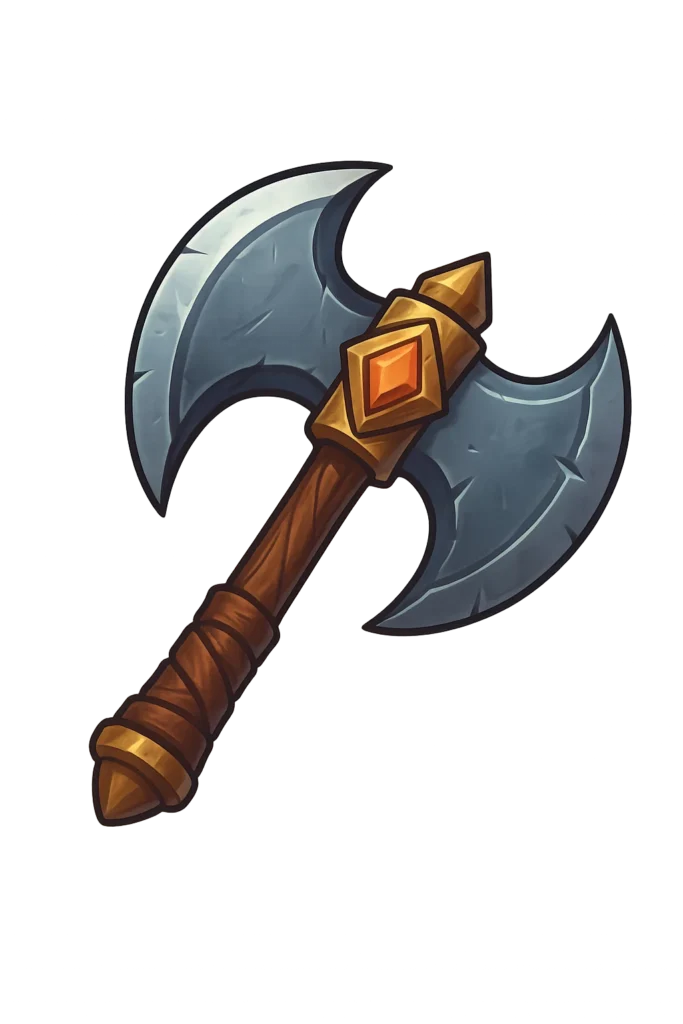 Fade Touched War Axe |
More then doubles your damage at the cost of additional mana |
|
Shield  Skirmisher’s Round |
Additional fire damage and mana resource |
|
Helmet Field Commanders Helmet |
Provides +30% damage from having all blast abilities and refunds 25% of mana cost on impact |
|
Armor 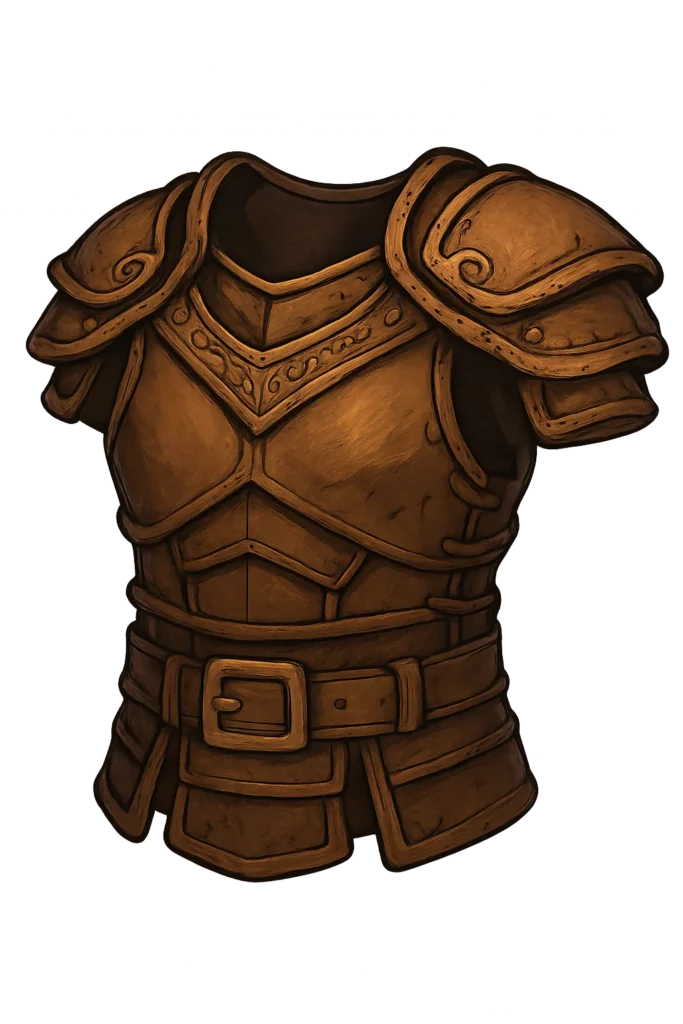 Jumper’s Deft Leathers |
The best armor piece in The Veilguard, provides longer advantage duration, +10% damage for EVERY advantage (you will typically always have 3+), makes the advantages more effective and most importantly heals you for +5% when gaining an advantage which will offset the self damage of Maw of the Black City |
|
Ring 1  Graven Opal |
Makes your abilities a guaranteed critical hit at the cost of our health, this issue is completely negated by Garb of Kinship & Twin Buckle Binding |
|
Ring 2  Precious Decay |
Extra Fire Damage |
|
Amulet  A Pale Reflection |
Significant boosts to our blast ability damage and returns our mana when critical hitting with blast abilities, working in perfect combination with Maw of the Black City |
|
Belt  Twin Buckle Binding |
Extra healing and ability damage |
|
Rune 1  Toss |
? |
|
Rune 2 Vivify |
Ability cooldowns are refreshed and the next ability is free |
|
Rune 3 Scourge |
? |
Equipment Overview
The Shield Reaper is built around maximizing shield toss damage and layering as much necrotic scaling as possible. The core weapon synergy starts with Dark Shard, which boosts necrotic damage by a flat 15%, amplifying the build’s already heavy necrotic lean. Paired with the Fade-Touched War Axe, you get a reliable secondary slot that keeps damage output steady when weaving in charge attacks, though its main value is simply padding out the raw numbers while the shield does the real work. The centerpiece is of course the shield, and here Skirmisher’s Round fits perfectly — the added weak point and ranged damage directly boost every toss, and the bonus bounce damage stacks beautifully with Perfect Throw, ensuring each ricochet hits harder. For certain encounters, like against Antom, the Necropolis Defender shield can be swapped in since it layers on more necrotic scaling and applies necrosis on the first hit of a charged toss, but Skirmisher’s Round is generally the stronger default. Together, these weapons are less about versatility and more about reinforcing the single theme: every throw becomes devastating, chaining crits and necrotic ticks across the entire fight.
On the armor side, the entire build revolves around amplifying ability uptime and feeding into shield toss spam. The Field Commander Helm is the most broken piece here, scaling damage by 1% per two rage and pushing this build into absurd territory once you’re sitting at over 300 rage. Combined with Vivify as a rune, it lets you frontload six boosted casts in a row, essentially doubling your opener’s burst. For the chest slot, Veil Jumper’s Leathers slot in perfectly since this is a ranged warrior build — the bonus to ranged and charged shield toss damage, plus added defense while charging, makes surviving in the thick of combat effortless. Hall’s Grace ties everything together by drastically lowering cooldowns while Quickened is active, turning abilities that would normally feel sluggish into near-constant tools for chaining momentum. The accessory suite continues the necrotic theme: Graven Opal and Precious Decay both stack damage multipliers on weak points and necrotic abilities, while the Twin Buckle Binding belt shores up survivability by healing you on Quickened procs. Finally, runes like Vivify, Toss, and Scourge reinforce the loop — Vivify resets abilities after a dump, Toss adds one more bounce to every shield, and Scourge tacks on yet another necrotic boost. When all of these pieces come together, your shields aren’t just ricocheting; they’re detonating entire encounters in a blur of crits, necrosis, and rage-fueled multipliers.
How to Play Late Game
Once you unlock the Reaper specialization, the build fully comes online around Bloody Advance and shield toss synergies. Bloody Advance is more than just a projectile—it applies both Sunder and Bleed, then detonates in a burst if followed by a shield hit. This layering of afflictions makes every shield toss exponentially stronger, and it flows seamlessly into the Reaper ability itself, which provides siphon healing and steady necrotic damage for extra sustain. Deadly Ground continues to serve as a utility spell here; while not the strongest damage source, its main value comes from triggering Quickened with Dazzle, keeping your shield toss and Bloody Advance cycling faster. Together, these three abilities give you steady control, constant healing, and a shield that scales harder the longer the fight goes on.
Passives tighten everything into place. Perfect Throw is essential, as timing your release at the charge threshold adds extra bounces and drastically ramps damage. In practice, this makes every toss capable of shredding a frontline before bouncing into a backline, clearing entire groups in one motion. Rage-focused passives, meanwhile, synergize directly with the Field Commander Helm, converting your massive rage pool into raw percentage damage. Combined with Vivify resets, this lets you open fights with six souped-up abilities before falling back into a near-infinite loop of shield tosses, Bloody Advances, and Quickened resets. By this point, the Shield Reaper isn’t just tossing shields—it’s chaining nukes through entire encounters while healing through any chip damage you take.
Final Levels
|
Level |
Spell/Passive |
|---|---|
|
31 |
Lingering Decay |
|
32 |
Necessary Steps |
|
33 |
Staying Power |
|
34 |
Double Shot |
|
35 |
Shellbreaker |
|
36 |
Blunt Force |
|
37 |
Perfect Throw |
|
38 |
Shattering Throw |
|
39 |
Spirit of Hunger |
|
40 |
Let it Linger |
|
41 |
Enduring Rage |
|
42 |
Providence |
|
43 |
Time Management |
|
44 |
Enervation |
|
45 |
Unyielding Focus |
|
46 |
Bulwark |
|
47 |
Reinforcement |
|
48 |
Tumbling Blades |
|
49 |
Downfall |
|
50 |
Deaths Throw |
|
51 |
Invigoration |
|
52 |
Living Decay |
|
53 |
Desperation |
|
54 |
Fury of the Forge |
|
55 |
Decisive Finish |
|
56 |
Determined Death |
|
57 |
Wrath |
|
58 |
Dazzle |
|
59 |
Underestimated |
|
60 |
Breathing Room |
|
61 |
Incite Violence |
|
62 |
Desolate Malady |
|
63 |
Cleaving Strike |
|
64 |
Depth of Fury |
|
65 |
Concentration |
- Every ability node is an extra 15% passive damage so we want to grab as many abilities as possible even if we are not using them
Build Snapshot
Related Builds
Support the Website
Thank you for choosing RPGael!
RPGael is kept ad-free so you can enjoy builds without distractions. If you’d like to support the site, you can donate through Ko-fi or check out the RedGael YouTube channel. Every bit of support helps keeps new content coming!

